Loops (8 min)
01 Getting Started
02 Salesforce Action
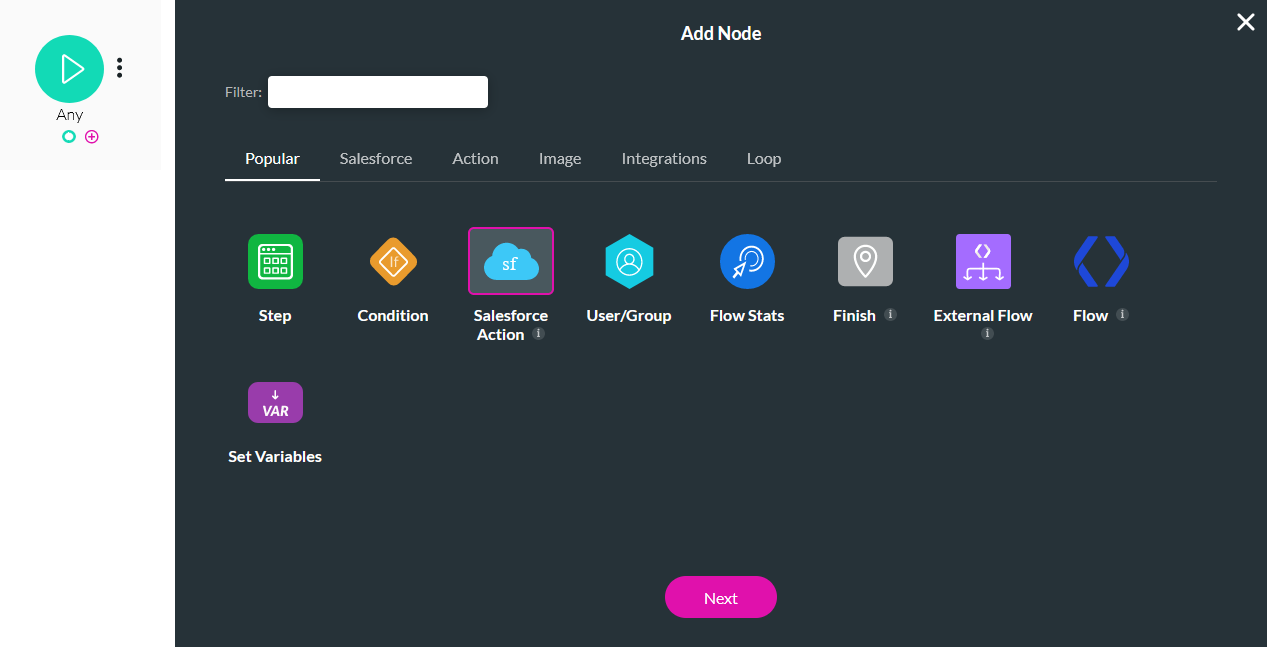
1. Click the Any + icon, choose Salesforce Action as the node, and click Next.
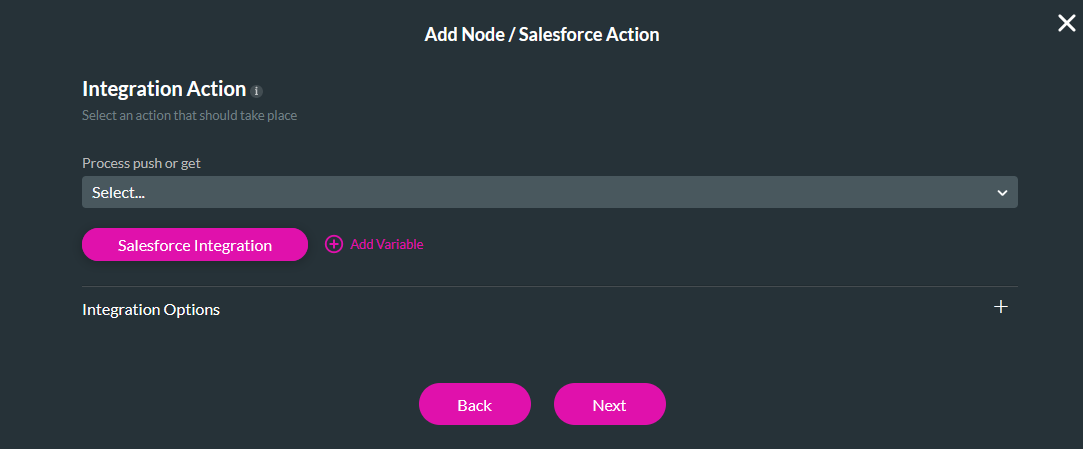
2. Click the Salesforce Integration button.
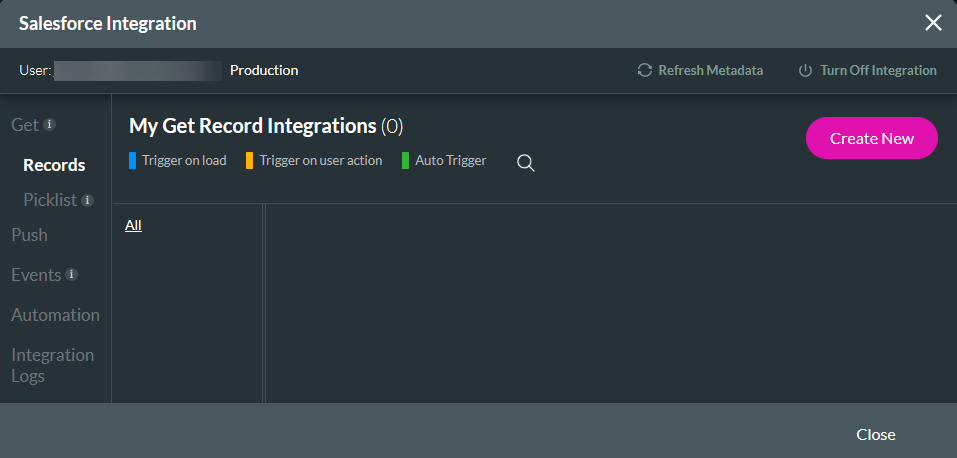
3. Under the Get Records tab, click Create New.
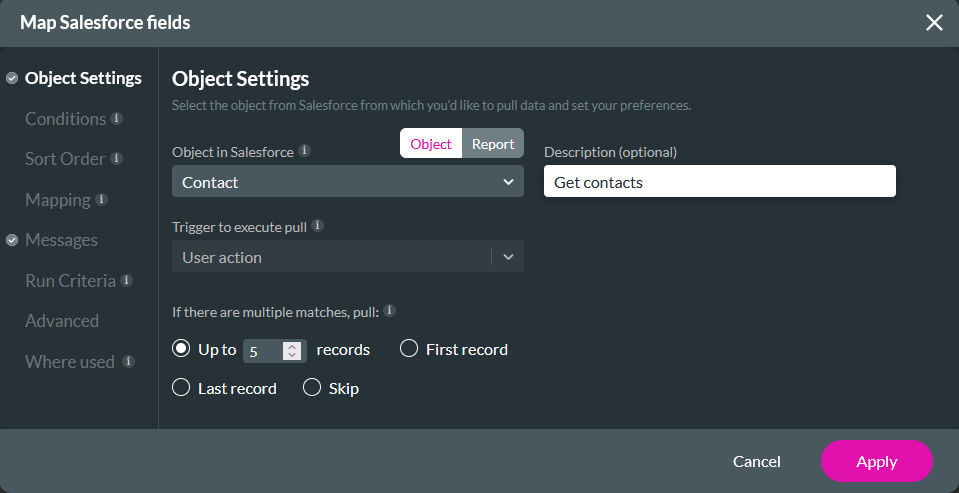
4. In the Object Settings tab, configure Contact as the Salesforce Object and User Action as the Trigger, add a description, and configure the number of contacts to pull.
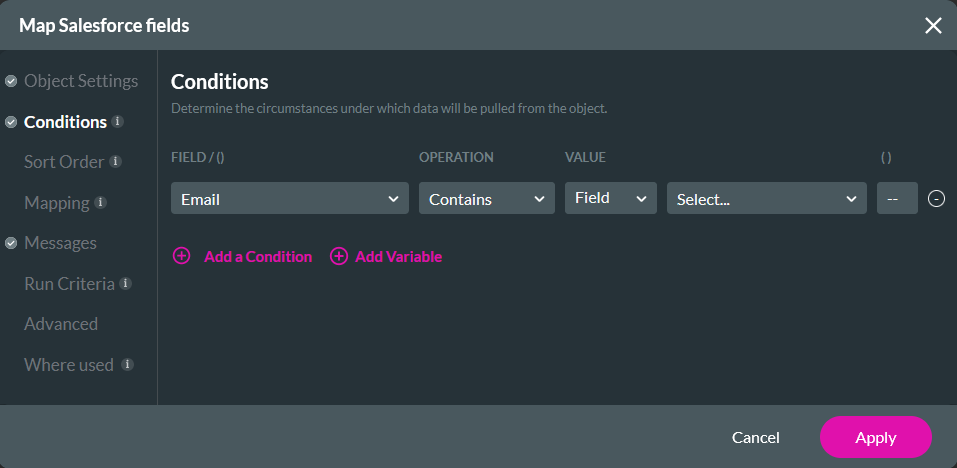
5. Configure the Email to contain in the Conditions tab and click + Add Variable.
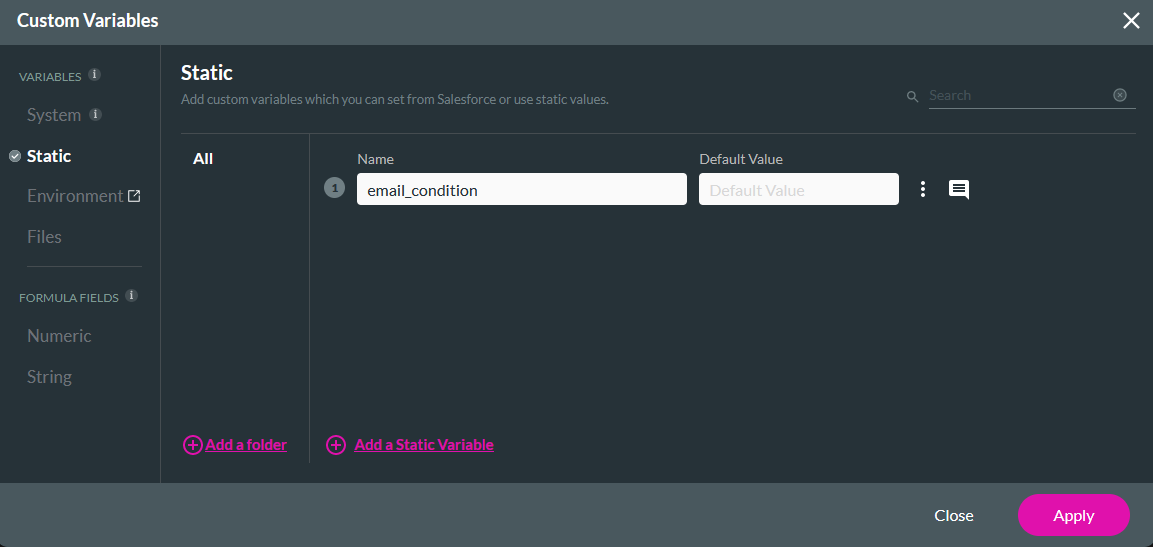
6. Add a variable and label it email_condition. Click Apply.
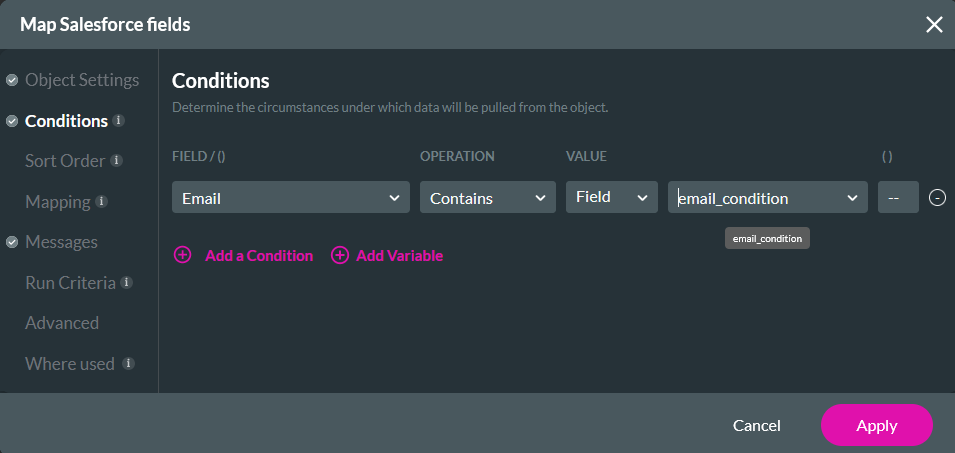
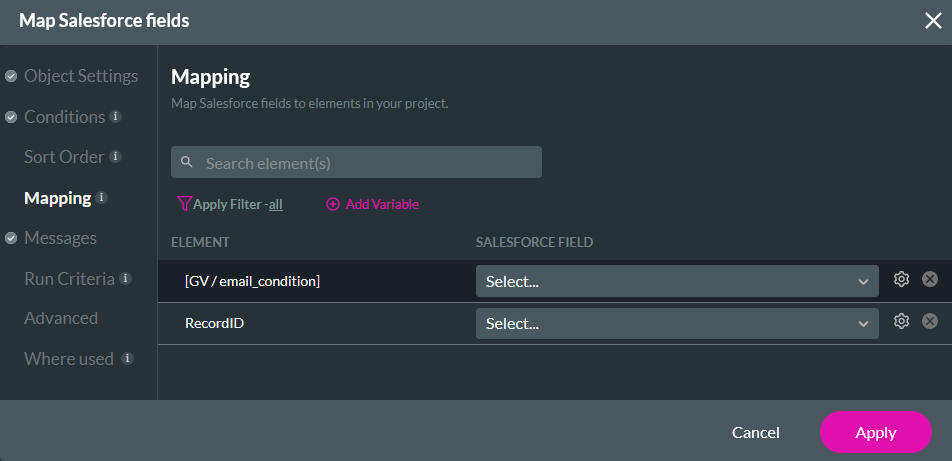
7. Map the email condition to the email_condition variable.
8. In the Mapping tab, click + Add Variable.
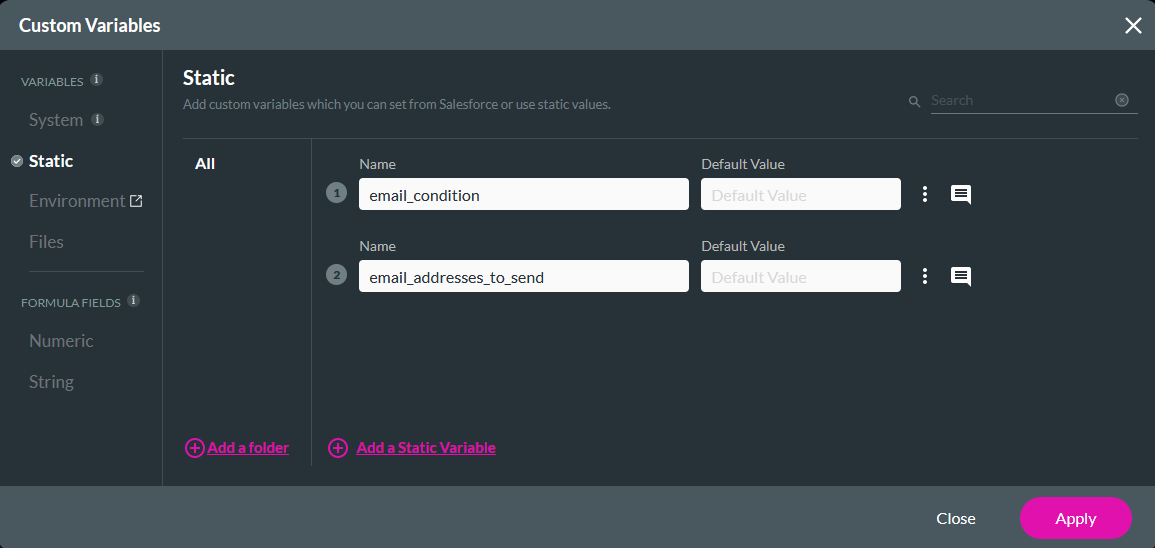
9. Add a variable and label it email_addresses_to_send. Click Apply.
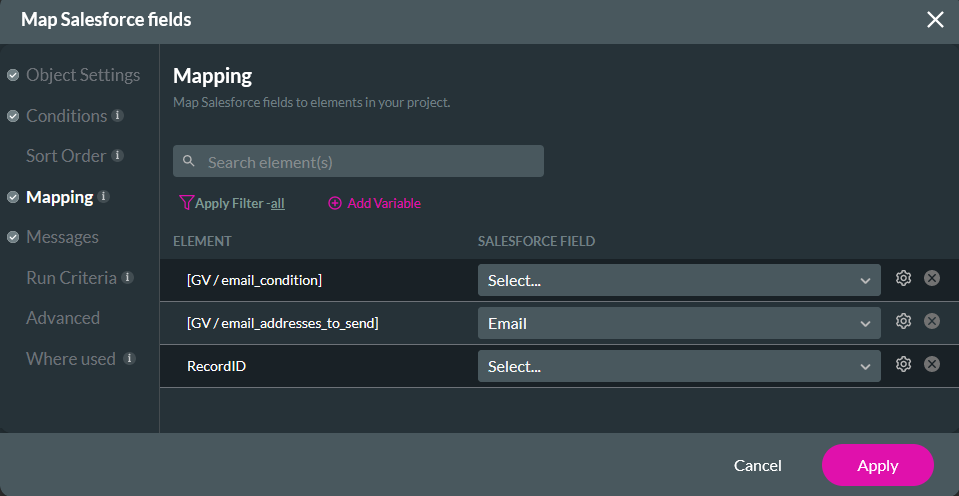
10. Map the email_addresses_to_send Variable to the Email Salesforce field. Click Apply and Close.
This Variable will hold each email value separated by a comma.
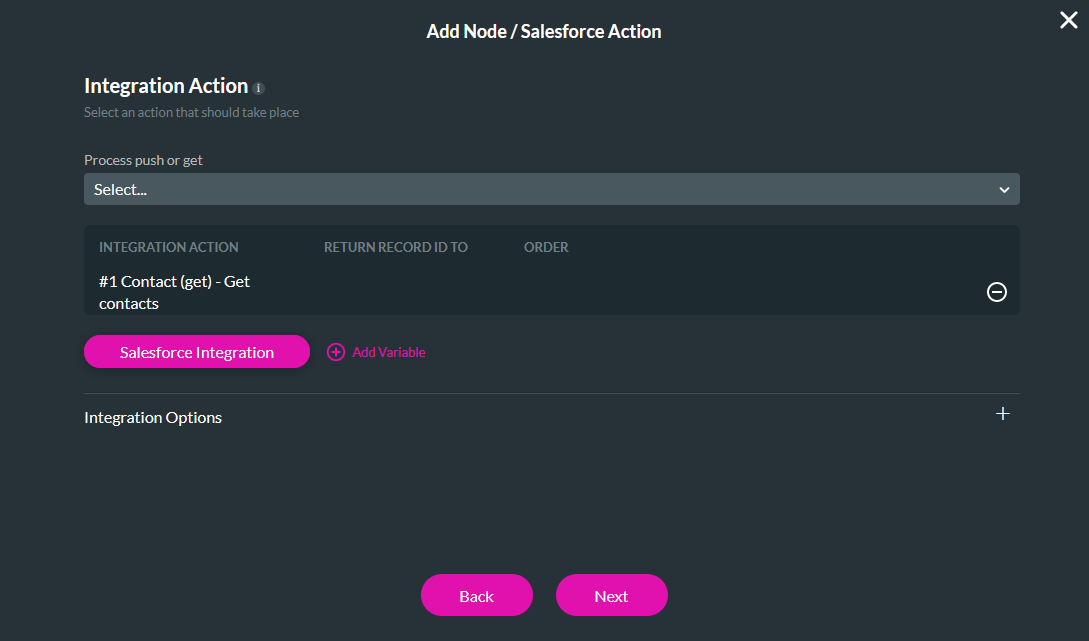
11. Use the dropdown to select the configured Salesforce Get and click Next.
12. Enter a Tag and click Insert.
03 Loop
1. Click the After Finish + icon, choose Loop as the node, and select Next.
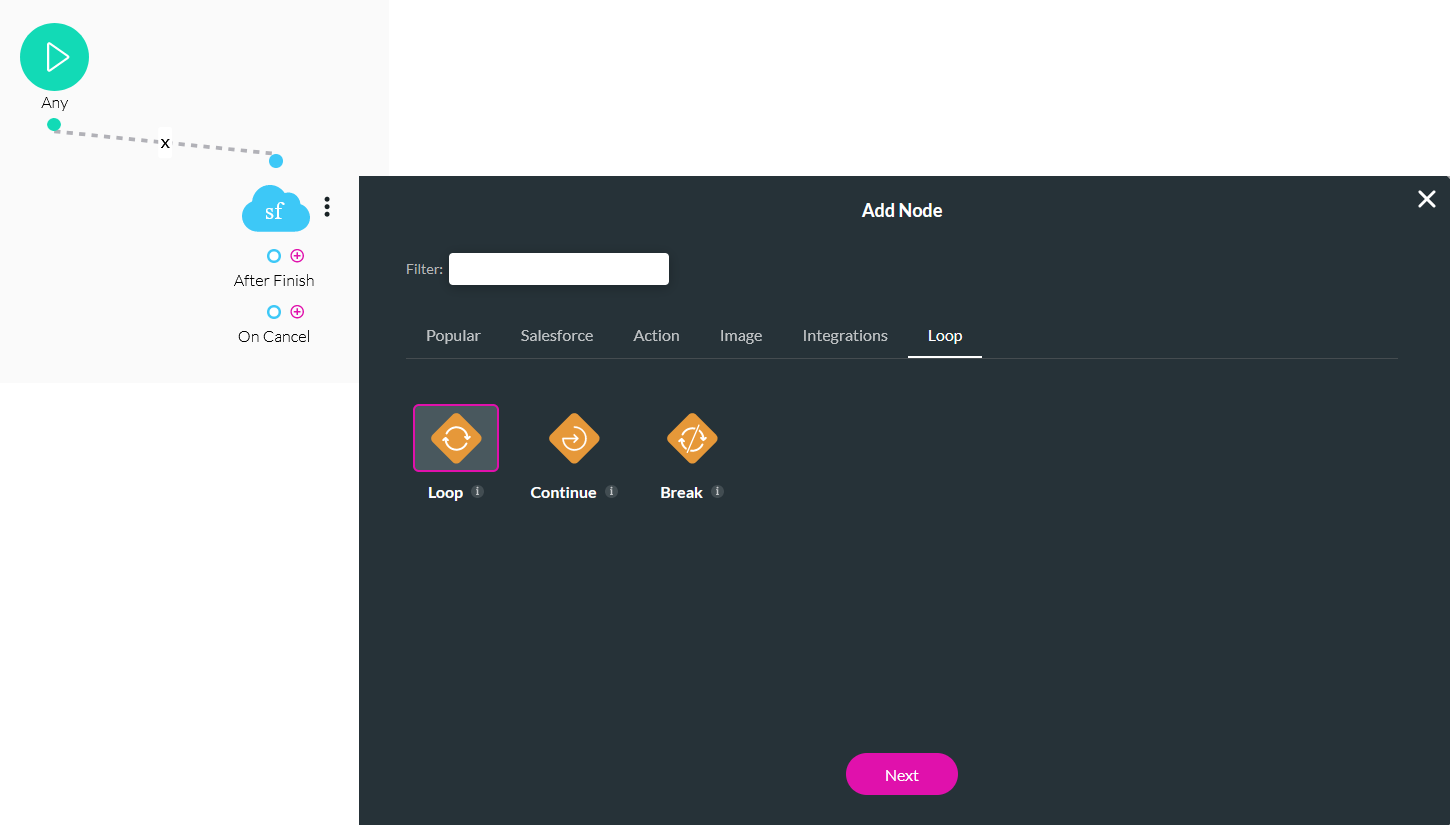
2. Use the Loop On Element dropdown to select the variable email_addresses_to_send. Set the split delimiter to a comma and click Next.

3. Enter a Tag name and click Insert.
04 Send Email
1. Select the For Each + icon, choose Send Email as the node, and click Next.
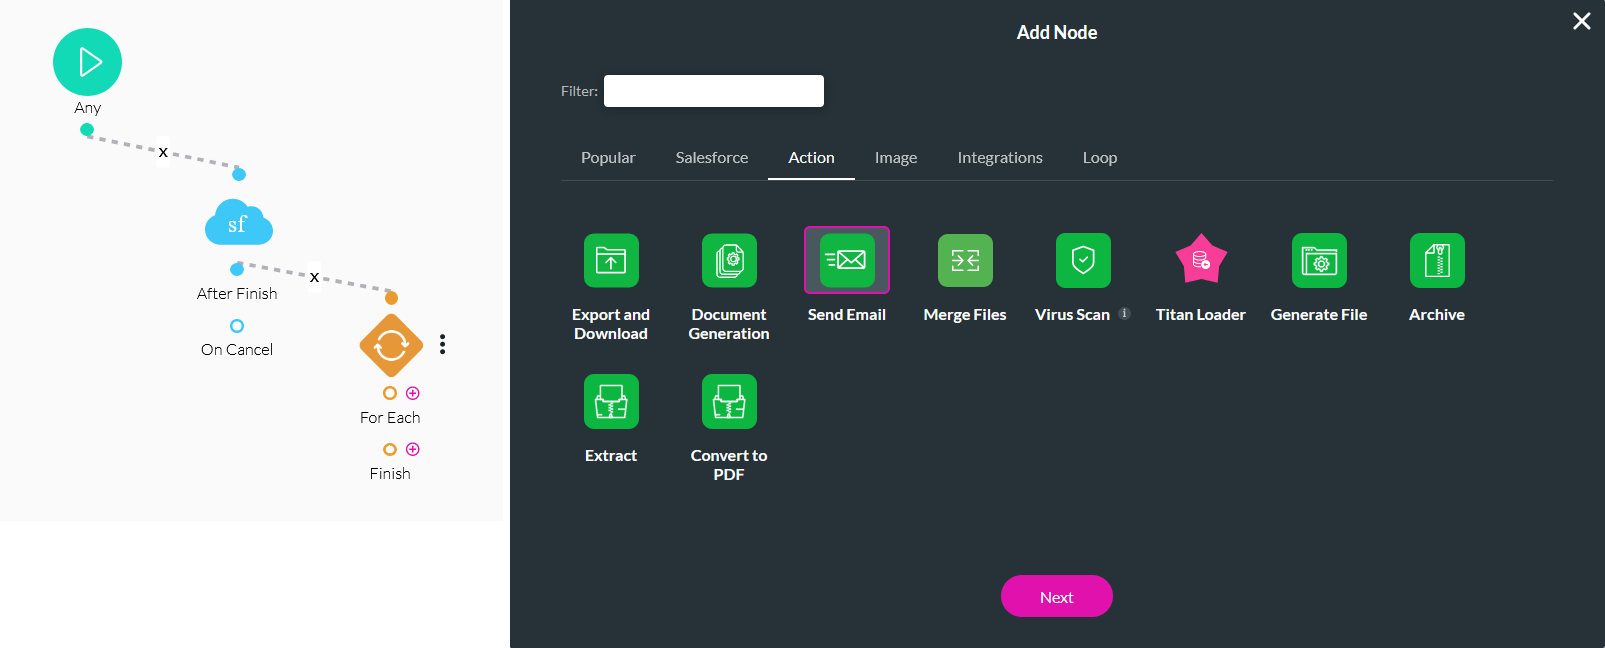
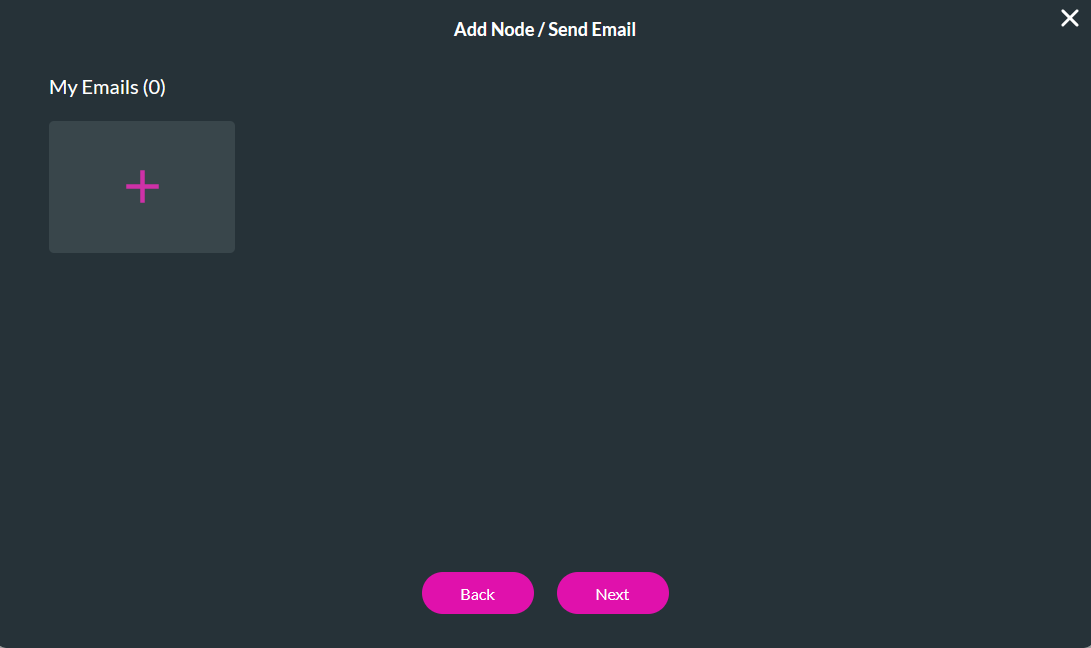
2. Click the My Emails + icon.
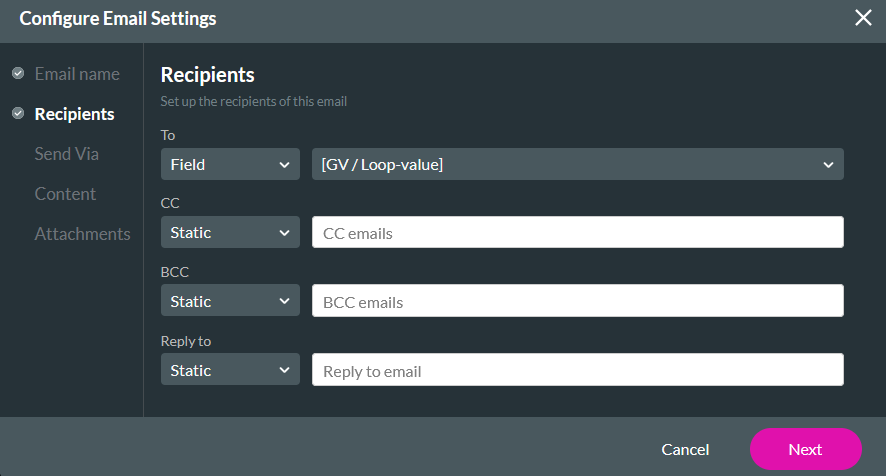
3. In the Recipients tab, use the To dropdowns to select the Loop-value field. This will use the email value from the loop.
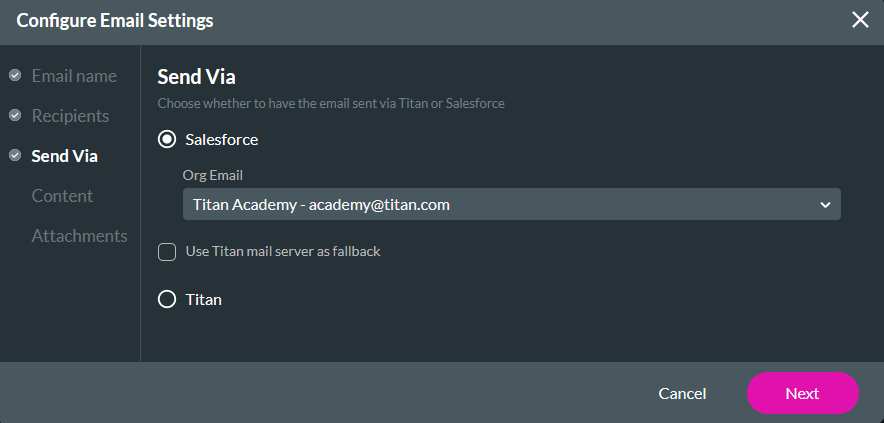
4. In the Send Via tab, configure the Email to which you want to send your emails.
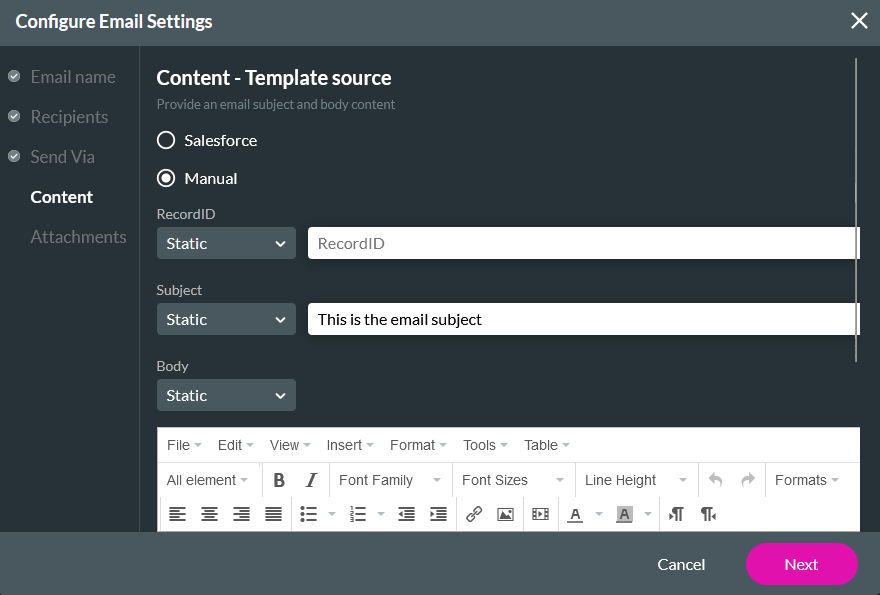
5. In the Content tab, you can configure the body of your Email.
6. Configure your attachments, click Apply, and Next.
7. Enter a Tag name and click Insert.
05 Continue the Loop
Once the email has been sent, the Loop must continue to run afterward. This will ensure that the Loop continues after the first email is sent.
1. Click the Send Email + Icon, choose Continue as the node, and click Next.
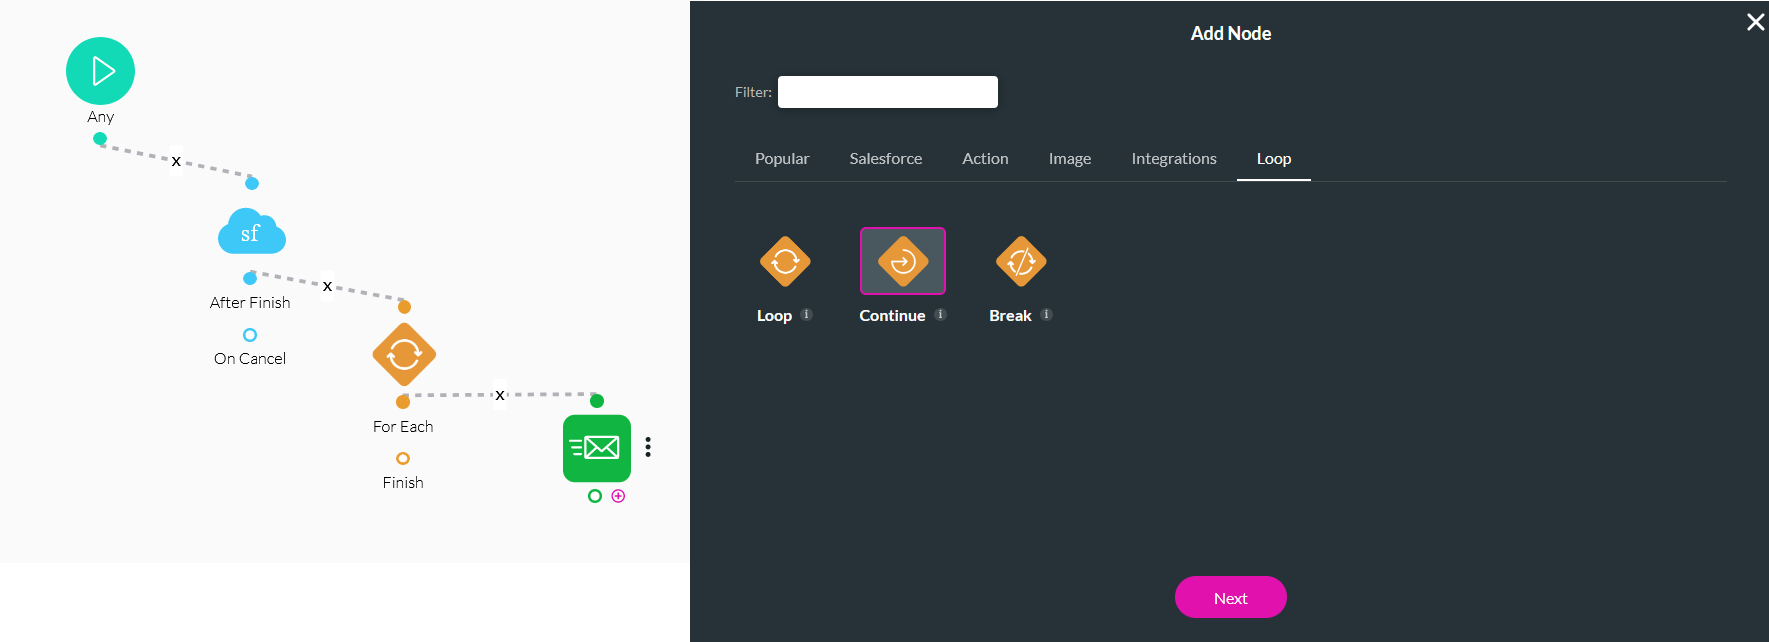
2. Enter a Tag name and click Insert.
Ensure that you configure a Finish node in the Loop. Save and publish the Flow.

06 Invoking the Flow
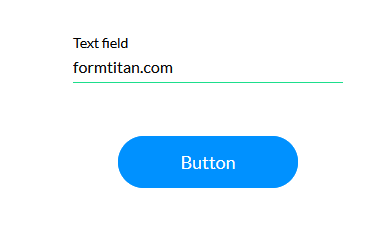
A simple web project was created with a text field and a button.
1. Navigate back to your web project.
2. Click the Interactivity icon from the button menu.

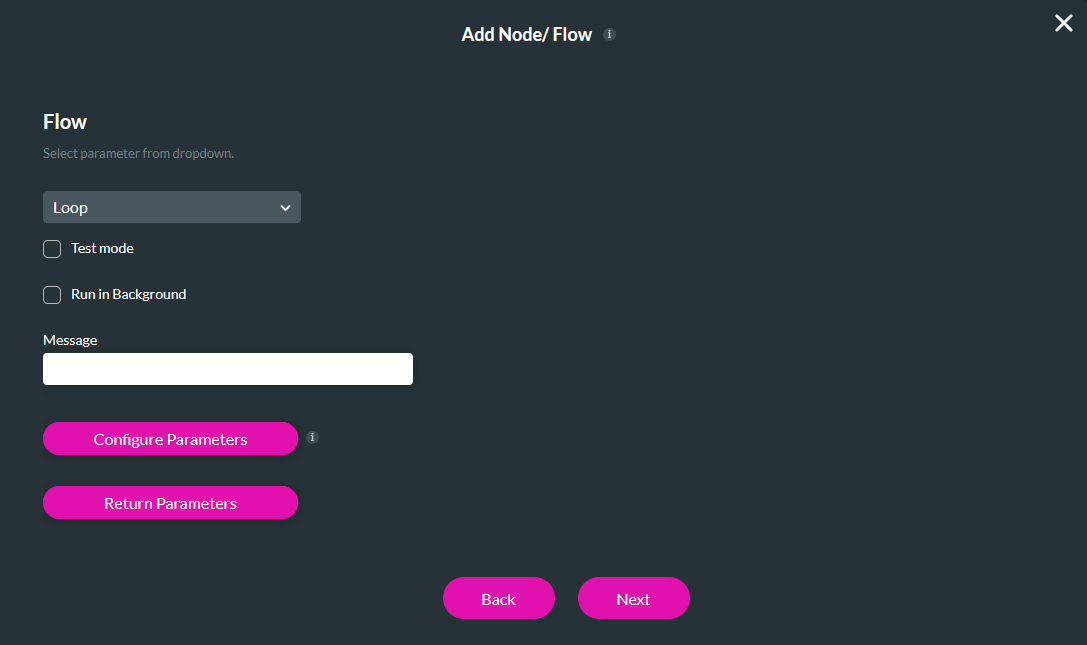
3. Click the Start + icon, choose the Flow node, and click Next.
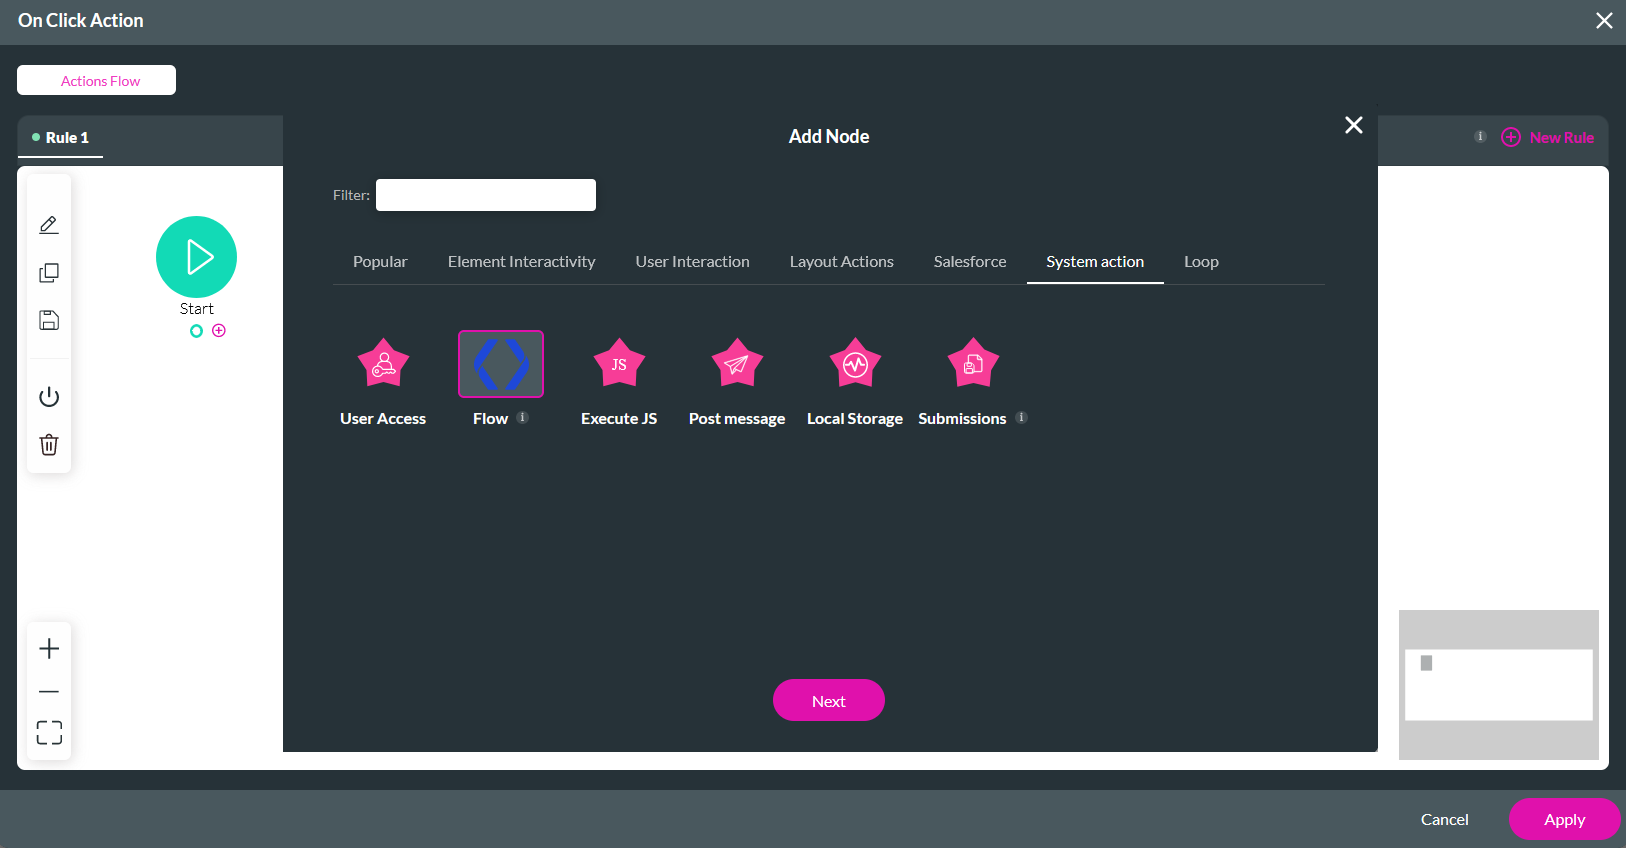
4. Use the dropdown to select the Loop Flow.
5. Disable Run in Background.
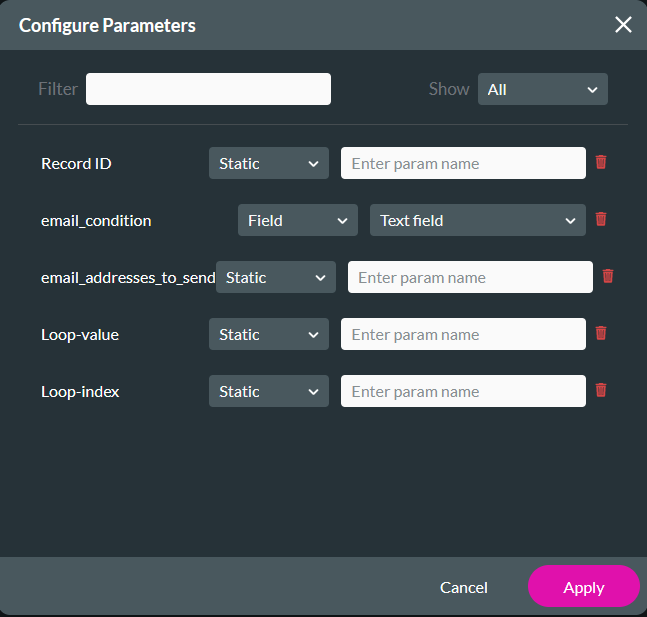
6. Click Configure Parameters.
7. Configure the email_condition to the text field. Click Apply.
8. Click Next, enter a Tag, and click Insert.
When a user provides an email address and clicks the button, the flow will trigger to retrieve the contacts in Salesforce and send the configured email to the contacts.
