Loader (5 min)
01 Getting Started
02 Variables
1. Navigate to the Project Settings and select the Tools tab.
2. Click the Custom Variables gear icon.
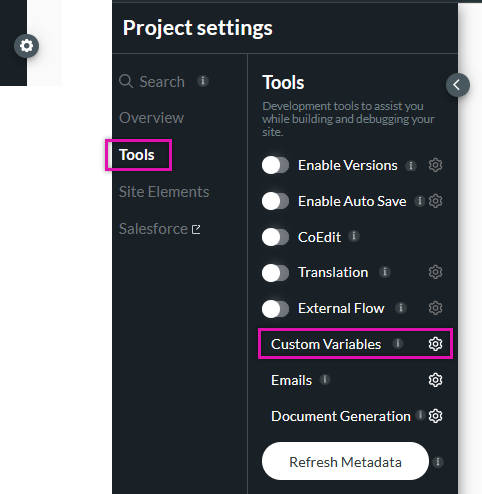
3. Create two variables; one static and one file. Click Apply.
- Static: error_log
- Files: input_csv
03 Titan Loader
1. Select the Any + icon, choose Titan Loader as the node, and click Next.
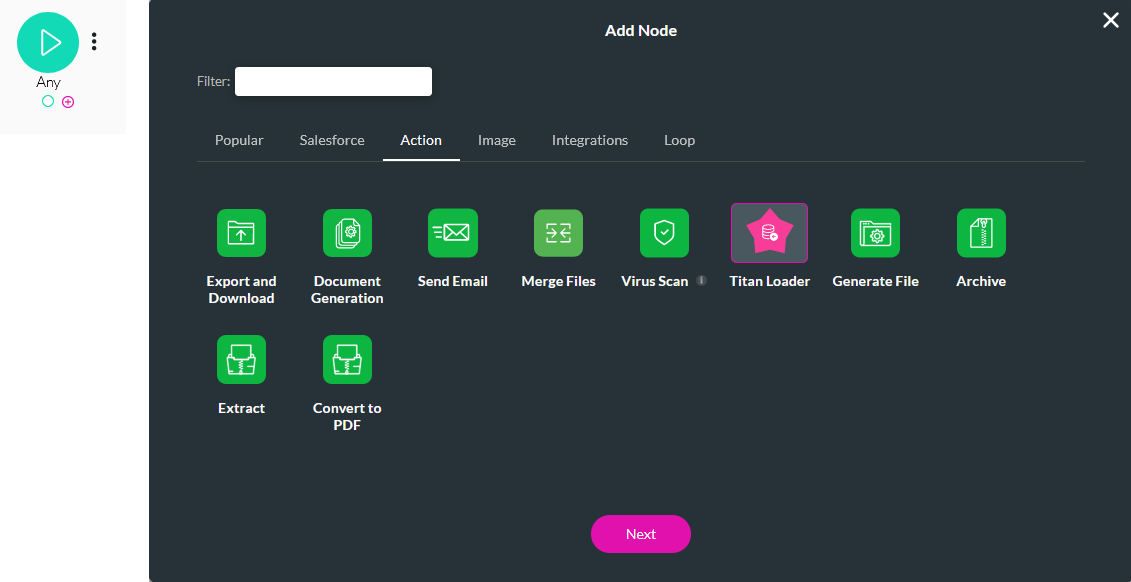
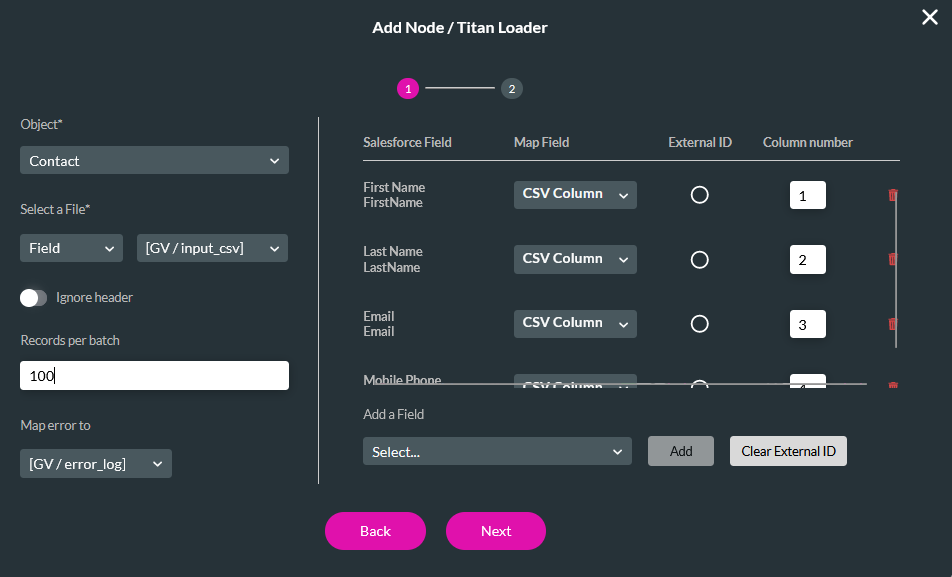
2. Configure the following then click Next:
- Object - Contact
- File - input_csv
- Ignore header - Enabled (if your CSV file does not contain headers, you can leave the feature disabled.)
- Records per batch - 100 (you can choose to match this to the number of records you want to upload.)
- Map error to - error_log
- Add a Field - Add the CSV columns to the corresponding Salesforce fields. Ensure you list the corresponding column number correctly.
3. Enter a Tag name and click Insert.
You can configure additional nodes to trigger when the Titan Loader is complete. For example, an email that contains any upload errors.
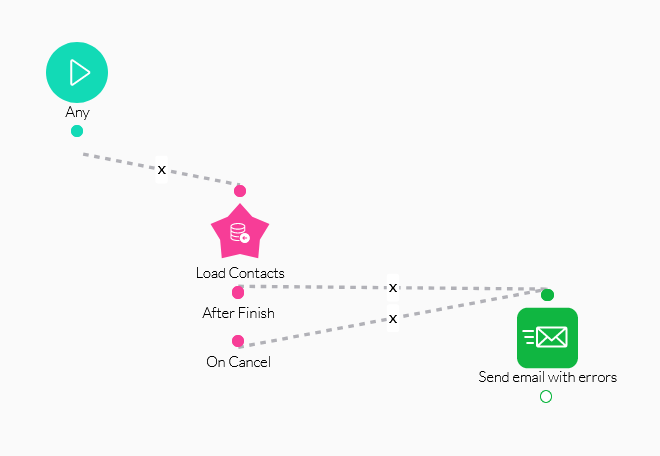
Save and Publish your Flow.
04 Invoking the Flow
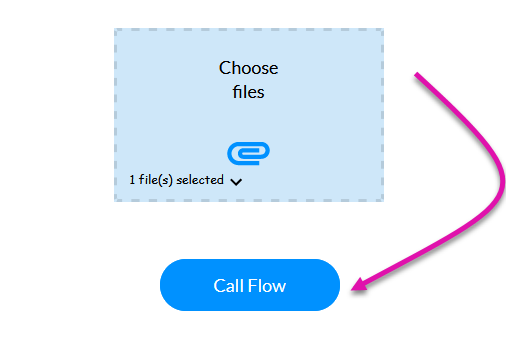
A web project was created with a file uploader element and a button. The button was configured to invoke the created Flow when clicked.
1. Select the button and click the Interactivity icon in the menu.
2. Select the Start + icon, choose Flow as the node, and click Next.
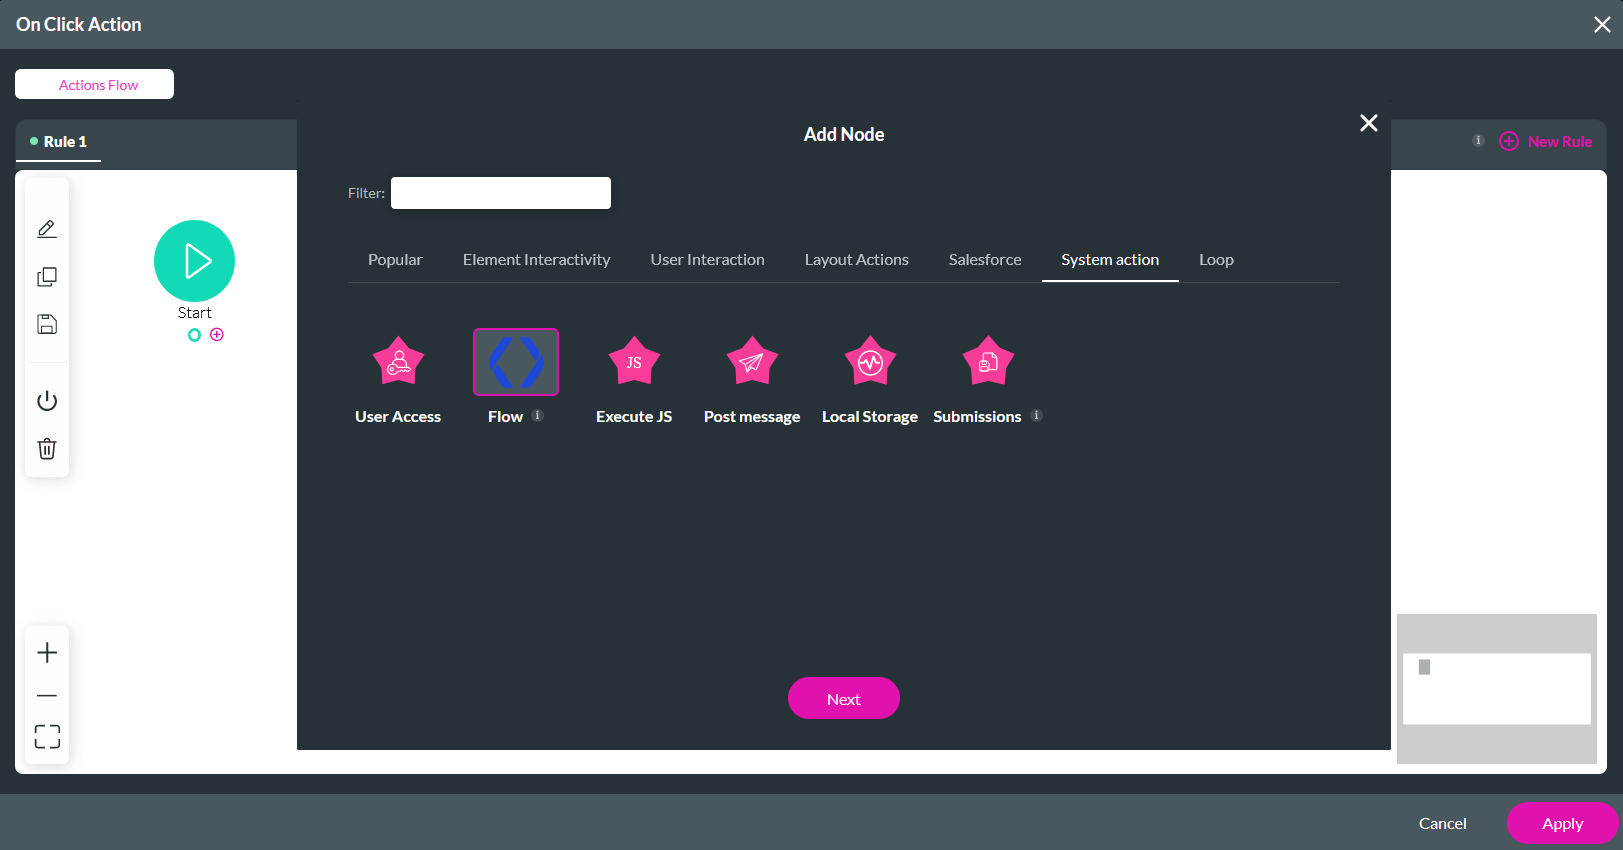
3.
Use the dropdown to select your Flow, disable Run in the Background if you want your screen to freeze when the Flow is
triggered, and add a custom message.
4. Click Configure Parameters. 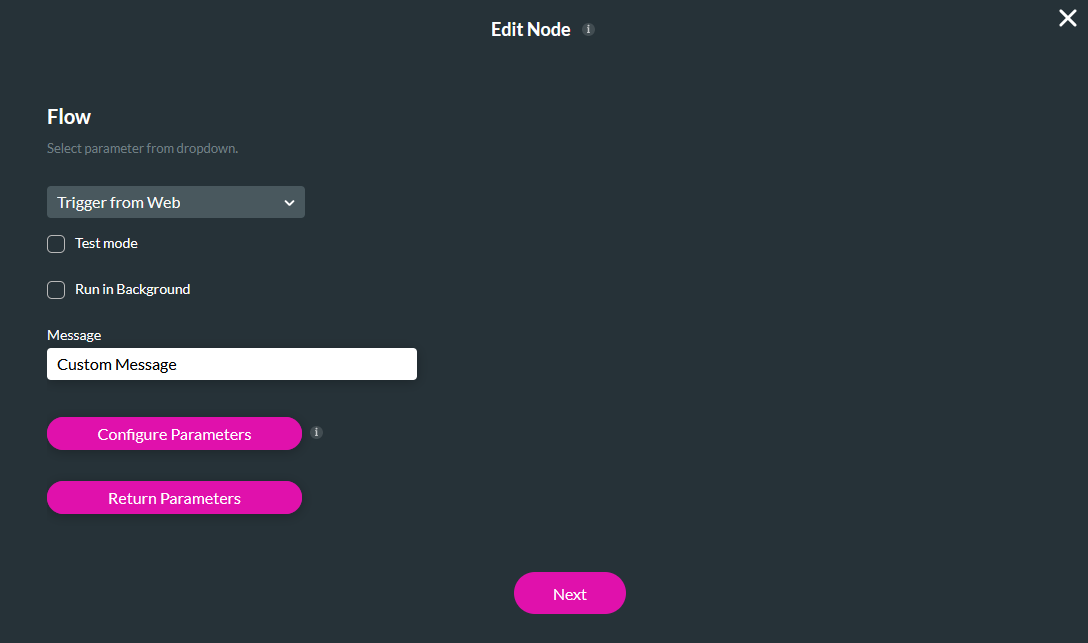
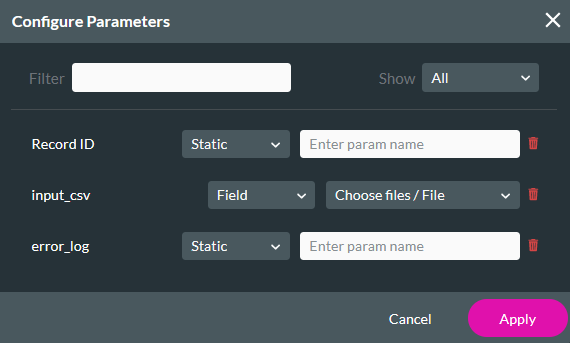
5. Configure the following parameter for the Flow and click Apply.
- input_csv - field: Choose files/File
05 Preview
The flow is invoked when the CSV file is added to the project and the button is clicked.
