Files (8:30 min)
01 Getting Started
This tutorial covers file actions available for Titan Flow, including:
- Document Merge
- Document Generation
- Convert to PDF
02 Setup
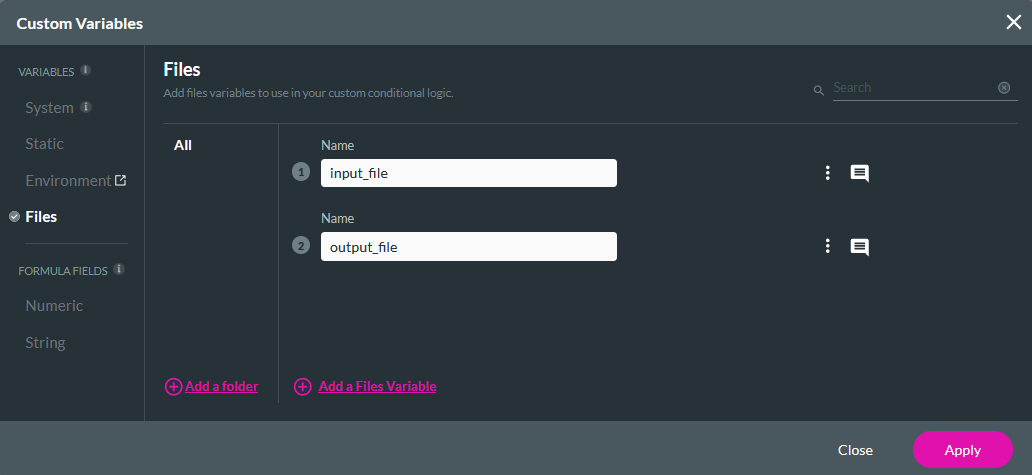
Two File variables were created: input_file and output_file.
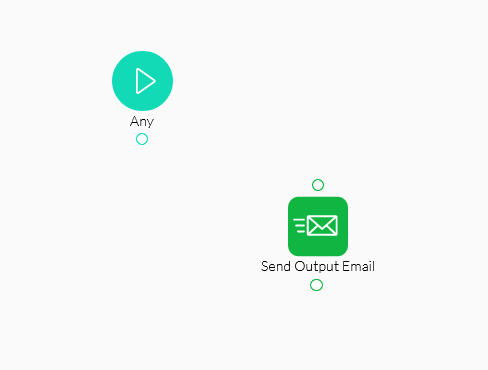
An Email node was configured to send an email containing the output file.
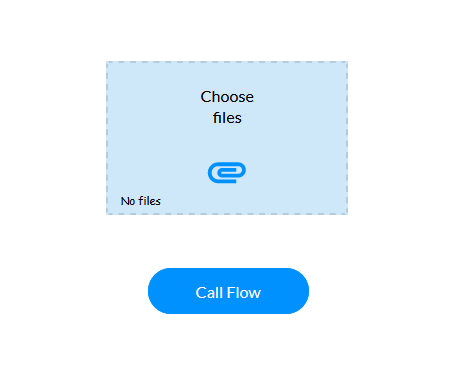
A web project will be created for this specific demonstration to invoke the Flow. The project should contain a file upload element and a button that triggers the Flow.
1. Select the Flowtton and click the Interactivity icon in the menu.
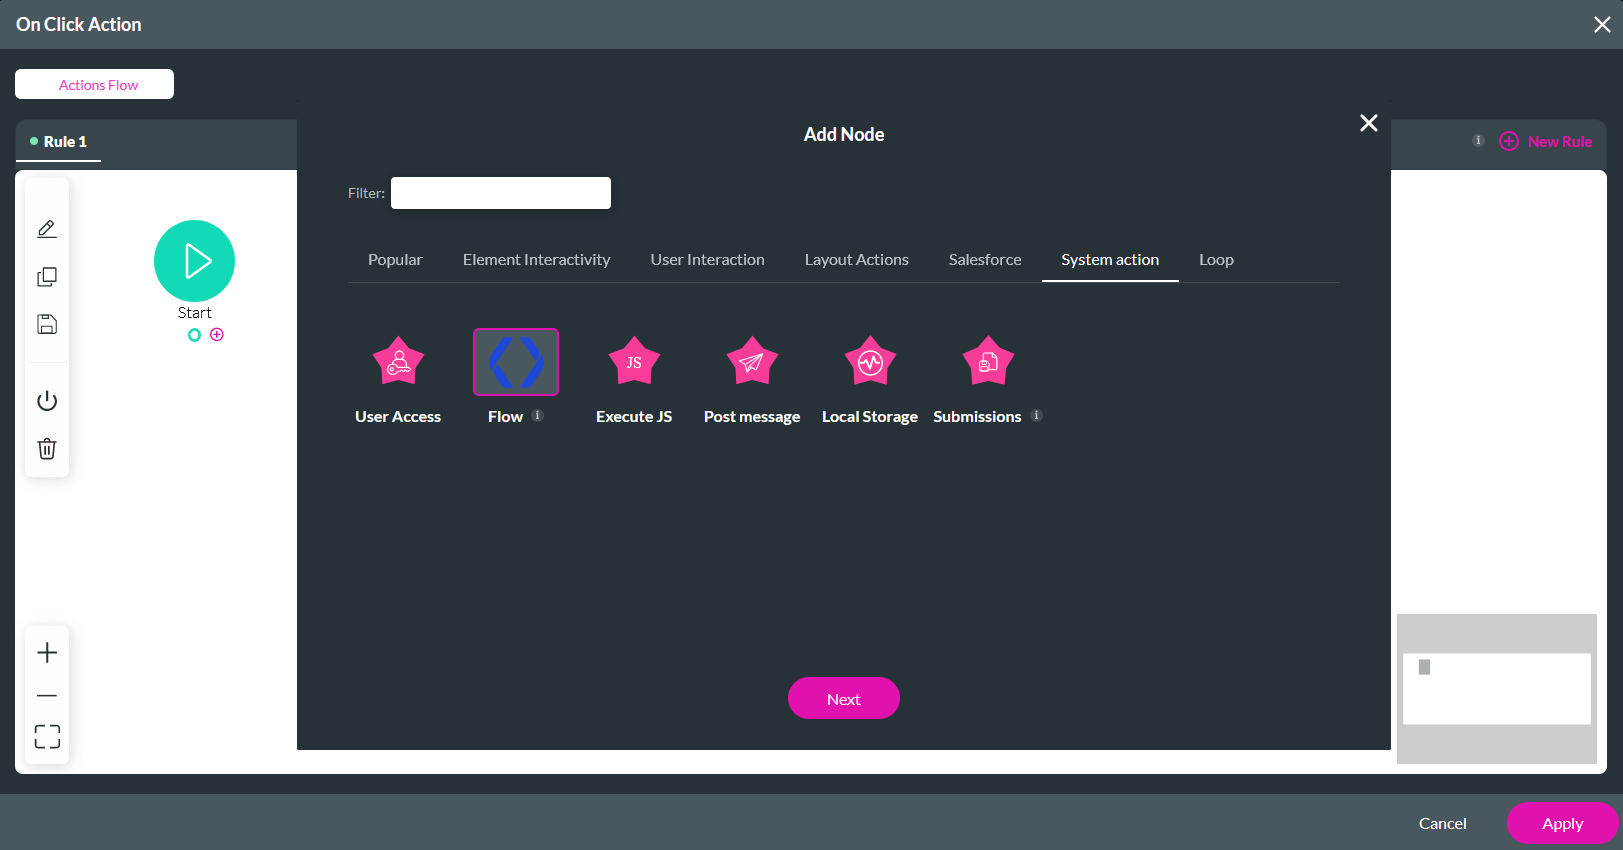
2. Select the Start + icon, choose Flow as the node, and click Next.
3.
Use the dropdown to select your Flow, turn off Run inFlow Background if you want your screen to freeze when the Flow is
triggered, and add a custom message.
4. Click Next, enter a Tag name, and select Insert.
03 Merge Files
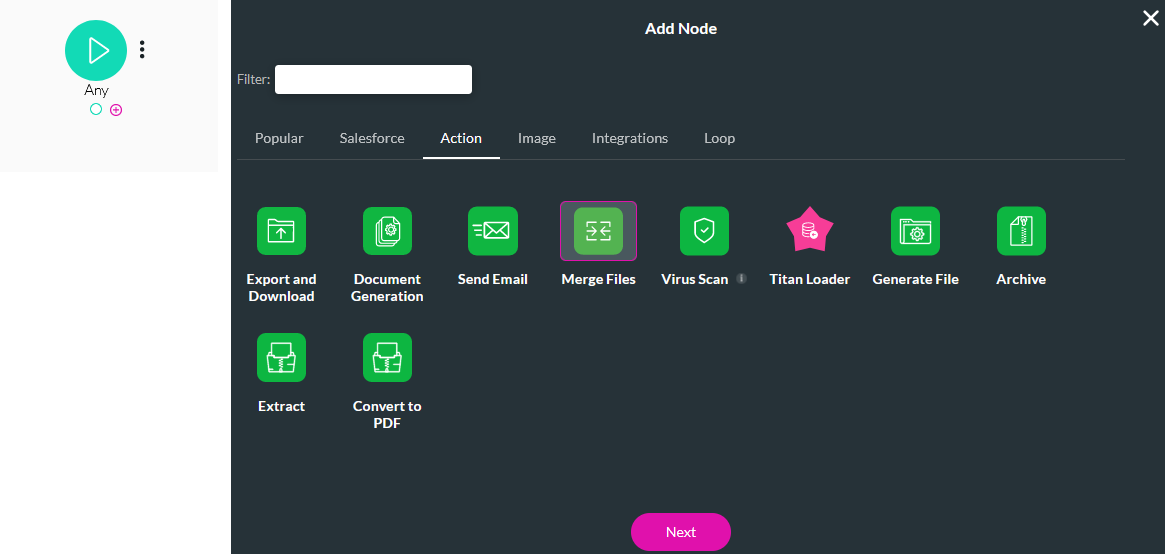
1. Navigate back to the Flow project. Click the Any + icon, choose Merge Files as the node, and click Next.
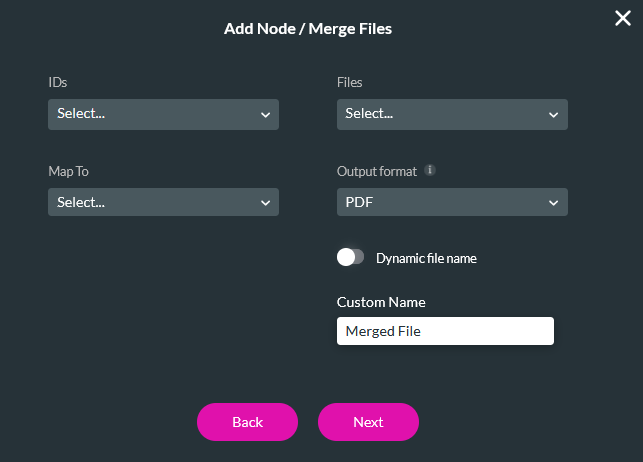
2. Configure the following and click Next.
- IDs - This can be left blank.
- Files - input_file
- Map to - output_file
- Output Format - PDF
- You can give the merged file a custom or dynamic name and map it to a File variable.
No reordering is required for this process, so the Filer Order List step can be skipped.
3. Enter a tag name and click Insert.
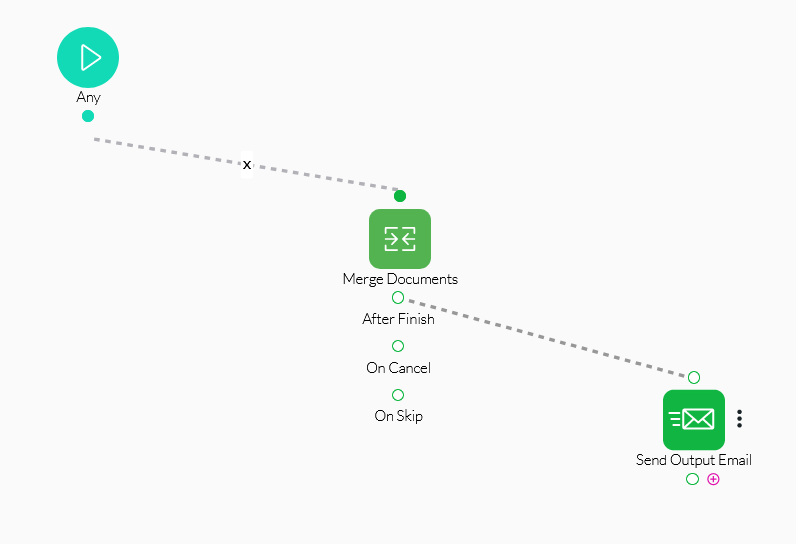
4. Link the After Finish node to the Send Output email node by clicking and dragging the cursor.
Save and publish the project.
Navigate back to your Web project and click Preview. The flow is invoked when files are added to the File Upload element and the button is clicked. All the uploaded files will be merged into one PDF document, and a copy will be sent to the listed email address.
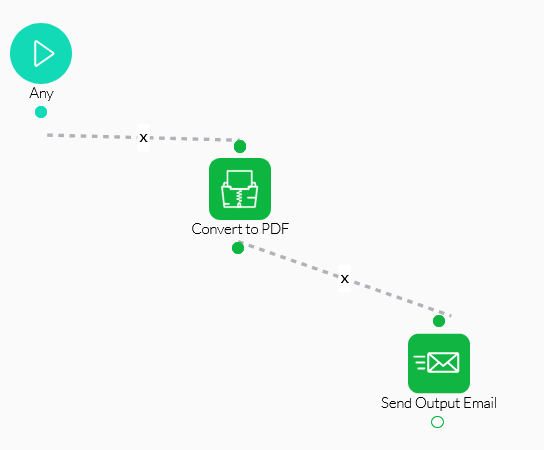
04 Convert to PDF
Before completing the following steps, delete the Merge Documents node.
1. Click the Any + icon, choose Convert to PDF as the node, and click Next.

2. Configure the following and click Next.
- File In - input_file
- File Out - output_file
You can choose from a variety of options to configure the document further.

3. Enter a tag name and click Insert.
4. Link the Convert to PDF node to the Send Output email node.
The updated flow must be saved and published to reflect the new configuration in the web project. When files are added to the File Upload element, they are converted to PDF, and a copy is sent to the listed email address.
05 Document Generation
Before completing the following steps, delete the Convert to PDF node.
1. Navigate to the Project Settings menu and select the Tools tab.
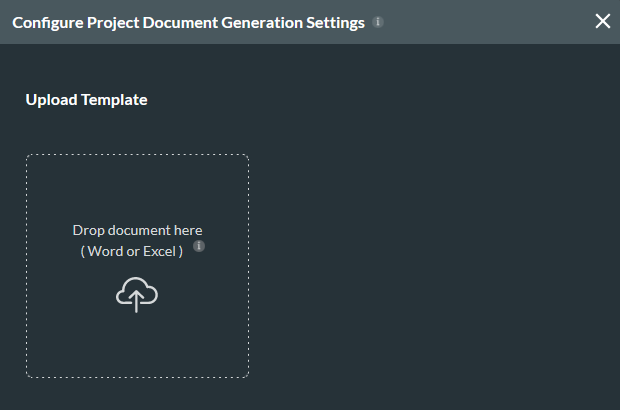
2. Click the Document Generation gear icon.

3. Add your document to the upload window.
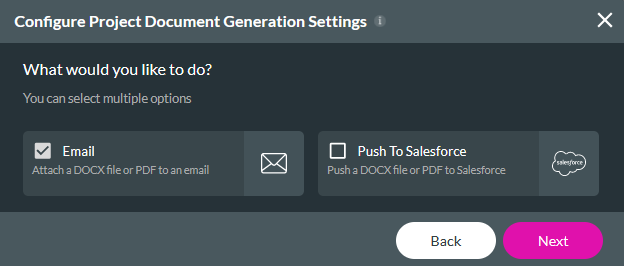
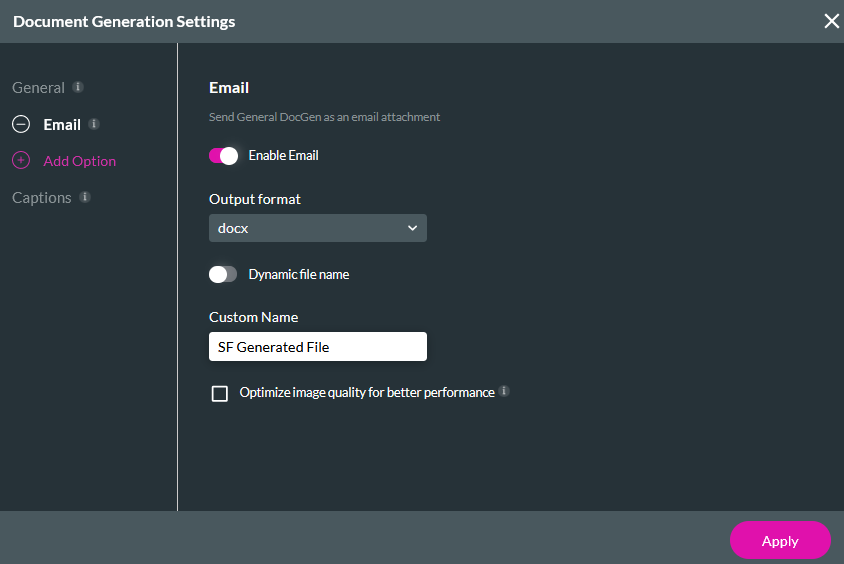
4. You can choose to attach the document to an email, push it to Salesforce, or run both actions. For this example, we chose Email. Click Next.
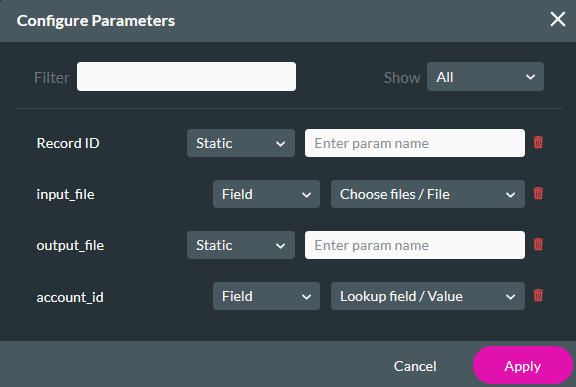
5. Click Add Variable.
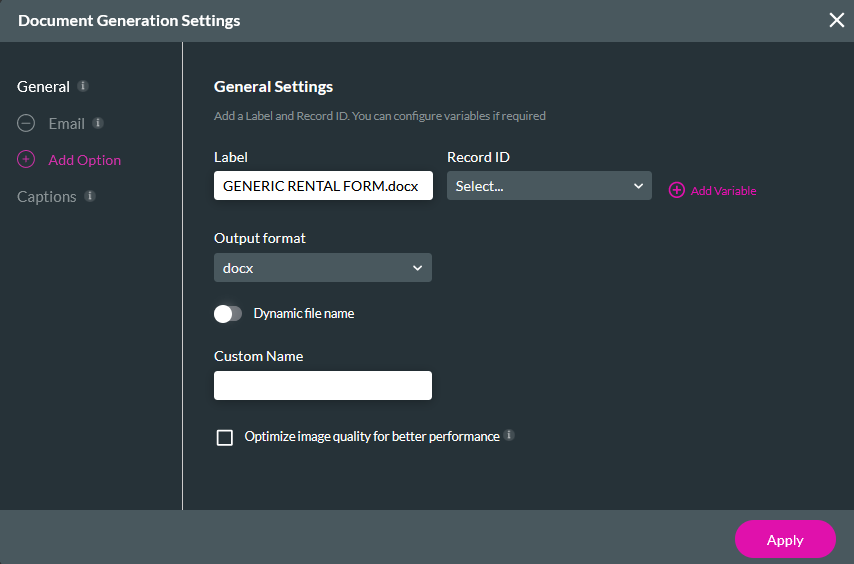
6. Add a Static variable and label it account_id. Click Apply.
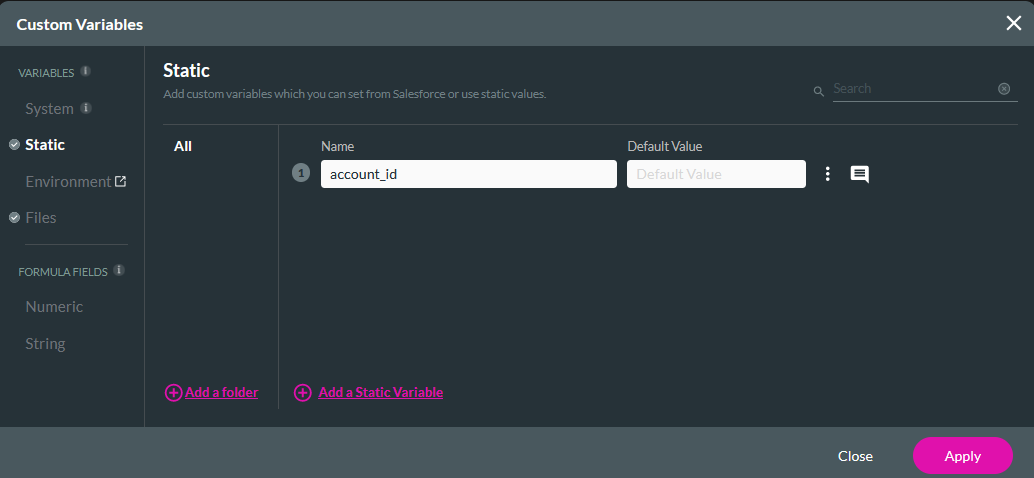
7. Use the Record ID dropdown to select the account_id variable.
8. Use the Output Format dropdown to select the desired format, for example, PDF.
9. Use the Convert with to select your preferred program. We recommend using Titan 1.
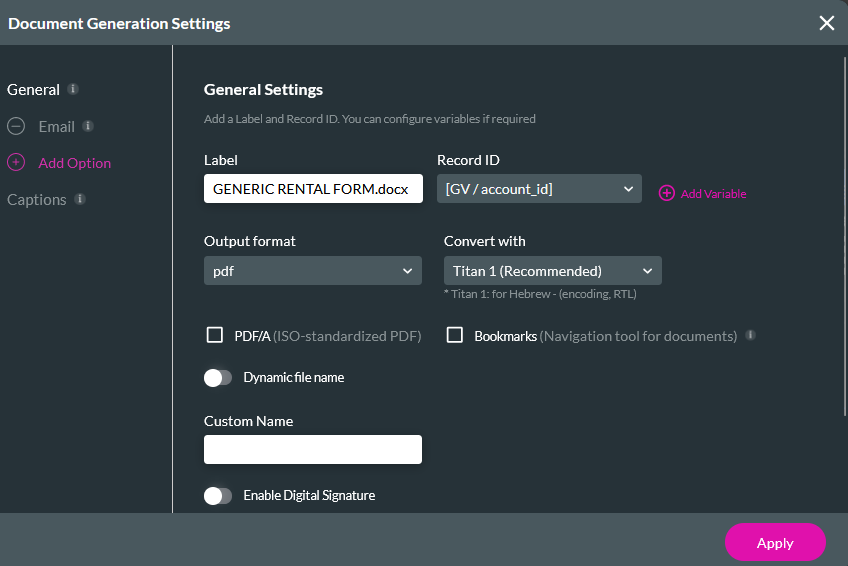
10. Click the email tab and add a Custom Name, such as SF Generated File. Click Apply.
Next, we will need to update the existing send email node.
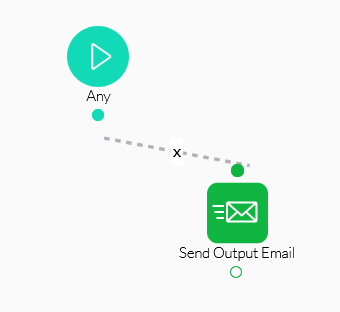
1. Drag and drop your cursor between the Any and Send Output Email node to create a link.
2. Double-click on the email node to edit it.
3. Navigate to the Attachments tab and choose your uploaded template. Click Apply.
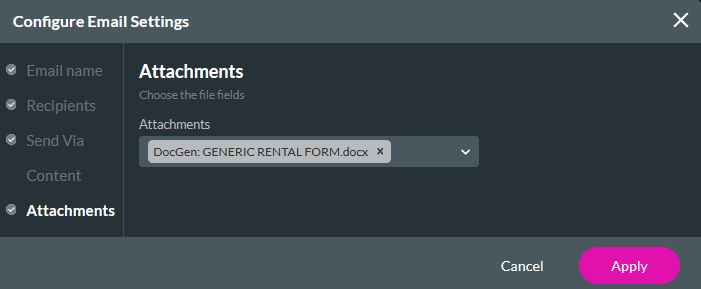
4. Click Next and Save.
Publish the new flow and navigate back to your web project.
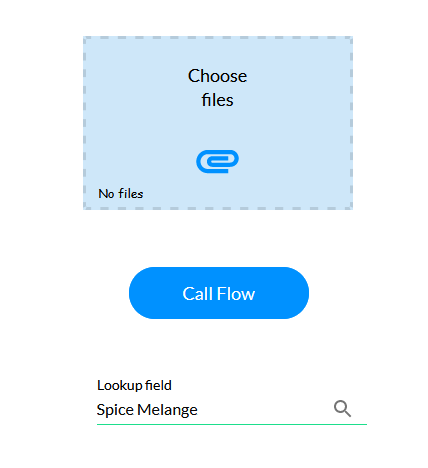
A lookup was inserted into the web project and configured as an Account lookup.
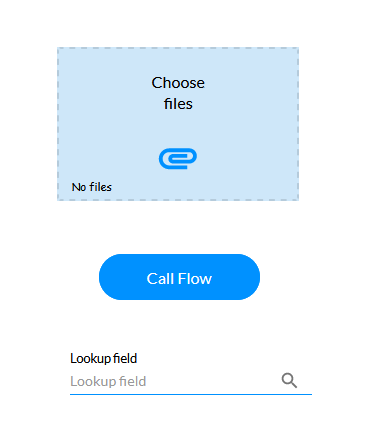
The button flow configuration was updated to match the account_id variable to the Lookup field value.
After an account is selected in the lookup and the Call Flow button is clicked, the flow is invoked, and a copy will be sent to the listed email address.