Vision AI/OCR (6 min)
01 Getting Started
02 Flow
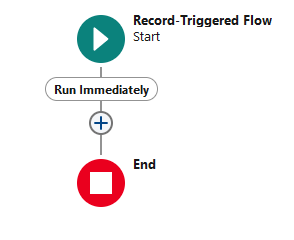
1. Navigate to Process Automation Flows in Salesforce and click New Flow.

2. Select Record-Triggered Flow and click Create.

3. Configure the following:
- Object - TFile
- First condition - The Parent Object equals Contact (you can set this to any Object to which the file will be uploaded).
- Second condition - The File Name must contain Contract.

4. Save and Label your Flow.
5. Click the + icon.
6. Search for the File Action node and select it.
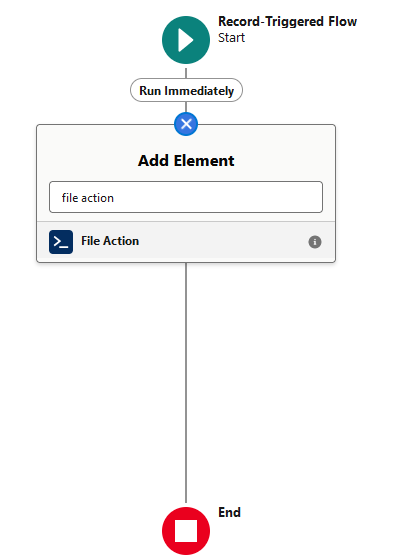
7. Configure the following:
- Label - Vision AI OCR
- Parent Object - Contact
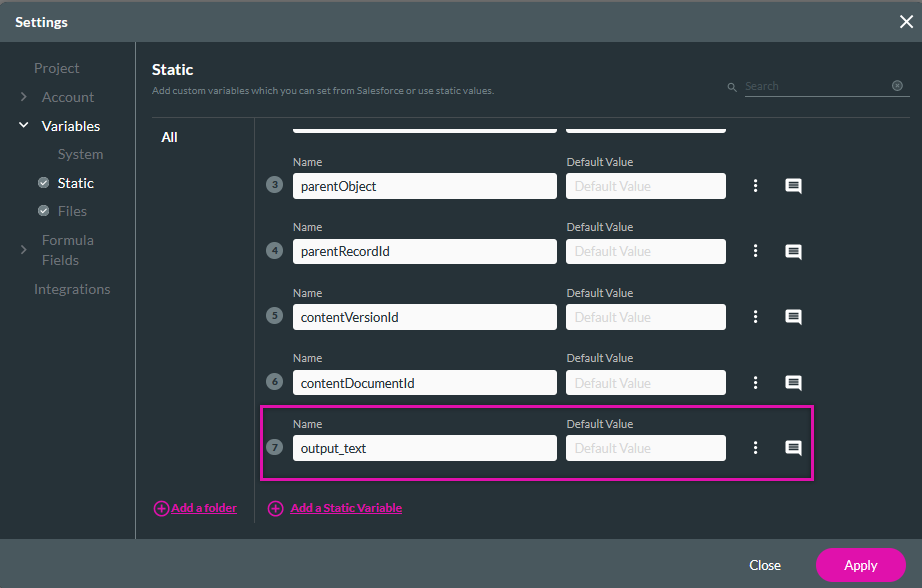
8. Select the Settings icon in the Flow window.

9. Click the Static tab under Variables, Add a Static Variable, and name it output_text. Click Apply.
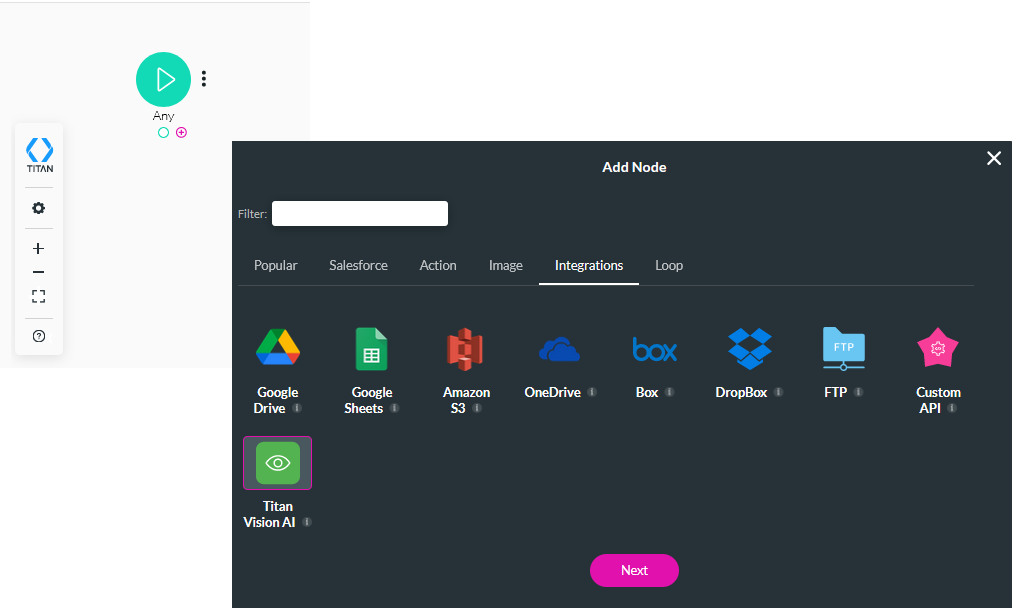
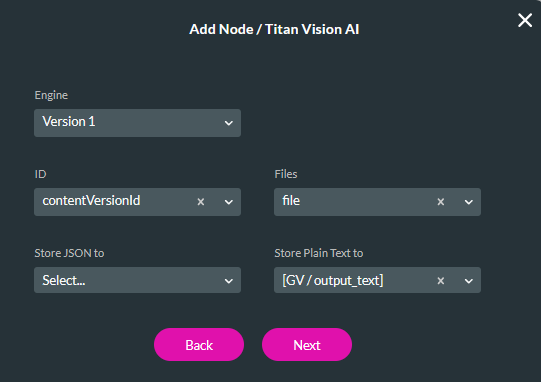
10. In the Titan Flow window, click the Any + icon and select Titan Vision AI as the node. Click Next.
- Engine - Version 1
- ID - contentVersionId
- Files - File
- Store Plain Text to - GV/output-text
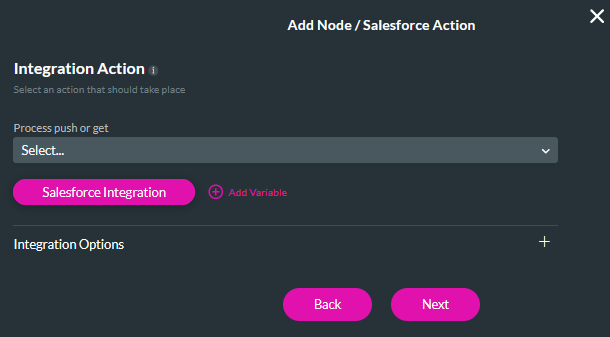
12. Select the Titan Vision AI+ + icon and choose Salesforce Action as the node. Click Next.

13. Click Salesforce Integration.
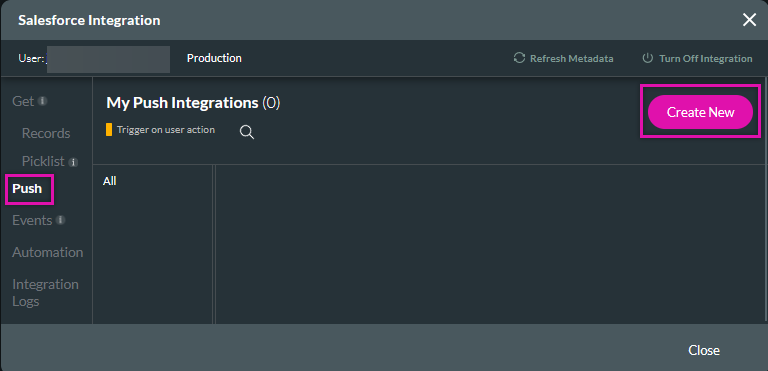
14. Select the Push tab and click Create New.
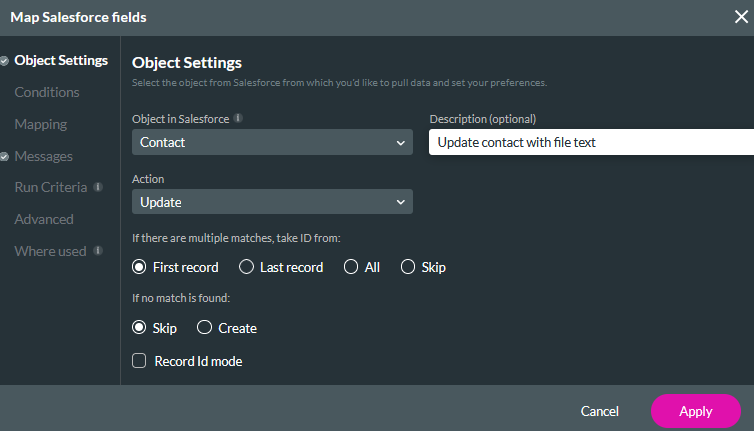
15. In the Object Settings tab, configure Contact as the Salesforce Object, Update as the Action, and add a description.
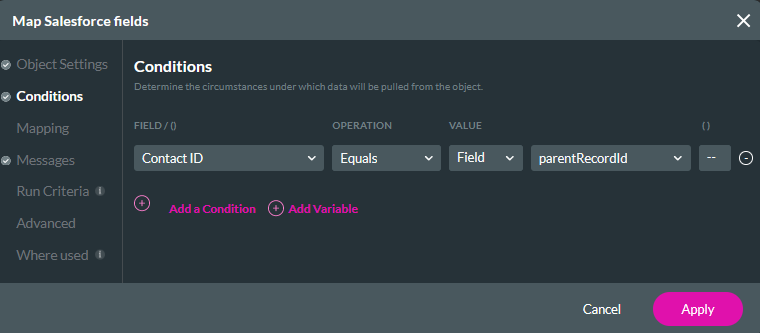
16. In the Conditions tab, configure the Contact ID to equal the Parent Record ID.
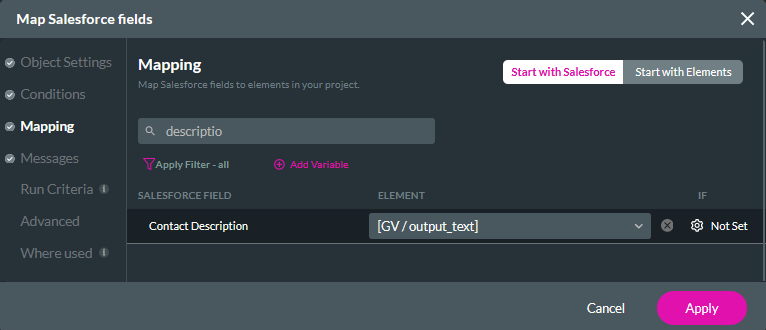
17. In the Mapping tab, configure the contact description to the output_text variable. Click Apply and Close.
18. Use the dropdown to select the configured push and click Next.

19. Add a tag and click Insert.
20. Save and activate your flow. When a file contains the word Contract in its name. The file will be scanned for text, and the scanned text added to the Salesforce object.