Virus Scan (8 min)
01 Getting Started
02 Flows
1. Navigate to Process Automation Flows in Salesforce and click New Flow.

2. Select Record-Triggered Flow and click Create.

3. Select TFile as the Object; the flow is triggered each time a file is added to a Salesforce Object.
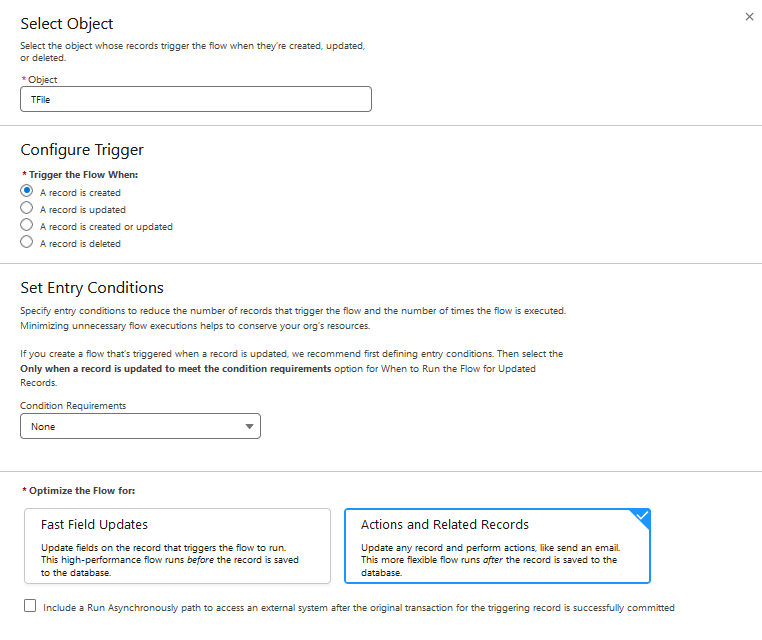
4. Save and Label the flow.
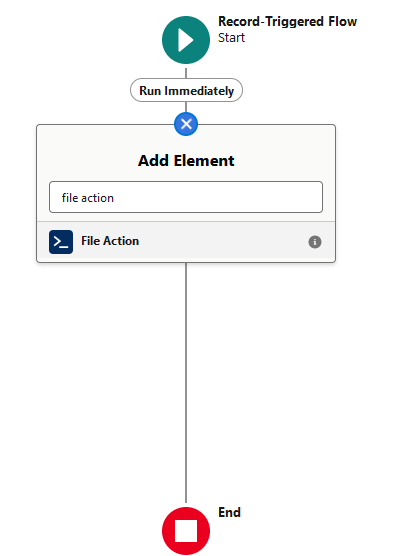
5. Click the + icon.

6. Search for the File Action node and select it.
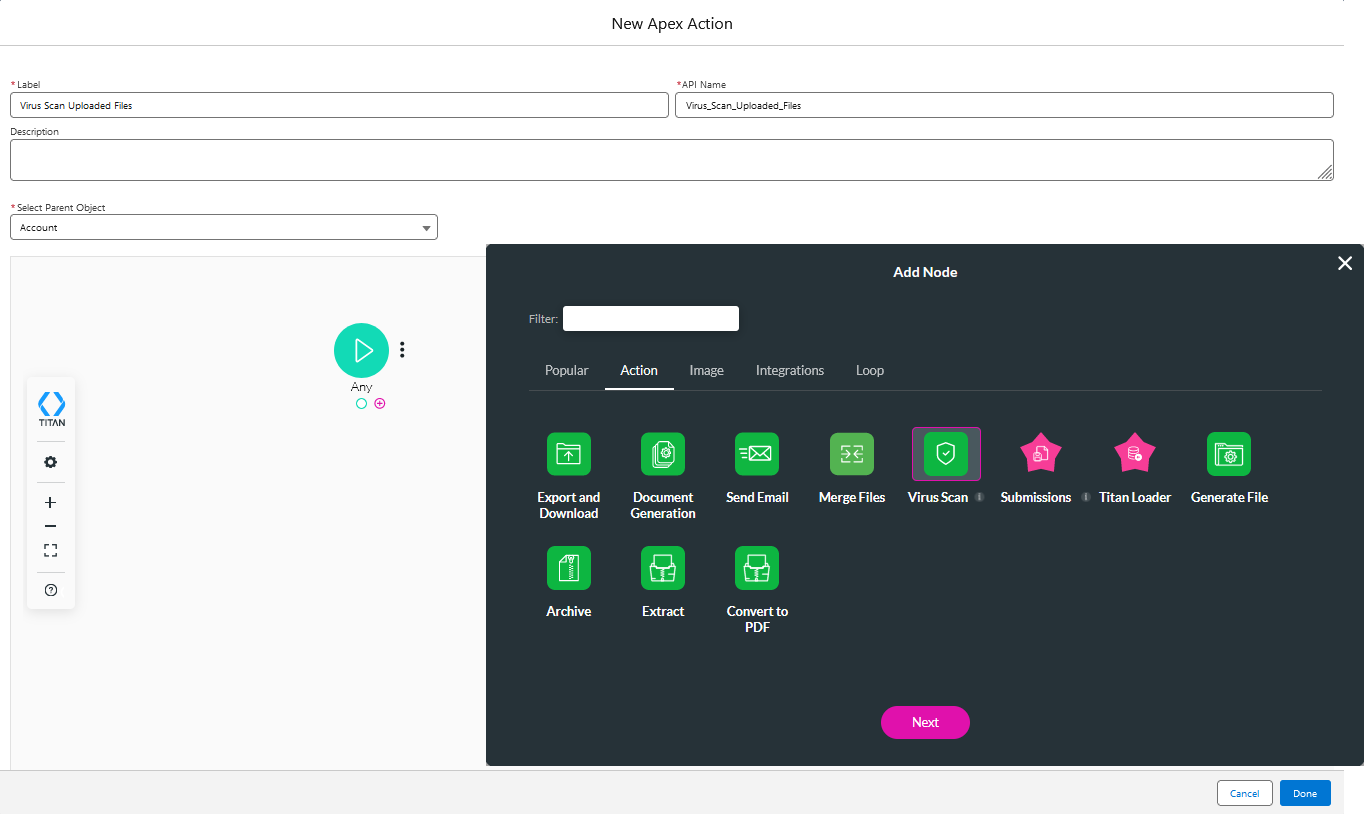
7. Configure the following:
- Label - Virus Scan Uploaded Files
- Parent Object - Account
8. In the Titan Flow window, click the Any + icon and select Virus Scan as the node. Click Next.
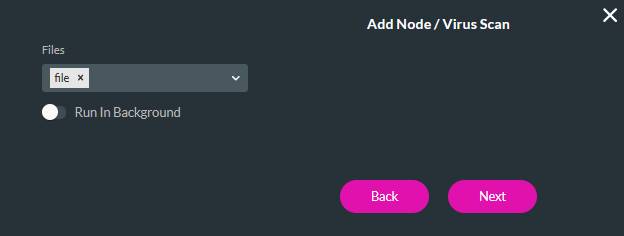
9. Use the Files field to select File and click Next.
10. Add a Tag and click Insert.
03 Run Action if File Fails Virus Scan
Next, we will configure an action to run if the file fails the virus scan.
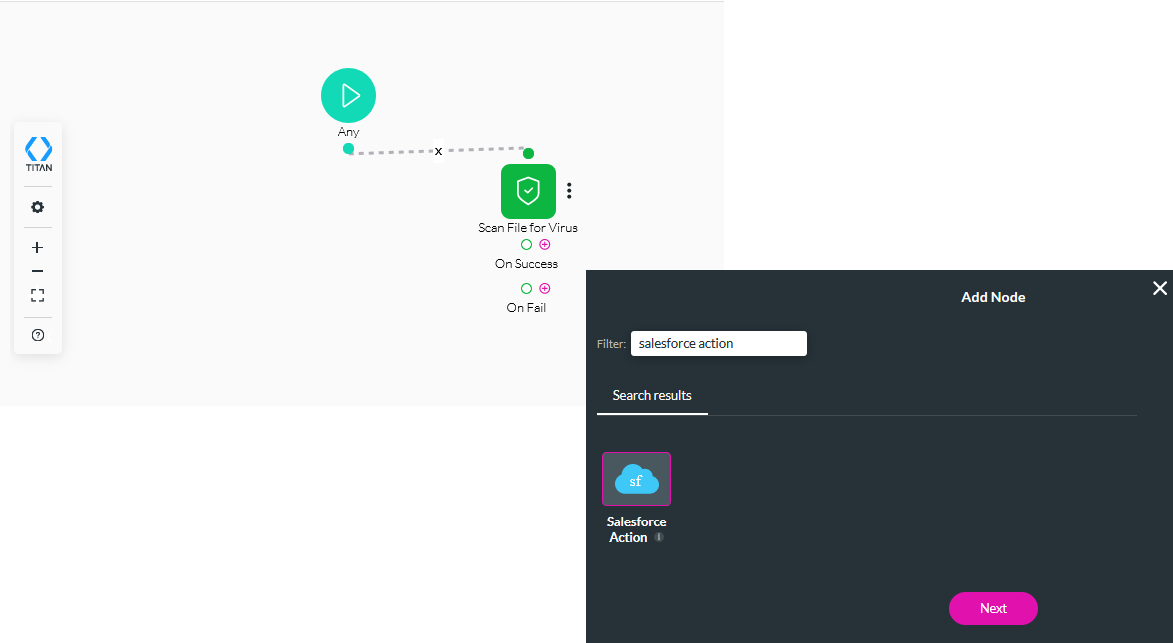
1. Click the On Fail + icon and choose Salesforce Action as the node. Click Next.
2. Click Salesforce Integration.
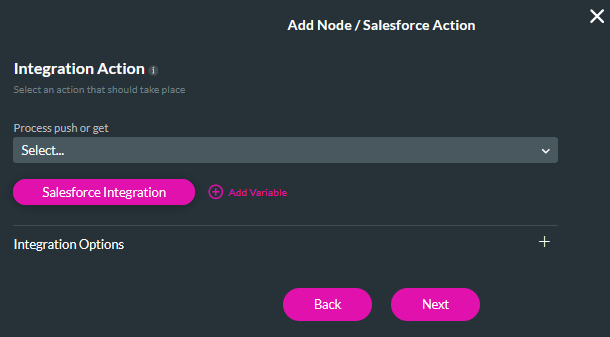
3. Select the Push tab and click Create New.

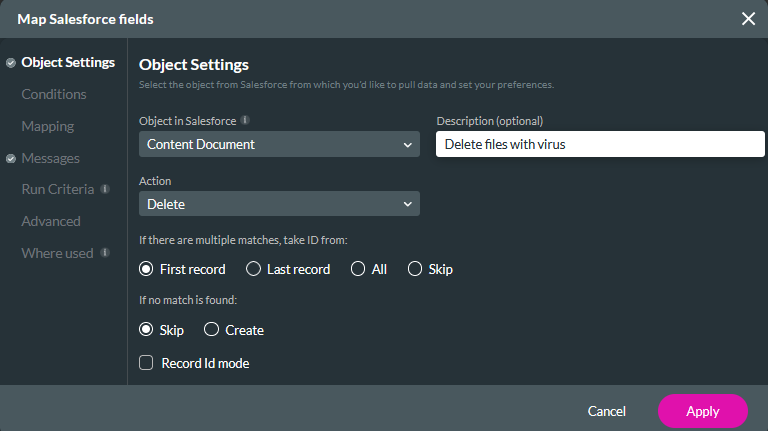
4. In the Object Settings tab configure; Content Document as the Salefsorce Object, Delete as the Action, and add a description.
5. In the Conditions tab, configure that the ContentDocumentID field equals the ContentDocumentId variable. Click Apply and Close.

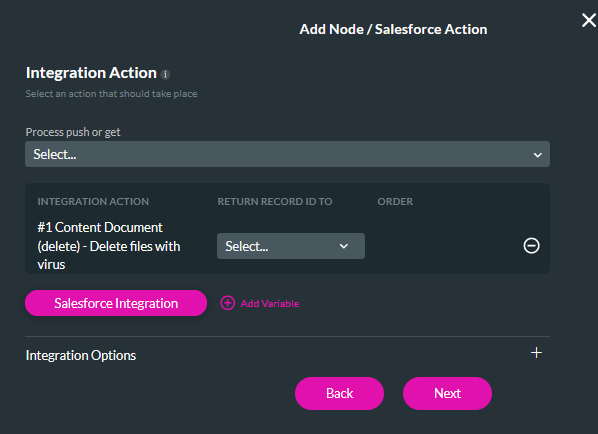
6. Use the dropdown to select the created push and click Next.
7. Add a tag and click Insert.
8. Click the After Finish + icon and choose Send Email as the node. Click Next.

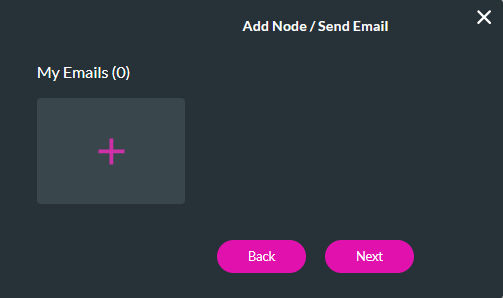
9. Click the + My Emails option.
10. In the Recipients tab, configure the email address the alert must be sent to.

11. In the Send Via tab, select whether the email will be sent via Titan or Salesforce and add a name.

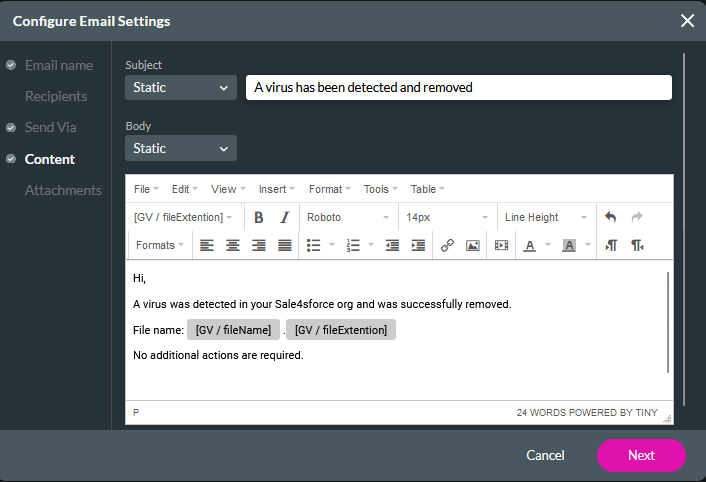
12. In the Content tab, configure the subject and body of your email alert. You can use the All Element dropdown to insert dynamic content that will populate on send. Click Next and Apply.
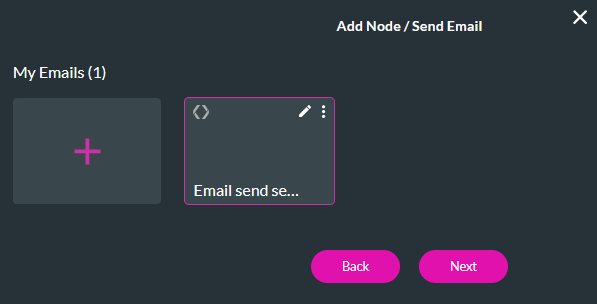
13. Your newly configured email will display in the emails window, select it and click Next.
14. Add a tag name and click Insert.
The current configuration will scan all files added to an Object, if the file fails the virus scan, it is deleted, and an email alert is sent. You can save and activate this flow.
