Manage Templates (5:30 min)
Completion requirements
01 Getting Started
This tutorial covers how to manage templates in Titan Web.
02 Publishing a Document to a Titan Project
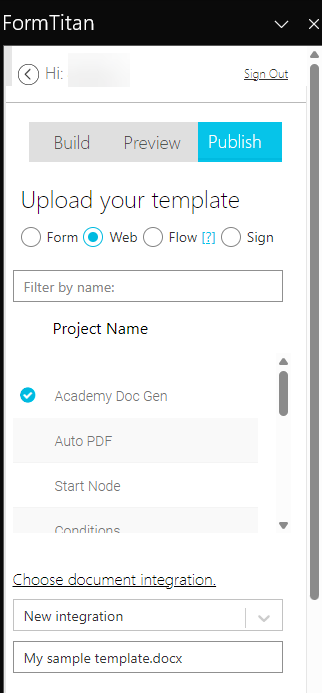
When publishing your Word template, you can publish it to an existing project.
1. Select the type of template and click Existing Form.
2. Choose the Titan project where the document will be published.
3. Select the integration type and enter a document name.
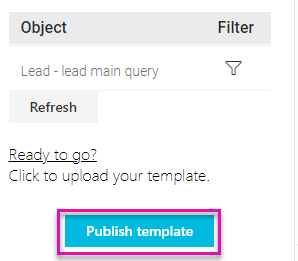
4. Click Publish Template.
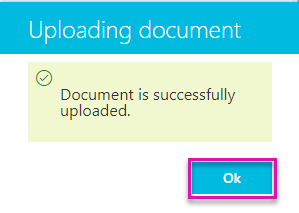
5. Click OK.
1. Select the type of template and click Existing Form.
2. Choose the Titan project where the document will be published.
3. Select the integration type and enter a document name.

4. Click Publish Template.

5. Click OK.

03 Accessing Your Published Templates
1. Select the Project Settings gear icon.
2. Click the Tools tab and select Document Generation.
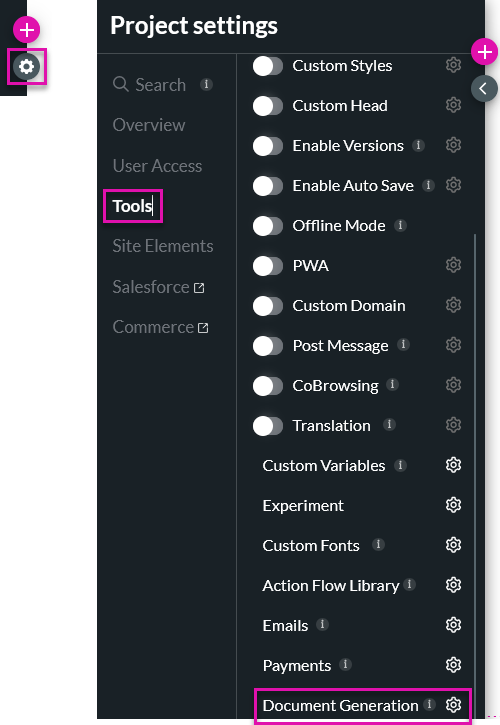
Your uploaded document will be available.
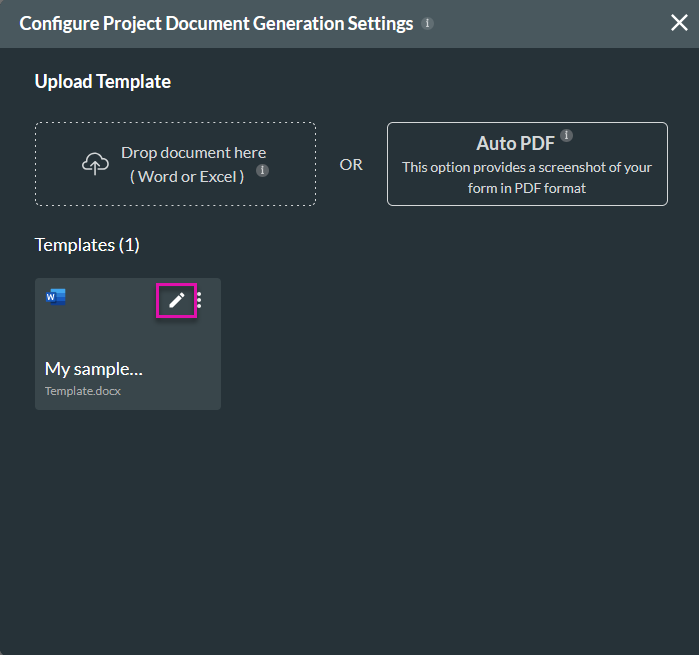
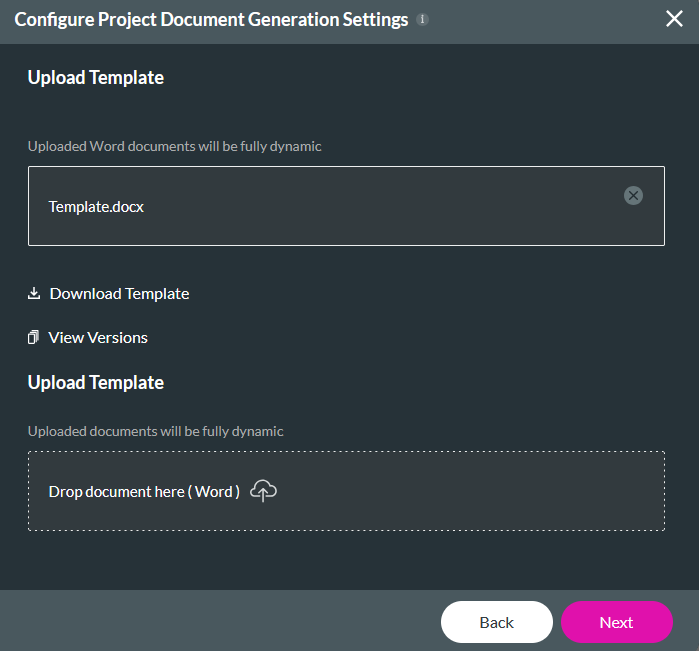
3. To perform actions on the template, click the edit icon. You can download a copy, view versions of your template, or upload a different template. Click Next.
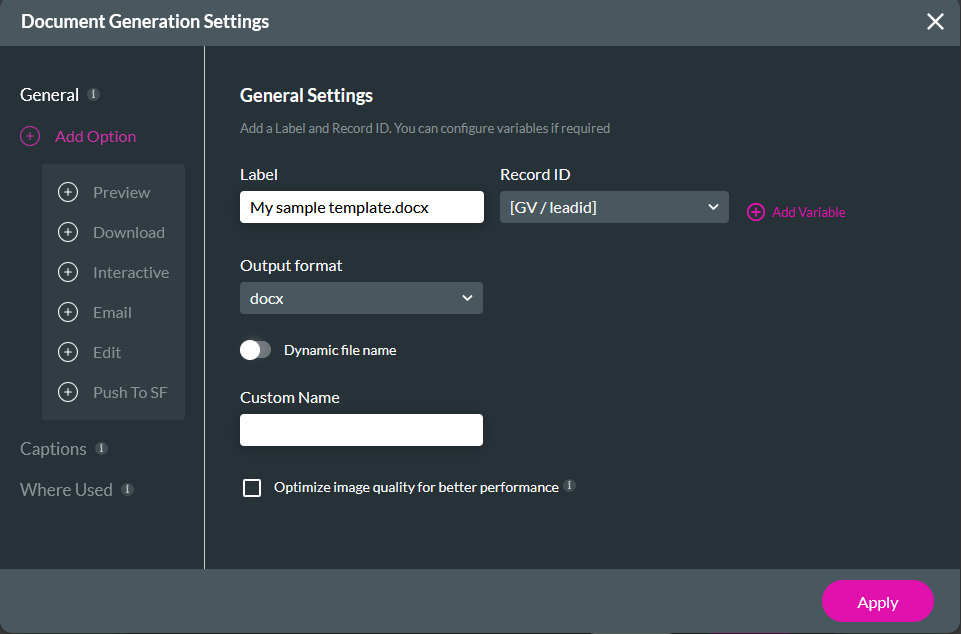
4. Use the dropdown to determine how the RecordID will be passed to your template.
5. Expand the Options menu to configure various document options, for example, email.
If you prefer working in Word, you can make any changes required and republish the document to your Titan Web project.
2. Click the Tools tab and select Document Generation.

Your uploaded document will be available.

3. To perform actions on the template, click the edit icon. You can download a copy, view versions of your template, or upload a different template. Click Next.

4. Use the dropdown to determine how the RecordID will be passed to your template.
5. Expand the Options menu to configure various document options, for example, email.

If you prefer working in Word, you can make any changes required and republish the document to your Titan Web project.