Push Document to Salesforce (6 min)
Completion requirements
01 Getting Started
This tutorial covers how to push a generated Titan Docs file to Salesforce.
02 Pushing to Salesforce
First, create your document in Word and publish it to Titan.
1. Navigate to the Form Settings Menu and expand the Salesforce Integration dropdown.
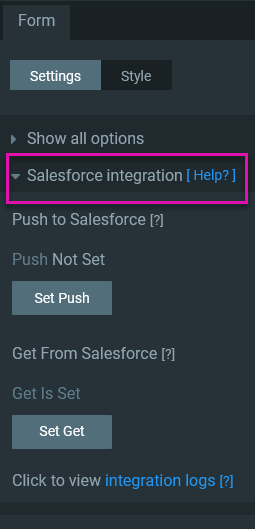
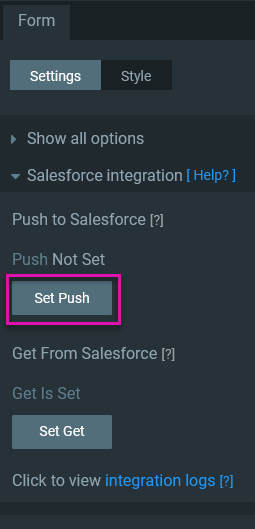
2. Click Set Push. The Push Data window opens.
3. Click the Add Object button to start configuring the push.

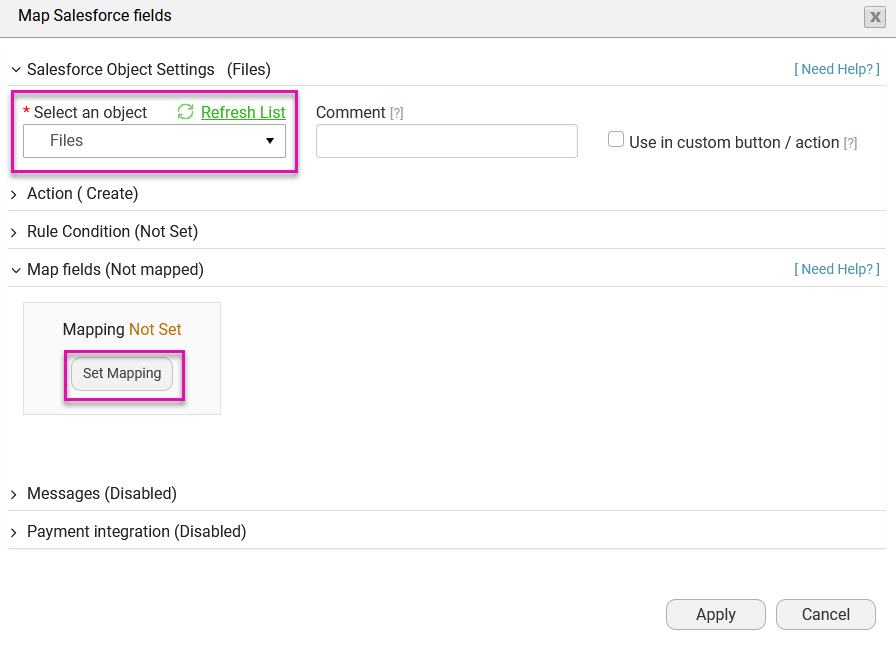
4. Use the Object dropdown to select Files. The Action will automatically be set to Create. For this example, no Rule Condition step is required.
5. Expand the Map Fields dropdown and select Set Mapping.
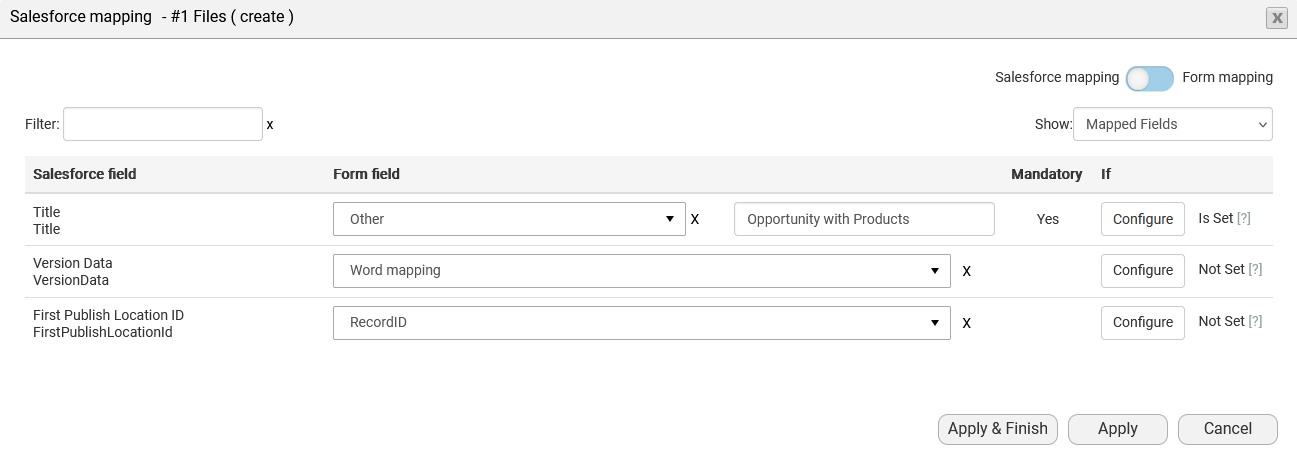
6. Map the following fields at a minimum. Click Apply and Finish.
You can now generate the document directly from your opportunities. To do so, click the FT Generate Document button, select the option from the list, and click Generate.
1. Navigate to the Form Settings Menu and expand the Salesforce Integration dropdown.
2. Click Set Push. The Push Data window opens.
3. Click the Add Object button to start configuring the push.
4. Use the Object dropdown to select Files. The Action will automatically be set to Create. For this example, no Rule Condition step is required.
5. Expand the Map Fields dropdown and select Set Mapping.
6. Map the following fields at a minimum. Click Apply and Finish.
- Title: The title of your document.
- Version Data represents a document's version and format. According to your document, select the corresponding format, such as PDF.
- First Publish Location ID: The Salesforce record you will associate your file with.
You can now generate the document directly from your opportunities. To do so, click the FT Generate Document button, select the option from the list, and click Generate.