Logic - Hidden Fields (7 min)
Completion requirements
01 Getting Started
This tutorial will explore using Hidden Fields with Titan Word for Titan Docs and Sign. Hidden Fields are beneficial in many scenarios.
02 How to Add a Hidden Field
1. Click on FormTitan in your Word Menu and then choose Manage Hidden Fields.

2. Add Hidden Fields by clicking the + Add Field and Save buttons.
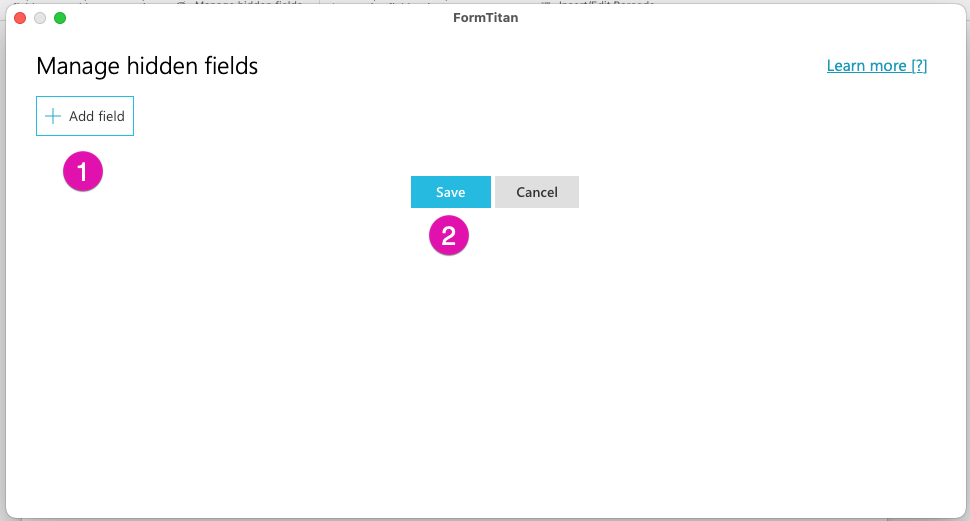
Hidden Fields can be either Static, Web, or Dynamic! Static fields originate from a Web project, and Dynamic fields originate from Salesforce.
2. Add Hidden Fields by clicking the + Add Field and Save buttons.
Hidden Fields can be either Static, Web, or Dynamic! Static fields originate from a Web project, and Dynamic fields originate from Salesforce.
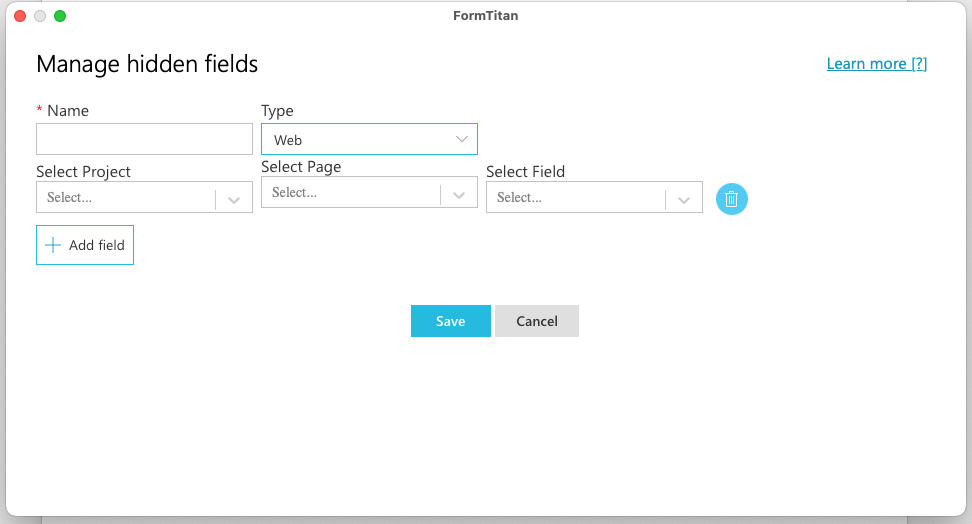
03 Hidden Fields with Web Type
The Web type for hidden fields is pretty awesome, as they can be used to import data from web projects if you are using interactive Doc Gen.
With this type of hidden field, you can easily pass variables directly from your web project. So if you have any project variables, you can pass them seamlessly with Titan to read data according to conditions or queries from Salesforce, and so much more!
With this type of hidden field, you can easily pass variables directly from your web project. So if you have any project variables, you can pass them seamlessly with Titan to read data according to conditions or queries from Salesforce, and so much more!
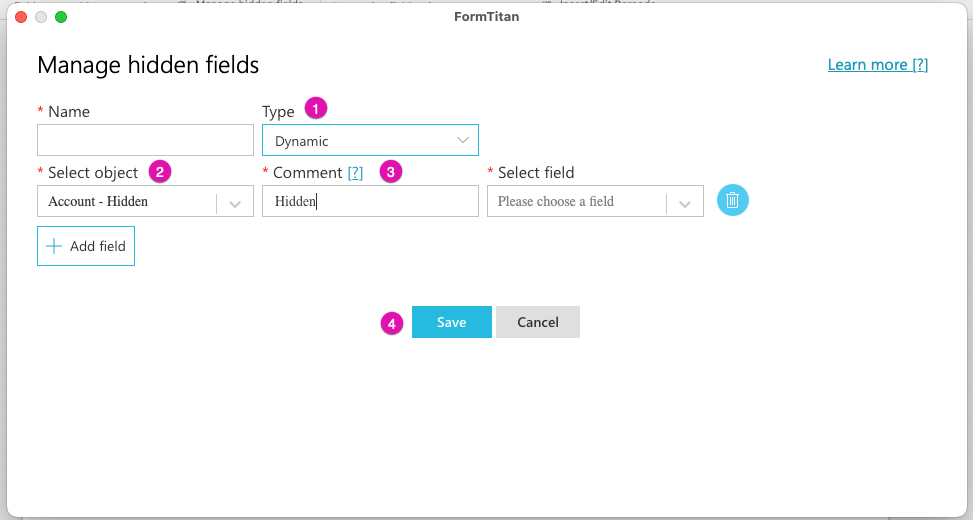
04 Hidden Fields with Dynamic Type
Dynamic field types allow you to pull any record from Salesforce. Just one thing to note, when pulling records from Salesforce to a hidden field, we want to ensure that it has its query!
In our demonstration, we already have some fields mapped from an account, so when we bring data from the Salesforce account, we need to run it on a separate query, like so:
1. Choose the Dynamic option from your Type and select Account from your Select Object drop-down menus.
2. Name your hidden field using the Comment text field before clicking the Save button.
1. Choose the Dynamic option from your Type and select Account from your Select Object drop-down menus.
2. Name your hidden field using the Comment text field before clicking the Save button.
05 How to Add a Static Condition
There are many use cases for hidden fields, but the simplest one is to use a Static condition.
Follow these simple steps!
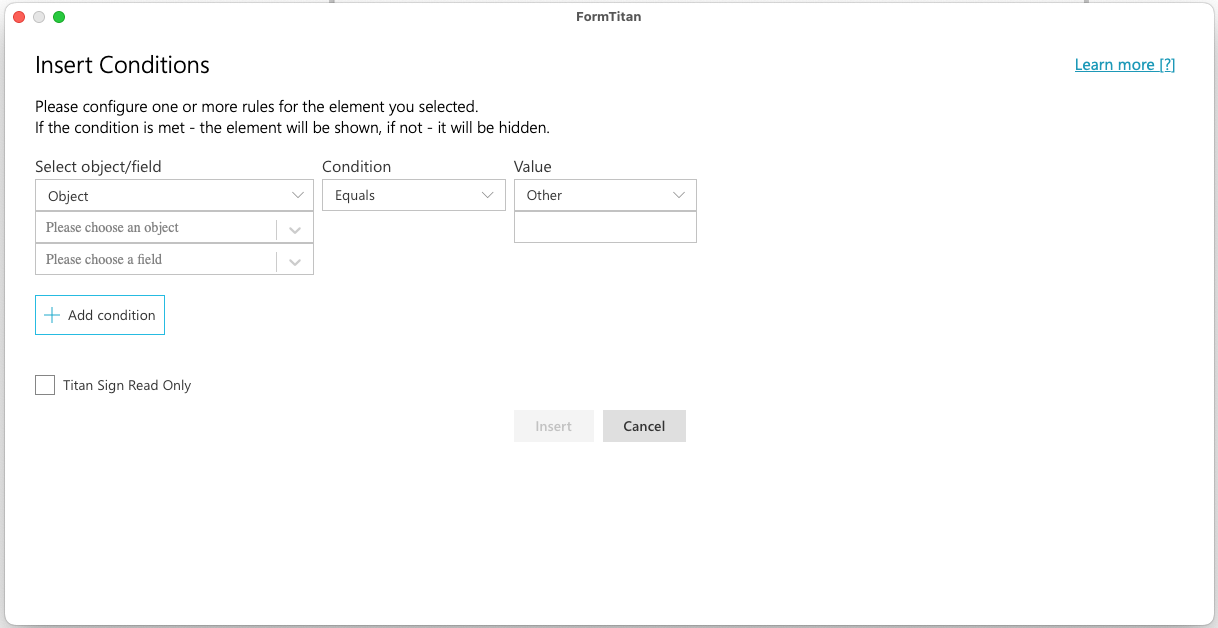
1. Click on Insert/Edit formula within the FormTitan menu.

2. Run a condition on your Account by filling out the options in the Insert Conditions settings that pop up and clicking the Insert button to finish.

Follow these simple steps!
1. Click on Insert/Edit formula within the FormTitan menu.
2. Run a condition on your Account by filling out the options in the Insert Conditions settings that pop up and clicking the Insert button to finish.
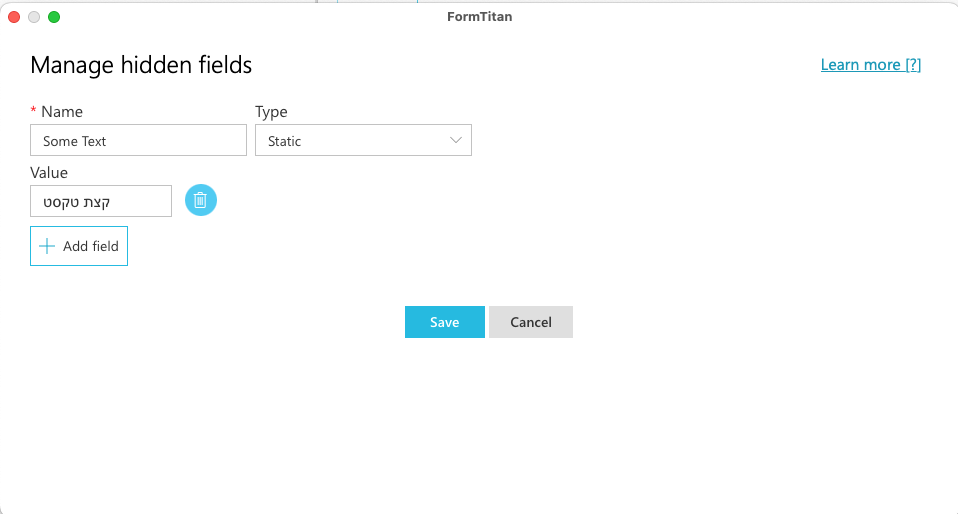
06 Hidden Fields with Static Type
1. Click on Manage Hidden Fields to access your Static Field options.
2. Choose the Static option from your Type drop-down menu and add a name to the Name field.
3. Add a value to your Value field and click the Save button.
For this tutorial, we will name the static hidden field “Some Text” and note that we can use Hebrew text in our fields.
4. Return to your condition and configure it before clicking the Insert button.
Remember, your hidden fields can be dynamic, brought from a web project, and so forth, according to your business needs.
07 Simple Use Case - Dynamic Hidden Field
Another cool thing with Hidden Fields is to go back to a condition to look at the parent record of a current record. An everyday use case for this would be to look at the parent account and decide whether to display a particular field. Again, this configuration can be used for conditions, filters, and more!
It’s extremely powerful, and you can achieve it by following the steps below:
1. Click on Manage Hidden Fields and then the + Add Field button.
2. Fill out the Name field, and choose the Dynamic option from the Type drop-down menu.
3. Configure a query by selecting your object from the drop-down menu, setting a name using the Comment field, and choosing a field using the Select Field drop-down menu.
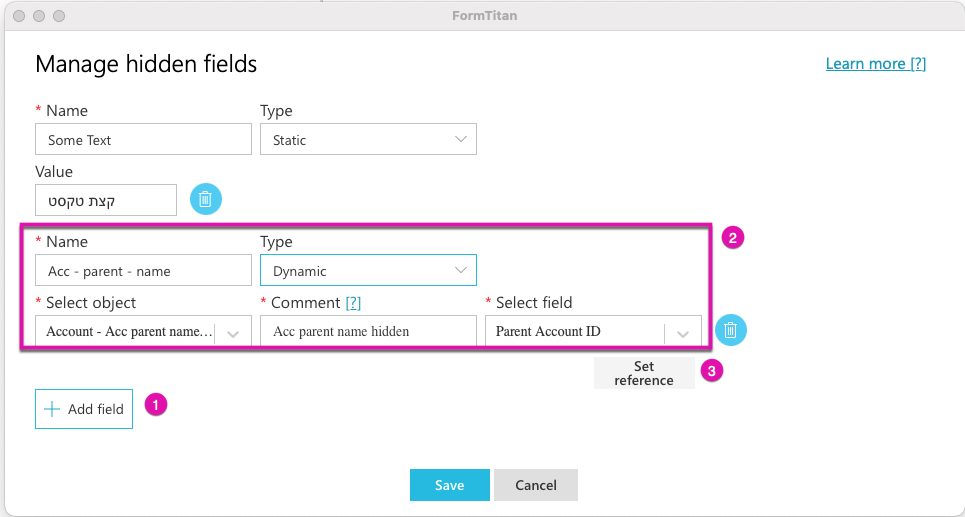
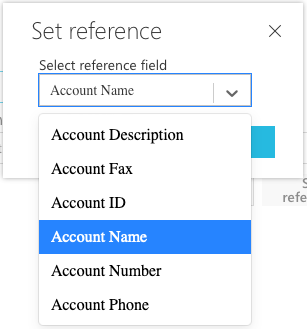
4. Click the Set reference button to select a reference field from the drop-down menu.
5. Then you can click the Save buttons on all the screens to finish your configuration.
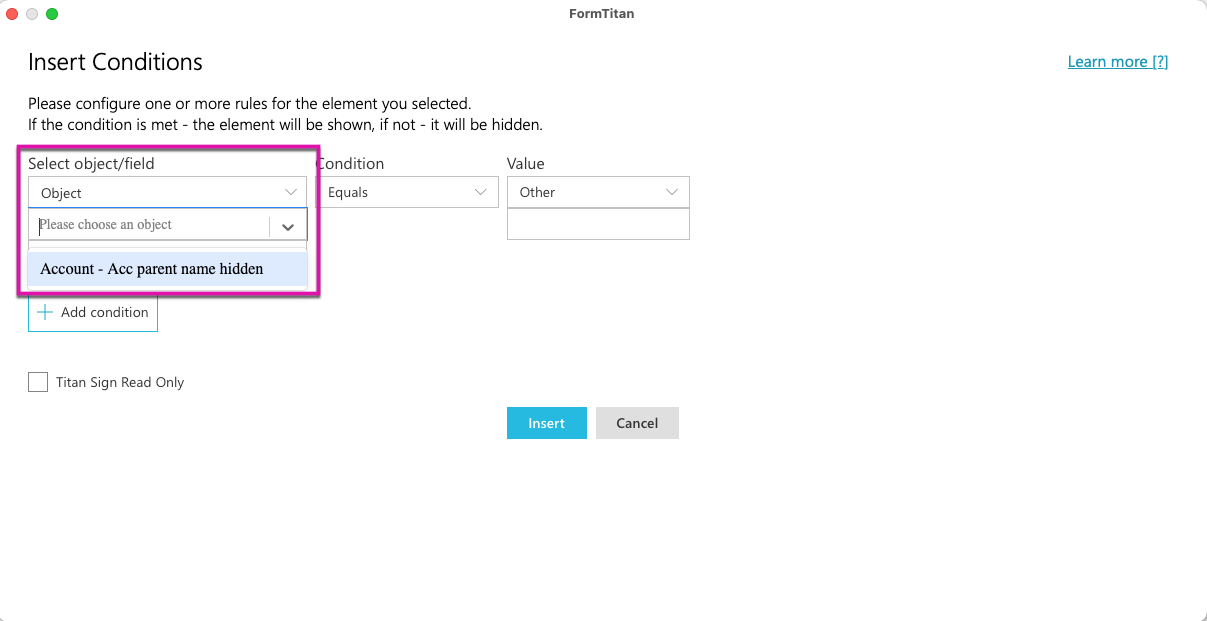
6. Now, to configure your condition, click on the Insert/ Edit Condition button, and you can also look at that hidden field.

It’s extremely powerful, and you can achieve it by following the steps below:
1. Click on Manage Hidden Fields and then the + Add Field button.
2. Fill out the Name field, and choose the Dynamic option from the Type drop-down menu.
3. Configure a query by selecting your object from the drop-down menu, setting a name using the Comment field, and choosing a field using the Select Field drop-down menu.
4. Click the Set reference button to select a reference field from the drop-down menu.
5. Then you can click the Save buttons on all the screens to finish your configuration.
6. Now, to configure your condition, click on the Insert/ Edit Condition button, and you can also look at that hidden field.
08 How to Configure Filters for Hidden Fields
One thing to notice with hidden fields is that you want to ensure that objects have queries and are filtered correctly.
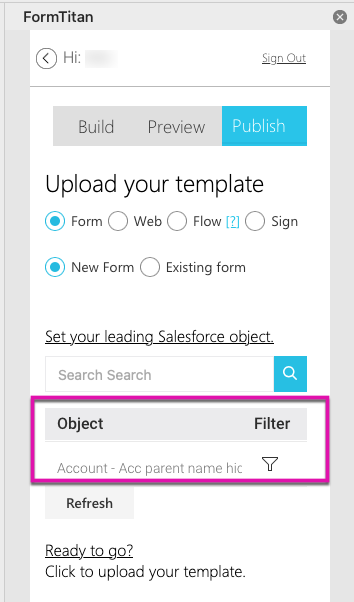
1. Click the filter icon and then the Configure Condition button to set up your conditions.
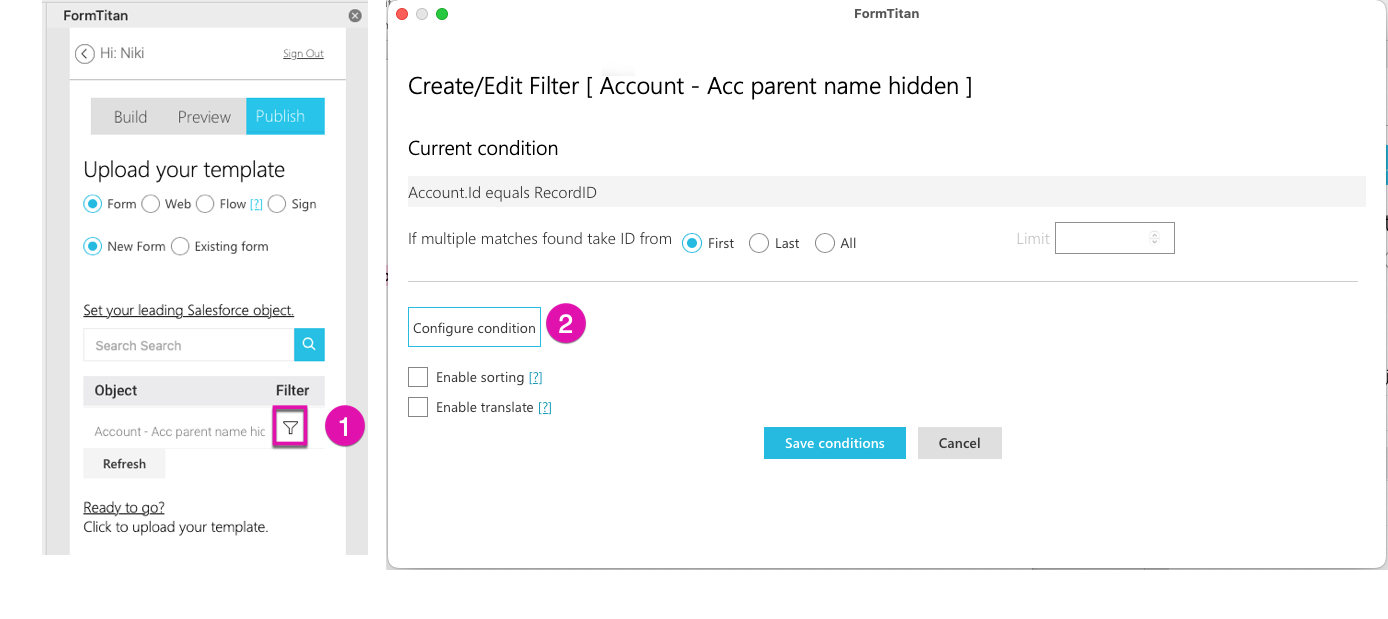
2. Set your conditions with the drop-down menus. In our tutorial, we needed the configuration to have the Account ID in the hidden field equal to the parent ID from which we needed to pull data.

You must set up the correct filters, especially if you query anything under the hidden field!
1. Click the filter icon and then the Configure Condition button to set up your conditions.
2. Set your conditions with the drop-down menus. In our tutorial, we needed the configuration to have the Account ID in the hidden field equal to the parent ID from which we needed to pull data.
You must set up the correct filters, especially if you query anything under the hidden field!