Logic - Filters (11 min)
Completion requirements
01 Getting Started
This tutorial will cover setting up query filters.
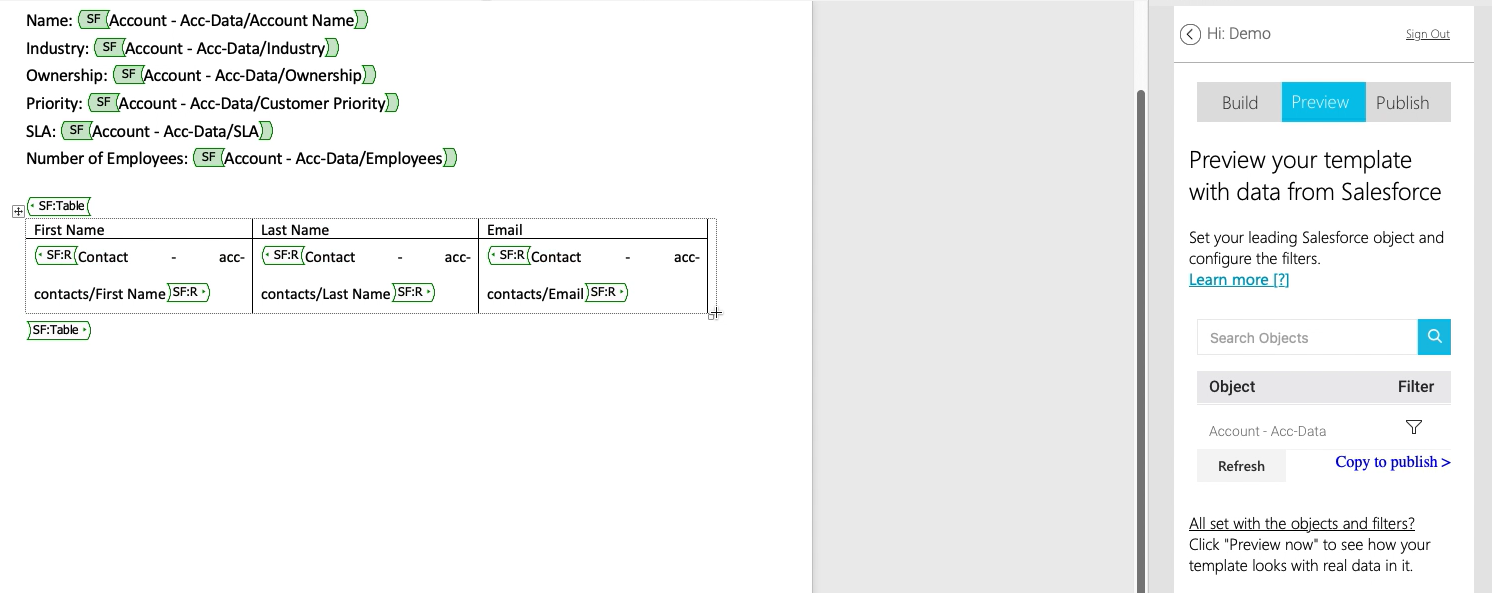
This form consists of two types of data: parent primary data and related child data. The parent data has already been configured using the Insert/Edit fields button. The added fields are from the account object, which is the parent object of the document.
Each document has only one parent object (this filter will be listed first). You can change the order of the filters, but it is critical to understand that each filter runs chronologically. The parent object will usually leverage the record ID in its filter because there is no previous filter to pull results. All objects that follow the parent object can be independent or use the results from the previous filters.
Note: When you create a document in Titan from a Salesforce record (like an Opportunity or Account), the record ID is automatically passed in the background. This tells Titan which record’s data to use. If you're not launching from a record page, paste a valid ID from your org to test.
02 Inserting a Table
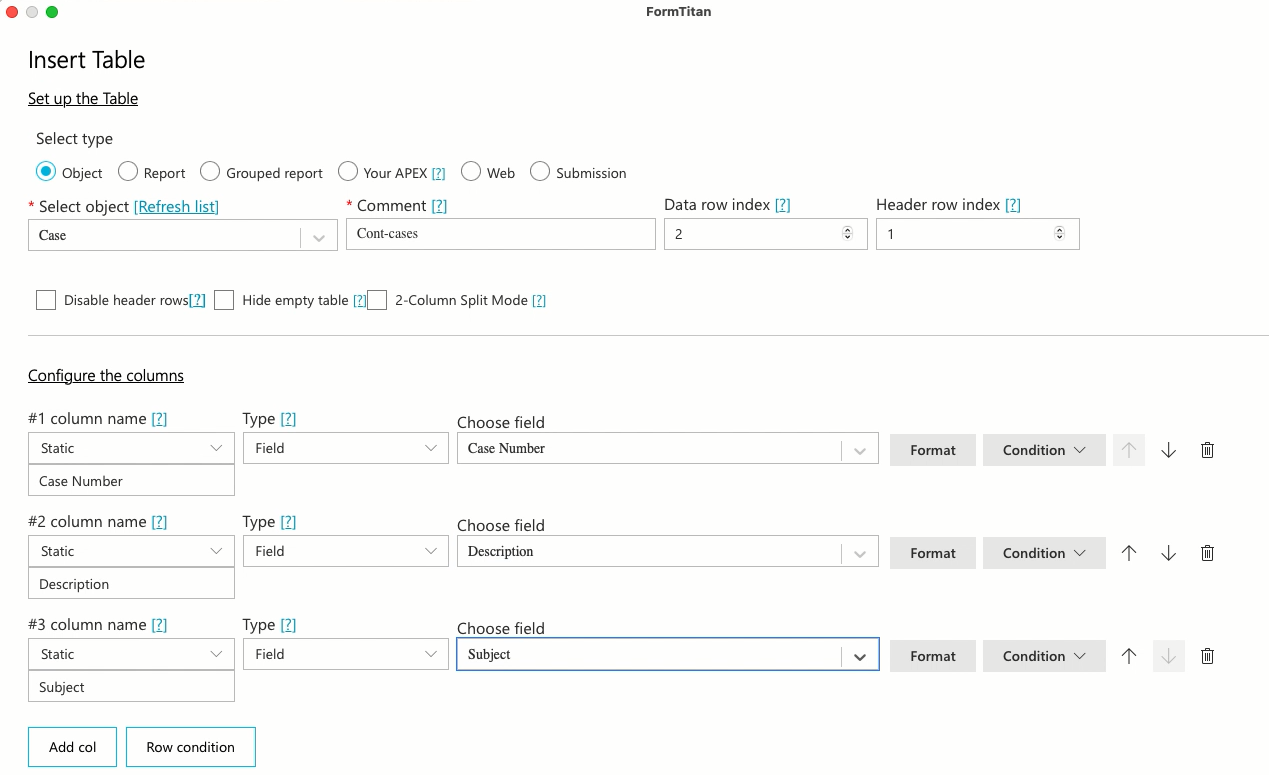
1. Click the Insert/Edit table button in the top ribbon. The Insert Table window opens.
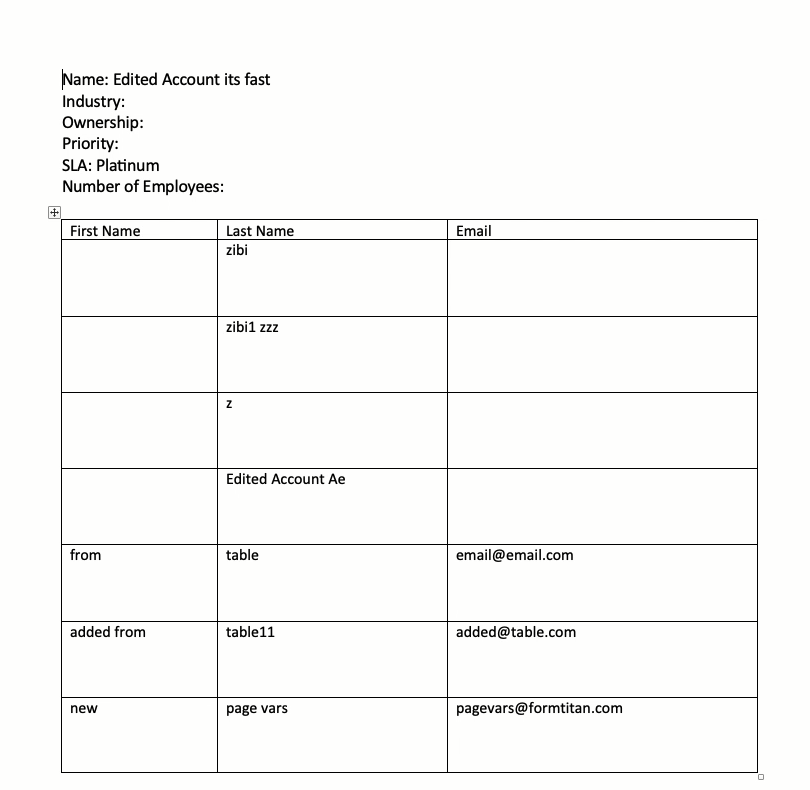
2. Use the drop-downs to configure what Salesforce data to display in your table. For example, we want to show Contacts. Once your configuration is completed, click Insert Table.
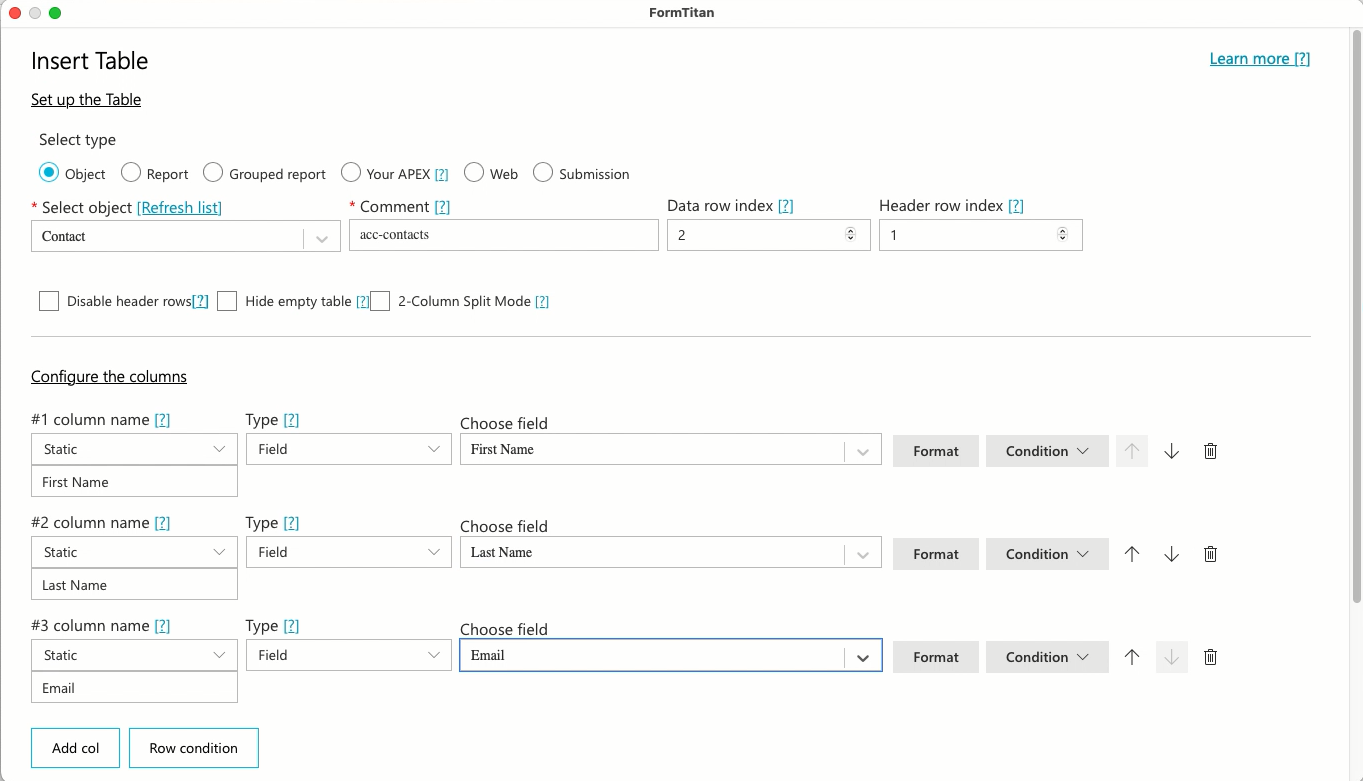
The table will display in your document.
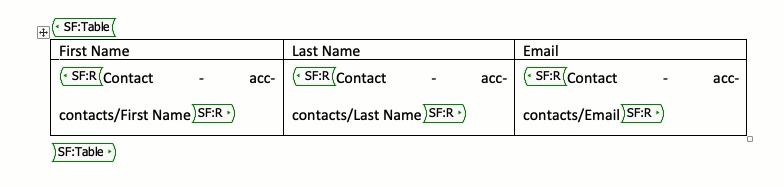
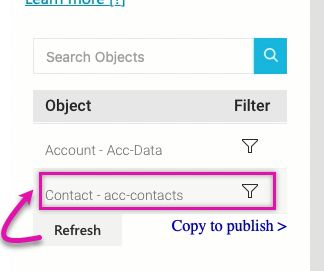
3. Click the Refresh button in the Form Titan window. The contact object will be displayed. After making changes to your document, you will need to refresh the filter to keep the options up to date.
2. Use the drop-downs to configure what Salesforce data to display in your table. For example, we want to show Contacts. Once your configuration is completed, click Insert Table.
The table will display in your document.
3. Click the Refresh button in the Form Titan window. The contact object will be displayed. After making changes to your document, you will need to refresh the filter to keep the options up to date.
03 Adding Filters to the Parent Data
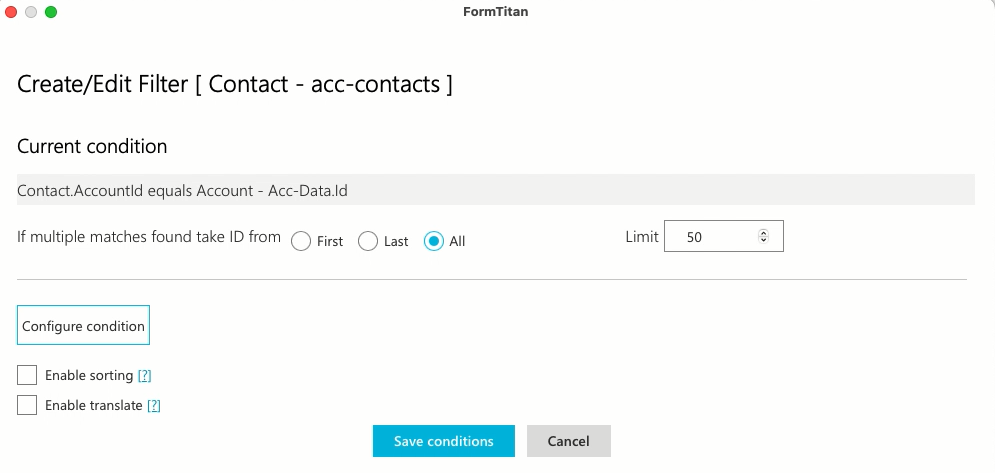
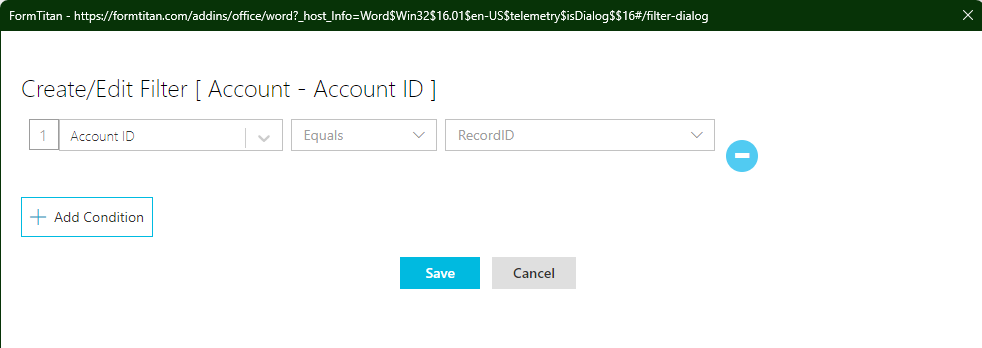
1. Click on the filter icon next to the object. The Create/Edit Filter screen opens.
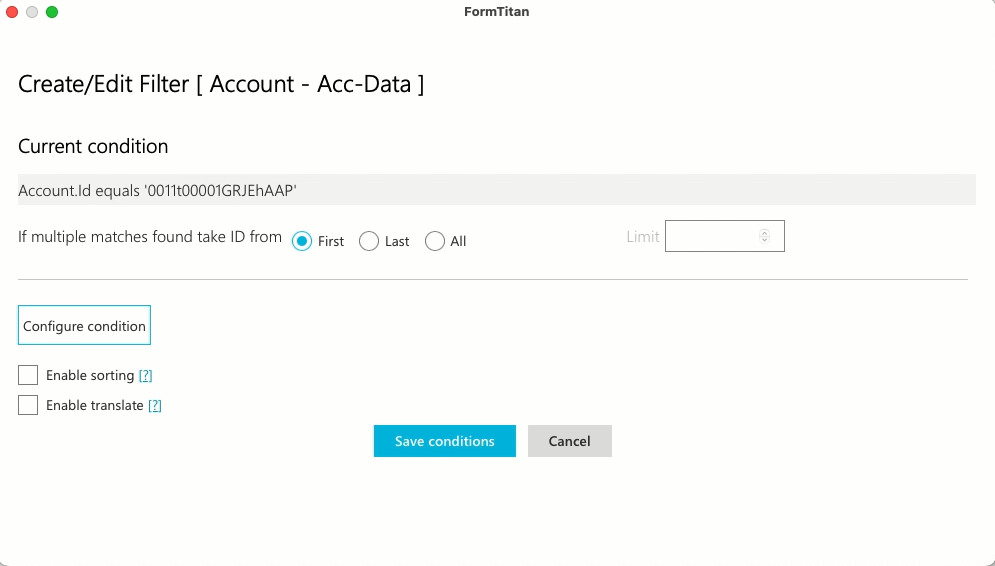
2. To view a specific record, click the Configure Condition button.
3. Use the drop-downs to configure your condition. For example, the Account ID must equal a specific value.
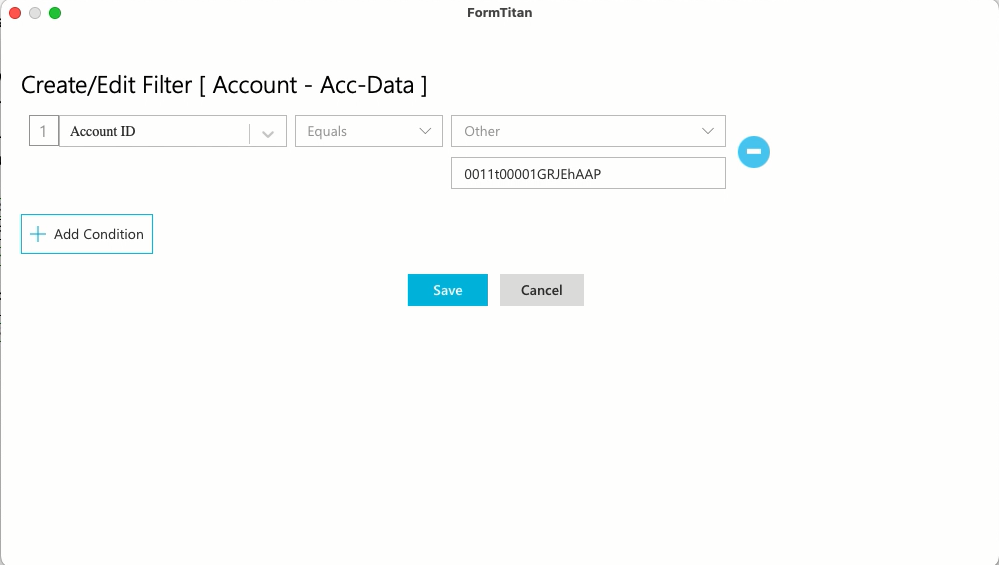
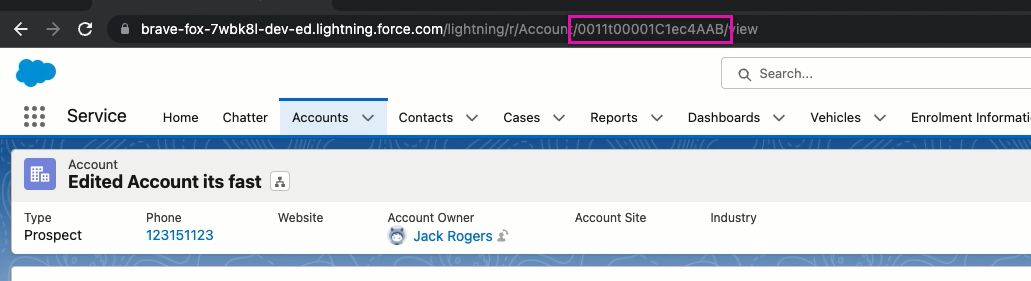
The account ID information can be found in your Salesforce account.
4. Click Save Conditions once the configuration is complete.
2. To view a specific record, click the Configure Condition button.
3. Use the drop-downs to configure your condition. For example, the Account ID must equal a specific value.
The account ID information can be found in your Salesforce account.
- Choose the Account you want to sync data from and copy the number provided in the URL.
4. Click Save Conditions once the configuration is complete.
04 Adding Filters to the Related Data
1. Click on the filter icon next to the related data object. The Create/Edit Filter screen opens.
2. Use the drop-downs to configure the filter to match the condition created for the Parent data. Note that it does not have to be the parent data; this option is used in this tutorial. Click save once your configuration is complete.
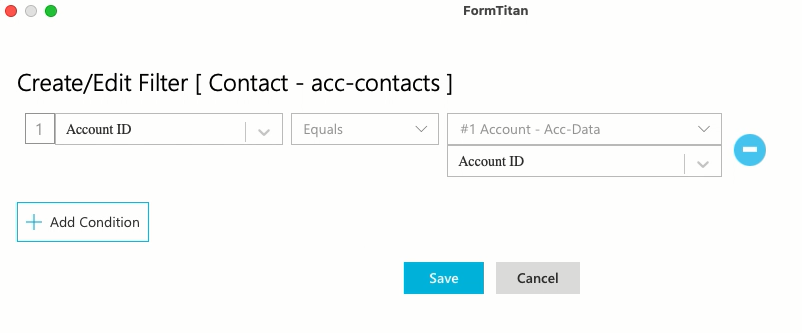
3. Review your current conditions and click Save Conditions.
2. Use the drop-downs to configure the filter to match the condition created for the Parent data. Note that it does not have to be the parent data; this option is used in this tutorial. Click save once your configuration is complete.
3. Review your current conditions and click Save Conditions.
05 Preview your Document
1. Click the Preview Now button. This will generate a preview of the document's display after defining all the filters for the chosen objects.
06 Inserting a Section
1. Click the Insert/Edit section button located in the top ribbon. The Insert Section window opens.
2. Use the dropdowns to configure your section. For example, click Contacts and click Insert.
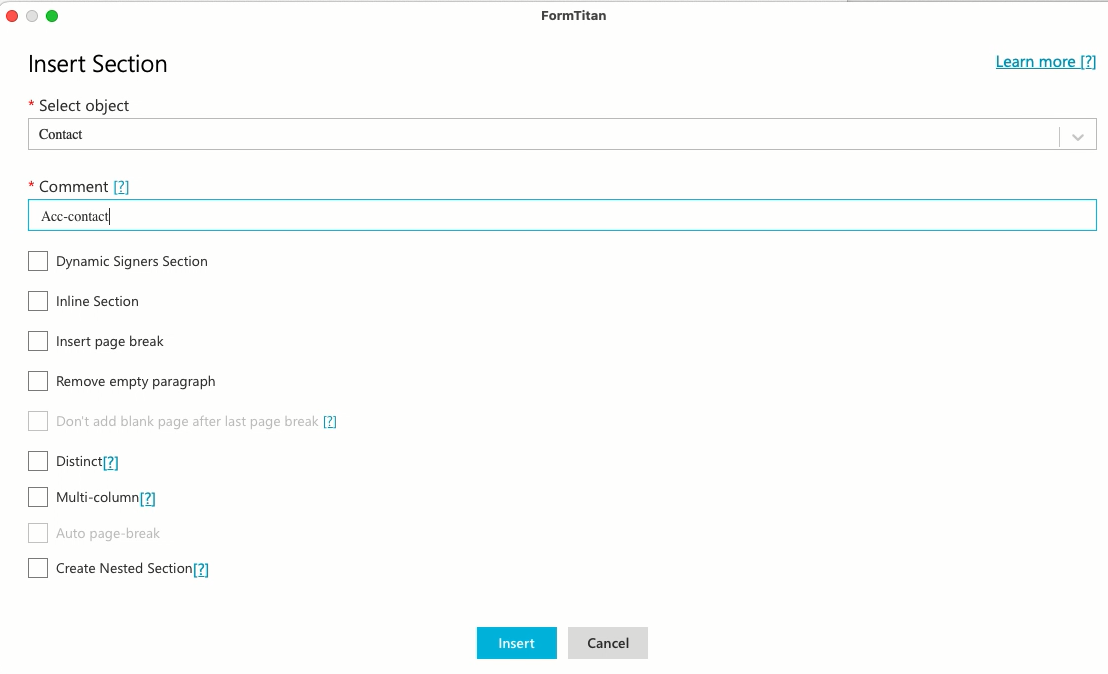
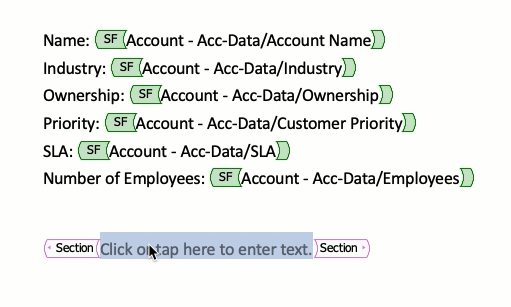
Your section is displayed in the document. Add static text to the section or insert fields, tables, and subsections.
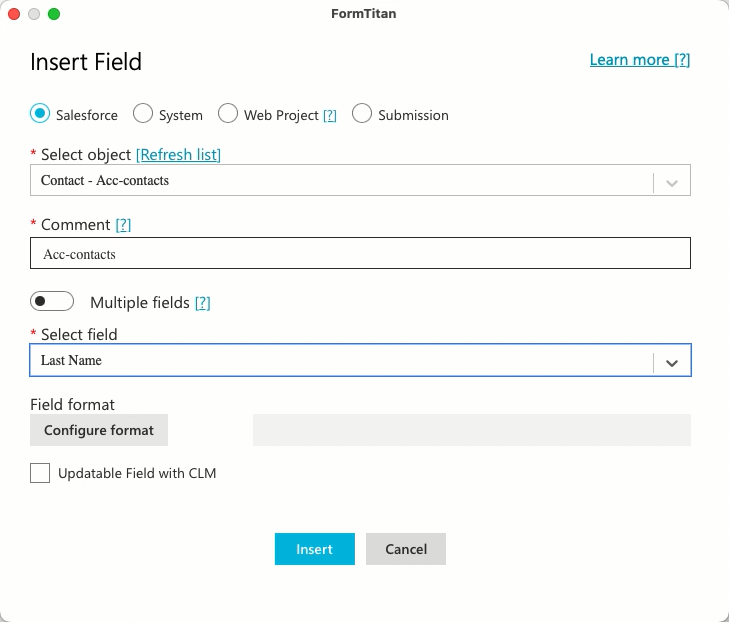
3. Click the Insert/Edit field button in the top ribbon. The Insert Field window opens.
4. Use the dropdowns to configure what information to display in the section—for example, the contact’s Last Name. Click Insert.
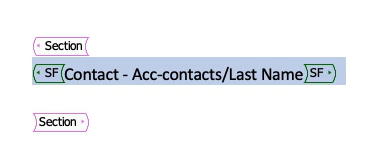
The inserted field is displayed in the section.
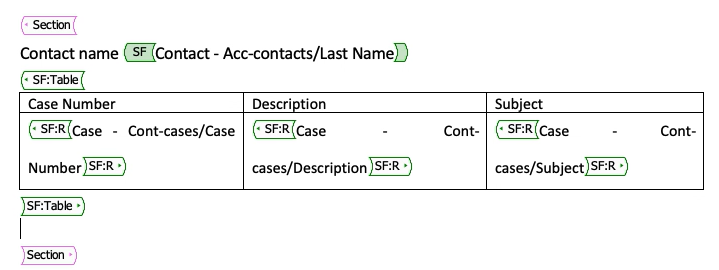
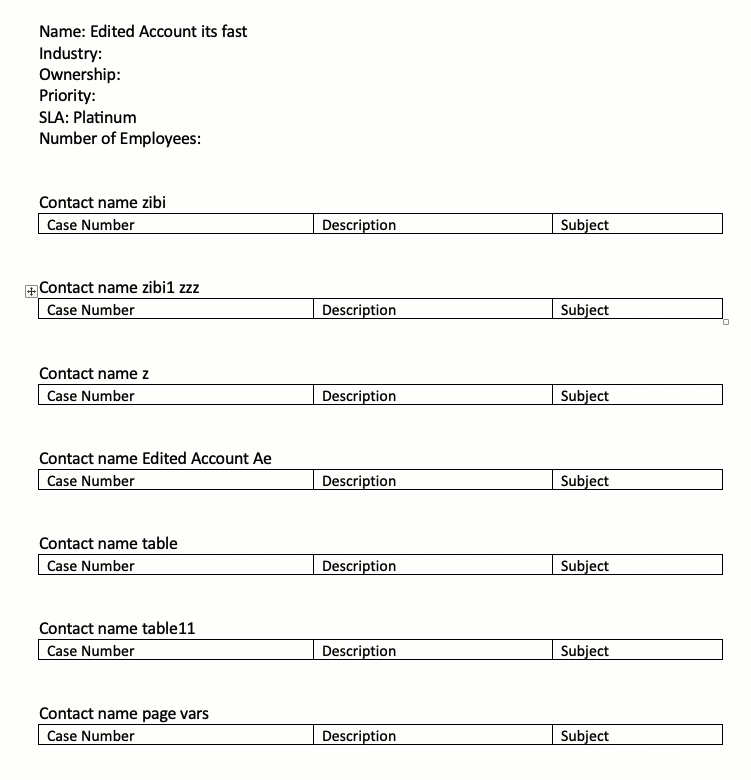
You can also insert a table within your section to display related cases. Follow the same steps above to insert a table showing data related to the contact.
The inserted table is displayed within the section.
2. Use the dropdowns to configure your section. For example, click Contacts and click Insert.
Your section is displayed in the document. Add static text to the section or insert fields, tables, and subsections.
3. Click the Insert/Edit field button in the top ribbon. The Insert Field window opens.
4. Use the dropdowns to configure what information to display in the section—for example, the contact’s Last Name. Click Insert.
The inserted field is displayed in the section.
You can also insert a table within your section to display related cases. Follow the same steps above to insert a table showing data related to the contact.
The inserted table is displayed within the section.
07 Adding Filters to a Section
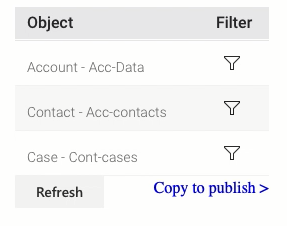
1. Click the refresh icon to display the latest filters. Note that the related filter must always be displayed under the parent filter.
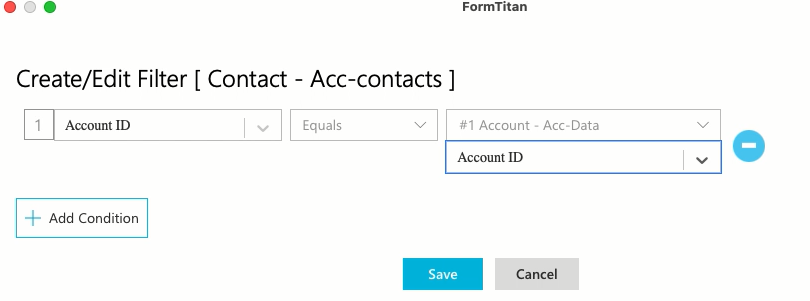
2. Click the filter icon next to the Contact field. The Create/Edit Filter window opens.
3. Use the dropdowns to configure your condition. For example, the account ID must equal the Account data. Click Save.
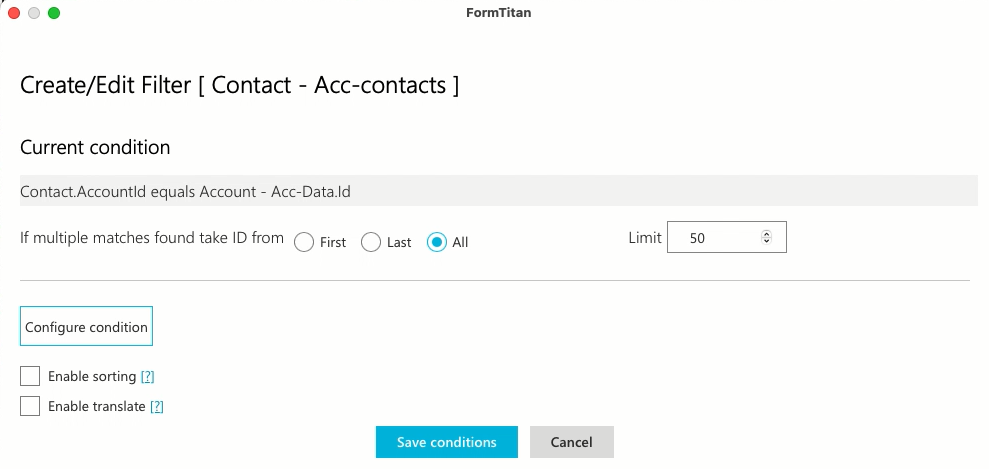
4. Review your current condition and click Save Conditions.
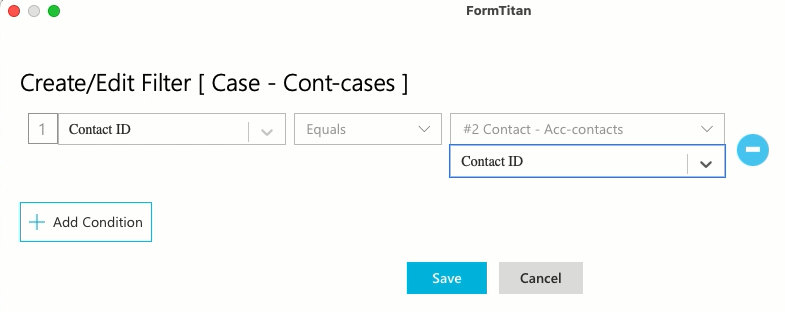
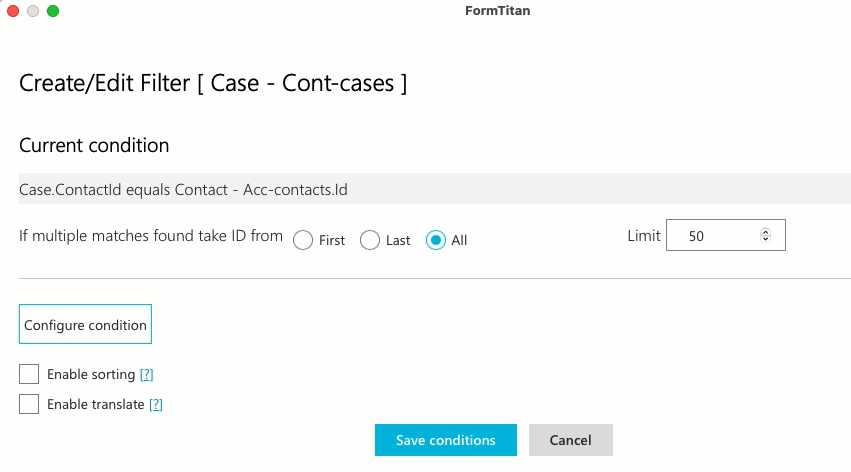
5. Click the filter icon next to the Case field. The Create/Edit Filter window opens.
6. Use the dropdowns to configure your condition. For example, the Contact ID must equal the Account Contact. Click Save.
7. Review your current condition and click Save Conditions.
2. Click the filter icon next to the Contact field. The Create/Edit Filter window opens.
3. Use the dropdowns to configure your condition. For example, the account ID must equal the Account data. Click Save.
4. Review your current condition and click Save Conditions.
5. Click the filter icon next to the Case field. The Create/Edit Filter window opens.
6. Use the dropdowns to configure your condition. For example, the Contact ID must equal the Account Contact. Click Save.
7. Review your current condition and click Save Conditions.
08 Preview your Document
1. Click the Preview Now button. This will generate a preview of how the document will display once published.
09 Publishing your Document
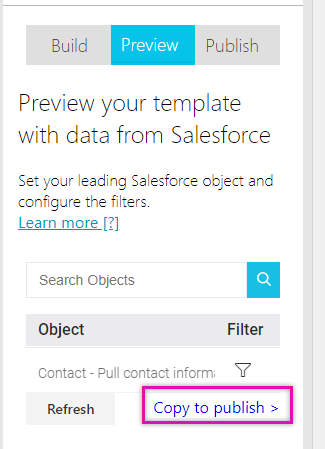
1. Click Copy to Publish to copy your current preview filters to the publish tab.
2. Click the Publish Tab.
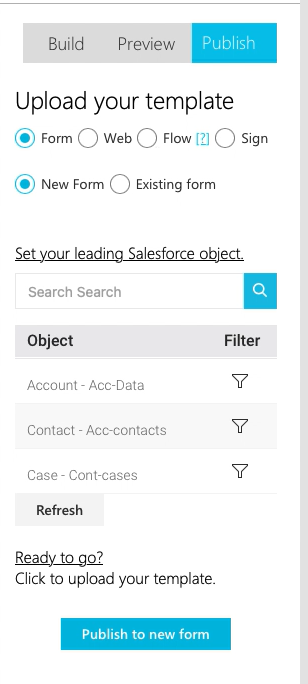
3. Click on the filter icon next to each object and review the filters. Look for any static values. For example, your Account ID must now be mapped to an object in Salesforce and not display the static value used previously.
2. Click the Publish Tab.
3. Click on the filter icon next to each object and review the filters. Look for any static values. For example, your Account ID must now be mapped to an object in Salesforce and not display the static value used previously.