Layout - Images (8 min)
Completion requirements
01 Getting Started
This tutorial will cover images and how to import them into your document using the Titan Word plugin.
There are three methods you can use:
There are three methods you can use:
- Using a rich text field
- From a URL
- From a file object (also known as a content version)
02 Rich Text Field
This method requires storing an image in a rich text field in a Salesforce Object.
1. Navigate to your Salesforce account and open an Object.
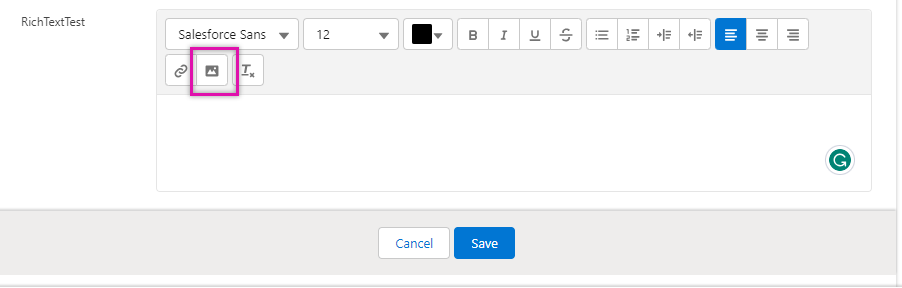
2. Select your text-rich field and click the image logo.
3. Use the file explorer to find the image you want to upload and click open.
4. Click Save inside the text-rich area field. Your image is displayed.

5. Navigate back to your Word document.
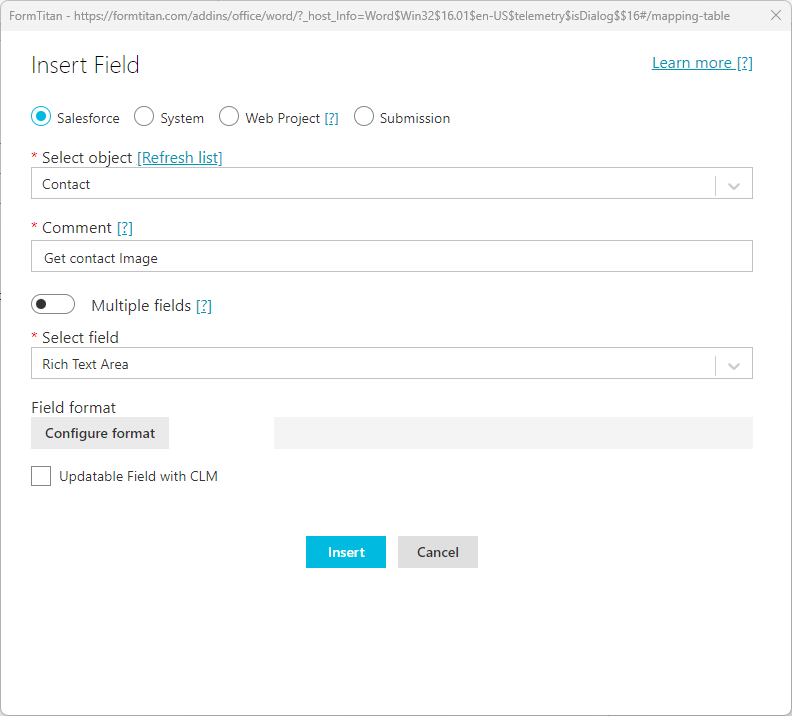
6. Click the Insert/Edit field button. The Insert Field opens.

7. Use the dropdowns to select the Salesforce object to which the image was uploaded. For example, the image was saved to the Rich Text Area field for the Contact.
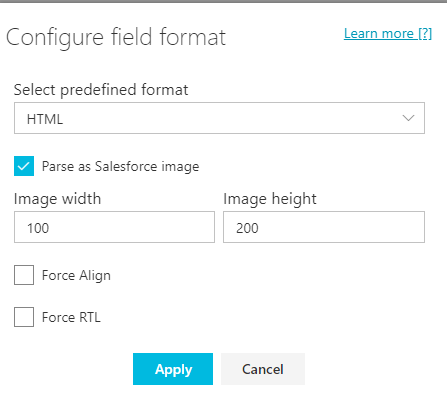
8. Click the configure format button to ensure your image renders correctly. The Configure field format screen opens.
9. Use the format dropdown to select the correct format. For images stored in rich text fields, select:
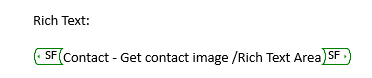
The image field is displayed in the document.
1. Navigate to your Salesforce account and open an Object.
2. Select your text-rich field and click the image logo.
3. Use the file explorer to find the image you want to upload and click open.
4. Click Save inside the text-rich area field. Your image is displayed.
5. Navigate back to your Word document.
6. Click the Insert/Edit field button. The Insert Field opens.
7. Use the dropdowns to select the Salesforce object to which the image was uploaded. For example, the image was saved to the Rich Text Area field for the Contact.
8. Click the configure format button to ensure your image renders correctly. The Configure field format screen opens.
9. Use the format dropdown to select the correct format. For images stored in rich text fields, select:
- Inline HTML: This will render the image aligned with all other content in your document.
- HTML: This will render the image with no formatting.
The image field is displayed in the document.
03 URL
This method requires storing a public URL image link in a field.
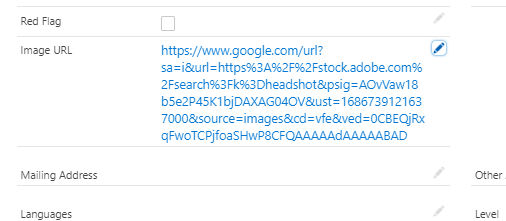
1. Navigate to your Salesforce account and open an object.
2. Add the image URL to the URL field. This must be a public link to the available Image.
3. Navigate back to your Word document.
4. Click the Insert/Edit field button. The Insert Field opens.

5. Use the dropdown menus to select the Salesforce object to which the image URL was uploaded, such as the Image URL field for the Contact.
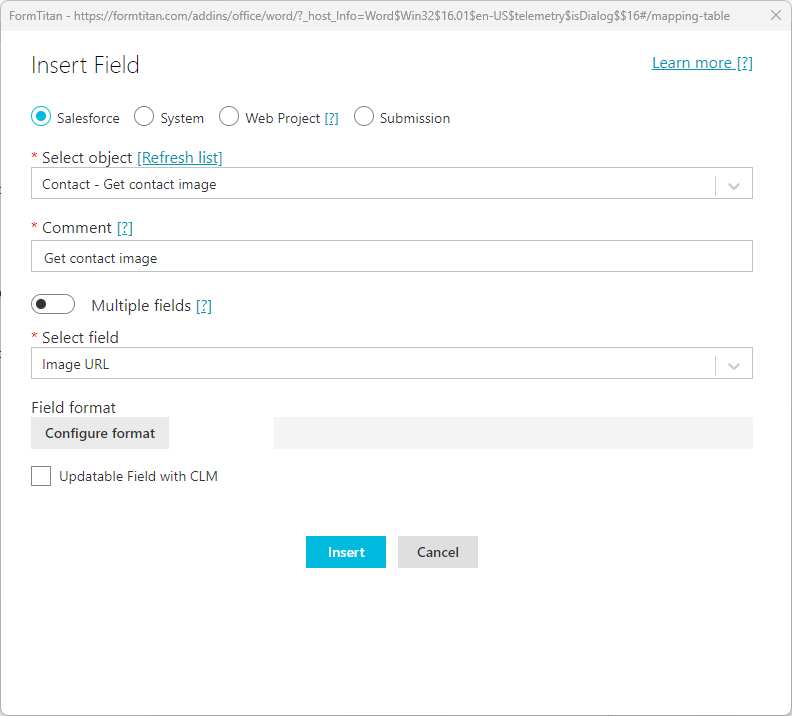
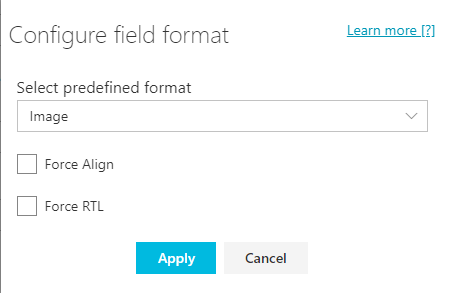
6. Click the configure format button to ensure your Image renders correctly. The Configure field format screen opens.
7. Use the format dropdown to select the correct format. For images rendered by URL, choose Image. Click Apply.
8. Review the image aspects and click Insert.
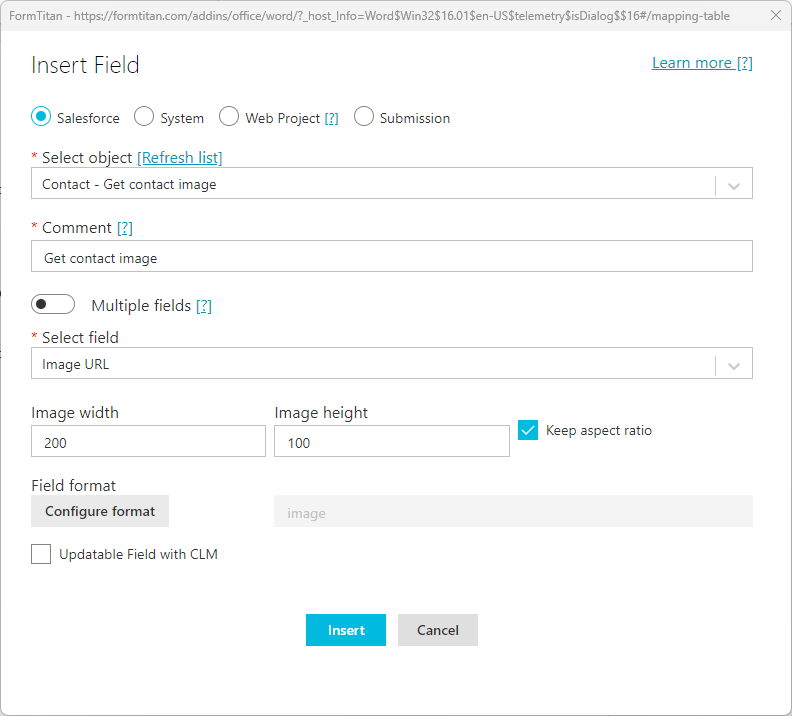
The image field is displayed in the document.
1. Navigate to your Salesforce account and open an object.
2. Add the image URL to the URL field. This must be a public link to the available Image.
3. Navigate back to your Word document.
4. Click the Insert/Edit field button. The Insert Field opens.
5. Use the dropdown menus to select the Salesforce object to which the image URL was uploaded, such as the Image URL field for the Contact.
6. Click the configure format button to ensure your Image renders correctly. The Configure field format screen opens.
7. Use the format dropdown to select the correct format. For images rendered by URL, choose Image. Click Apply.
8. Review the image aspects and click Insert.
The image field is displayed in the document.
04 File Object
This method requires saving an image file to a contact.
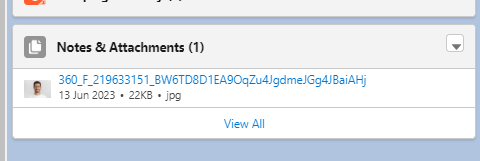
1. Navigate to your Salesforce account and open an Object.
2. In the Files section, drag and drop your images or select Add Files and upload your image.
3. Navigate back to your Word document.
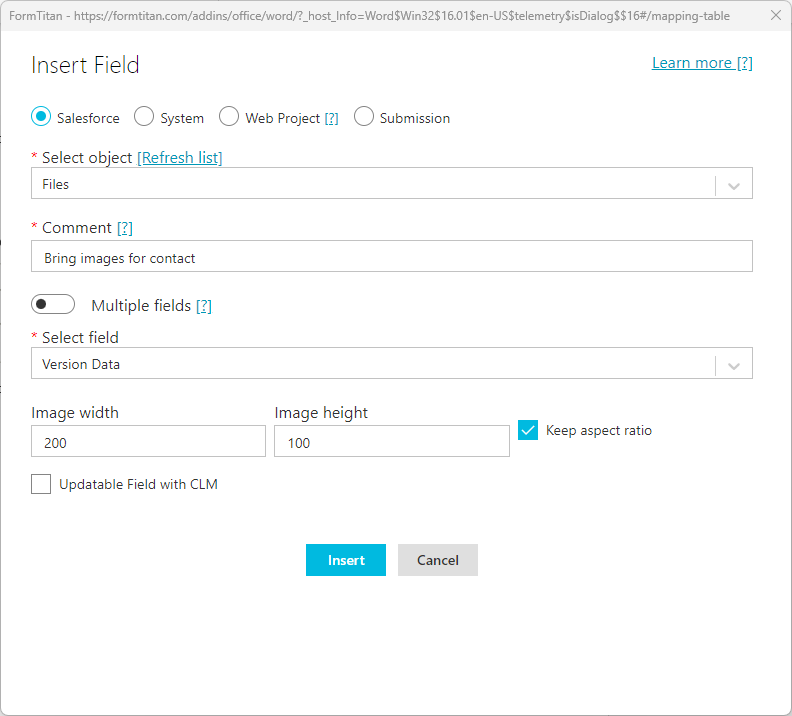
4. Click the Insert/Edit field button. The Insert Field opens.

5. Use the select field drop-down and select Version data. As this image is stored as a file, specifying how to format it is unnecessary.
6. Review the image size and click Insert.
The image field is displayed in the document.

1. Navigate to your Salesforce account and open an Object.
2. In the Files section, drag and drop your images or select Add Files and upload your image.
3. Navigate back to your Word document.
4. Click the Insert/Edit field button. The Insert Field opens.
5. Use the select field drop-down and select Version data. As this image is stored as a file, specifying how to format it is unnecessary.
6. Review the image size and click Insert.
The image field is displayed in the document.