Overview (9 min)
Completion requirements
01 Getting Started
This tutorial covers a common use case to familiarize you with the basics of the Titan Document Generation Tool.
We will cover how to generate a document using:
- A Salesforce button
- An automated flow
02 Use Case Example
Let’s look at an everyday use case example, a document generated from an opportunity.
What does this document consist of?
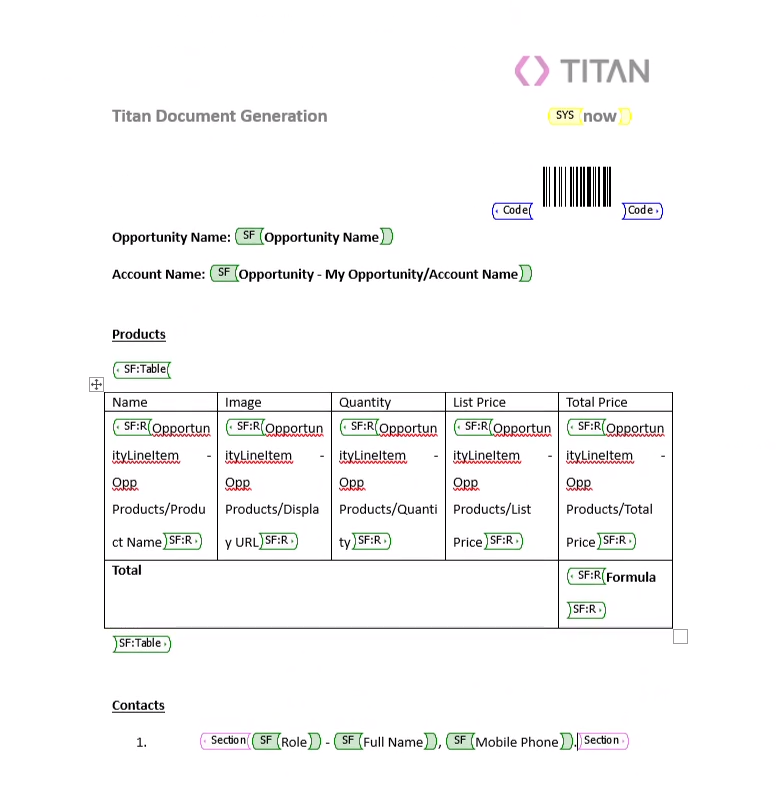
This document was created using the Titan Word Add-in to build a Titan template. The information was pulled from the opportunity object, and related information was drawn from accounts and contacts. You can create documents with any standard or custom objects.
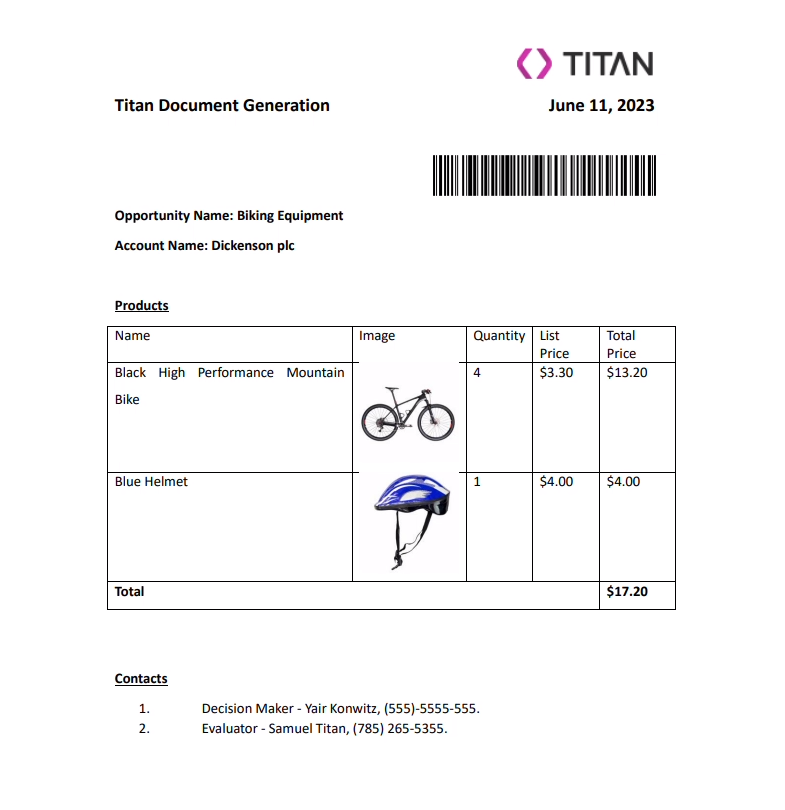
What does this document consist of?
- A header containing a company logo.
- A barcode for the opportunity.
- Date of generation.
- A table containing the products associated with the opportunity.
- Total amounts.
This document was created using the Titan Word Add-in to build a Titan template. The information was pulled from the opportunity object, and related information was drawn from accounts and contacts. You can create documents with any standard or custom objects.

03 Where Does it All Start?
1. Log into your Salesforce account and view an opportunity. The contact listed for the opportunity will be emailed the document. The details captured in your Salesforce will be used to generate the details in the document.
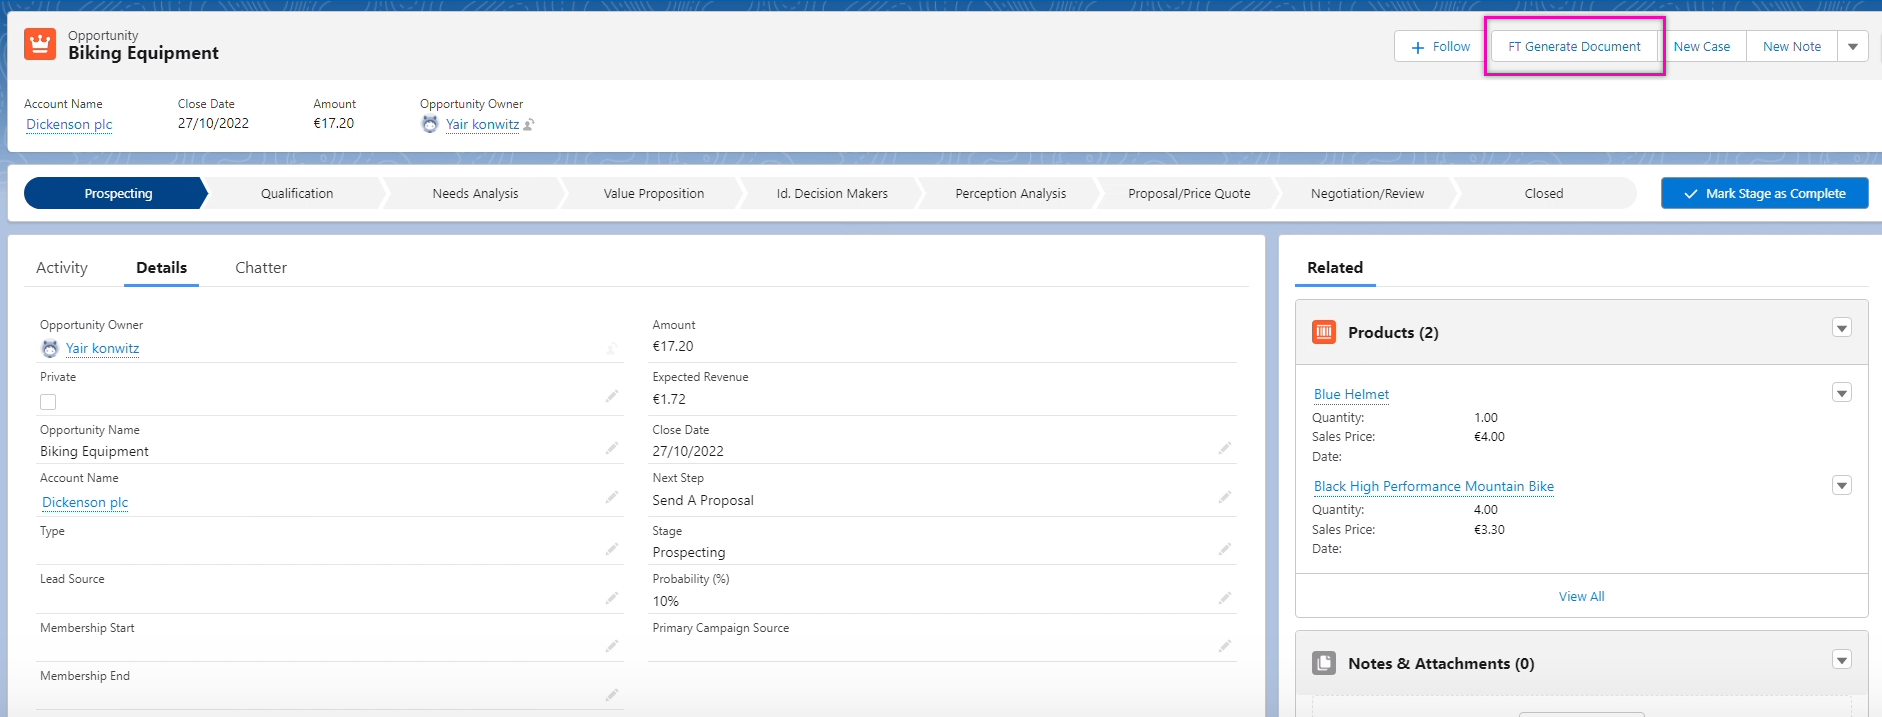
2. Click the FT Generate Document button. Due to rules set on the document generation overview template, this can only be done when the opportunity is in the prospecting stage.
The Titan Document Generation pop-up window displays. This window will display the documents available for generation according to the permissions of the current profile you are logged into.
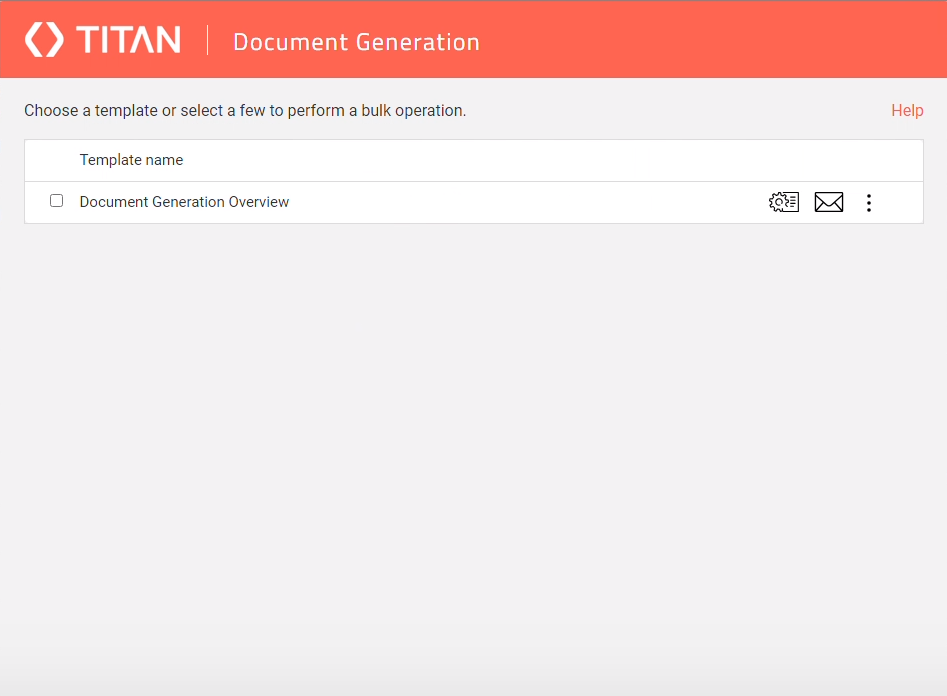
The three buttons available on the screen for each document are:
2. Click the FT Generate Document button. Due to rules set on the document generation overview template, this can only be done when the opportunity is in the prospecting stage.

The Titan Document Generation pop-up window displays. This window will display the documents available for generation according to the permissions of the current profile you are logged into.

The three buttons available on the screen for each document are:
- Generate button: This runs the document process at its current configuration.
- Email: This sends the document via email
- Kebab menu: This opens a sub-menu with other actions.
04 Generating the Document
Once the generation button is clicked, the pop-up window will update you on the document generation process.
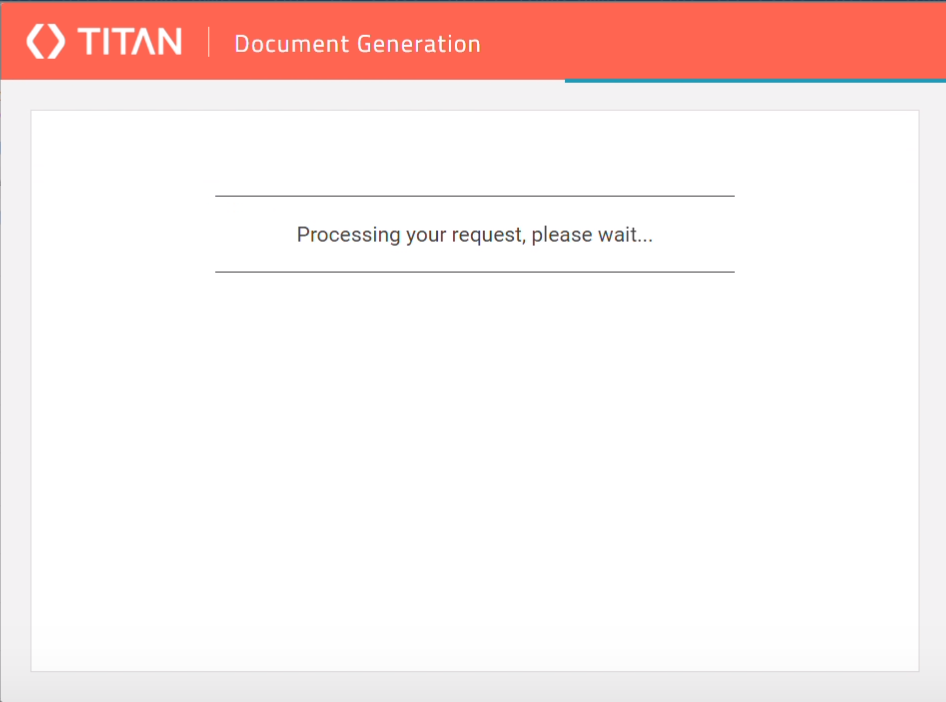
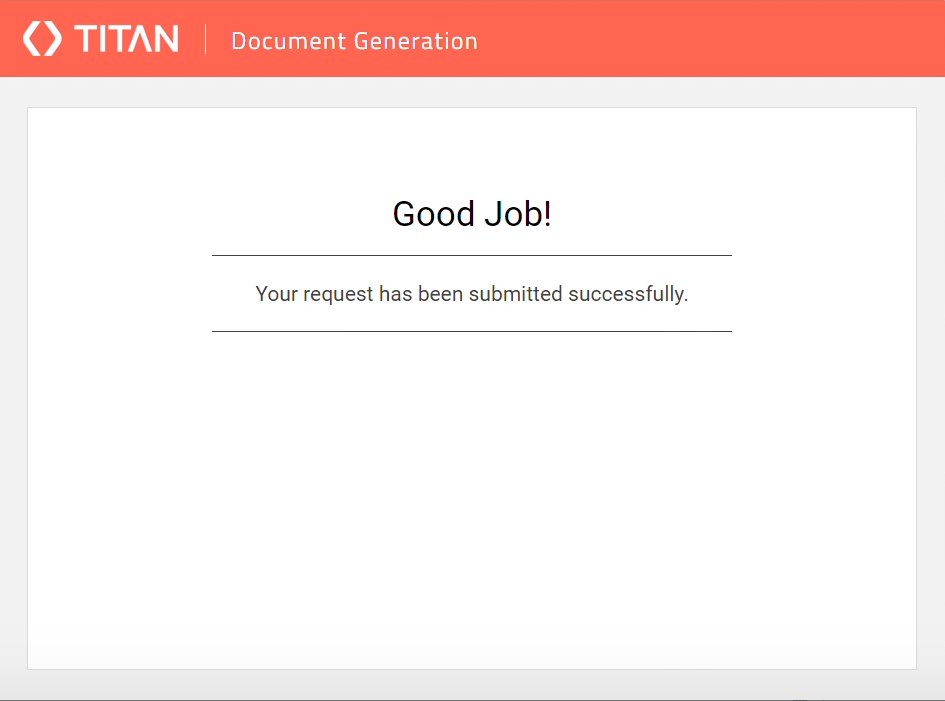
You can configure Titan to update Salesforce once the document has been generated. For example, once you generate this document, the opportunity stage will be updated to the proposal stage.

The generated document will be attached to your opportunity.


You can configure Titan to update Salesforce once the document has been generated. For example, once you generate this document, the opportunity stage will be updated to the proposal stage.

The generated document will be attached to your opportunity.

05 Using an Automated Flow
You can set up a flow in Salesforce to invoke Titan to send a document when certain conditions are met. For example, if the lead source is set to another, the stage has been set back to prospecting for this step.
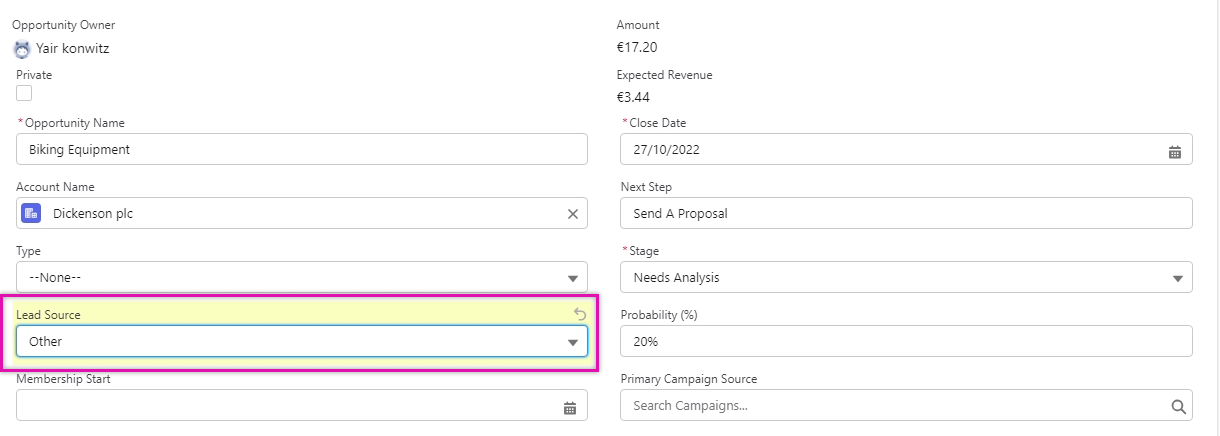
Once you have updated and saved the Lead Source, Salesforce will execute a flow to generate the document.
This flow automatically updates the stage.

Two documents are attached to the opportunity: one manually generated and the other using flow.
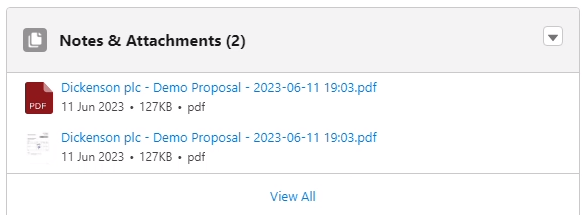
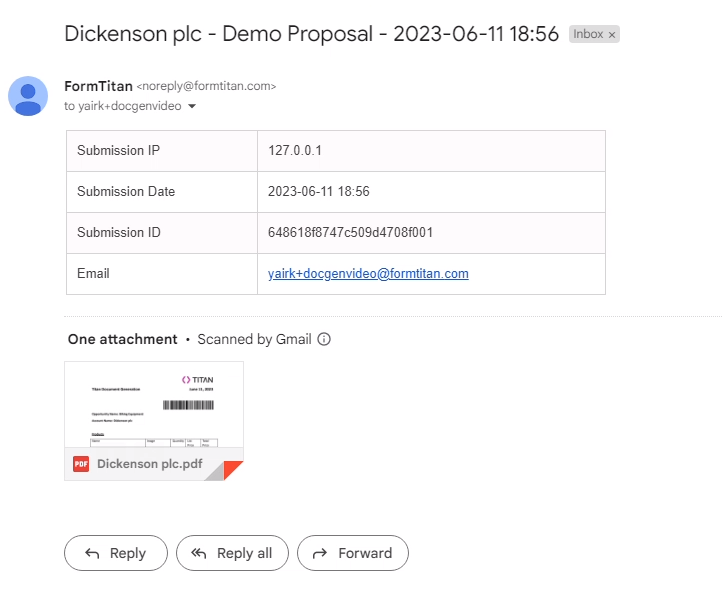
An email was automatically sent to the contact for the opportunity.

Once you have updated and saved the Lead Source, Salesforce will execute a flow to generate the document.
This flow automatically updates the stage.

Two documents are attached to the opportunity: one manually generated and the other using flow.

An email was automatically sent to the contact for the opportunity.

06 How was the Document Configured?
The document contains all information created using the Titan Word Add-in. You can import tables, merge fields, images, barcodes, and data from Salesforce. In this course, we will cover the basics of document creation.
