Salesforce Automation (5 min)
Completion requirements
01 Getting Started
This tutorial will review how to generate a document from a Salesforce Flow. In other articles, we have discussed how to create and send documents manually, so check them out if you need to know how.
This tutorial will cover one way of generating a document automatically.
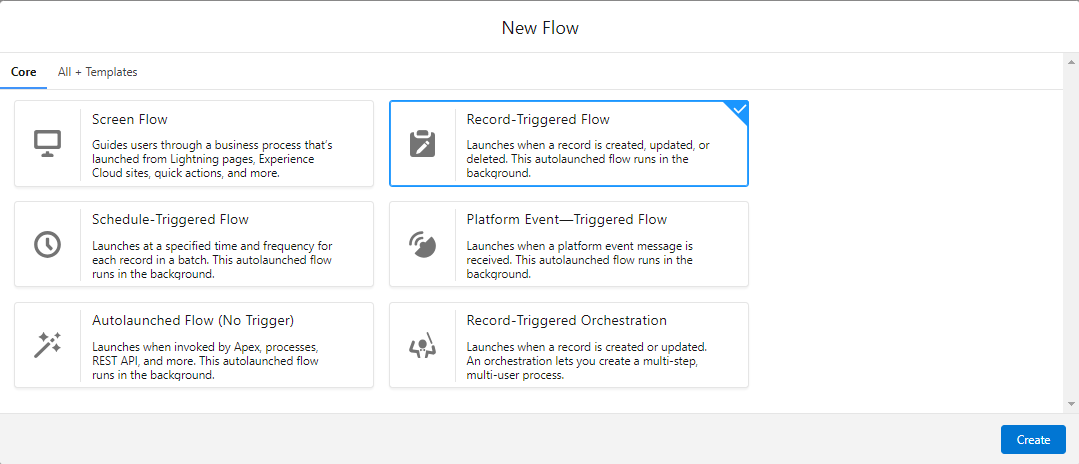
1. Go into Salesforce, find your Setup Flows page, and click the New Flow button.

2. You can choose any of the Flow options, but for this tutorial, we will select Record-Triggered Flow before clicking the Create button.
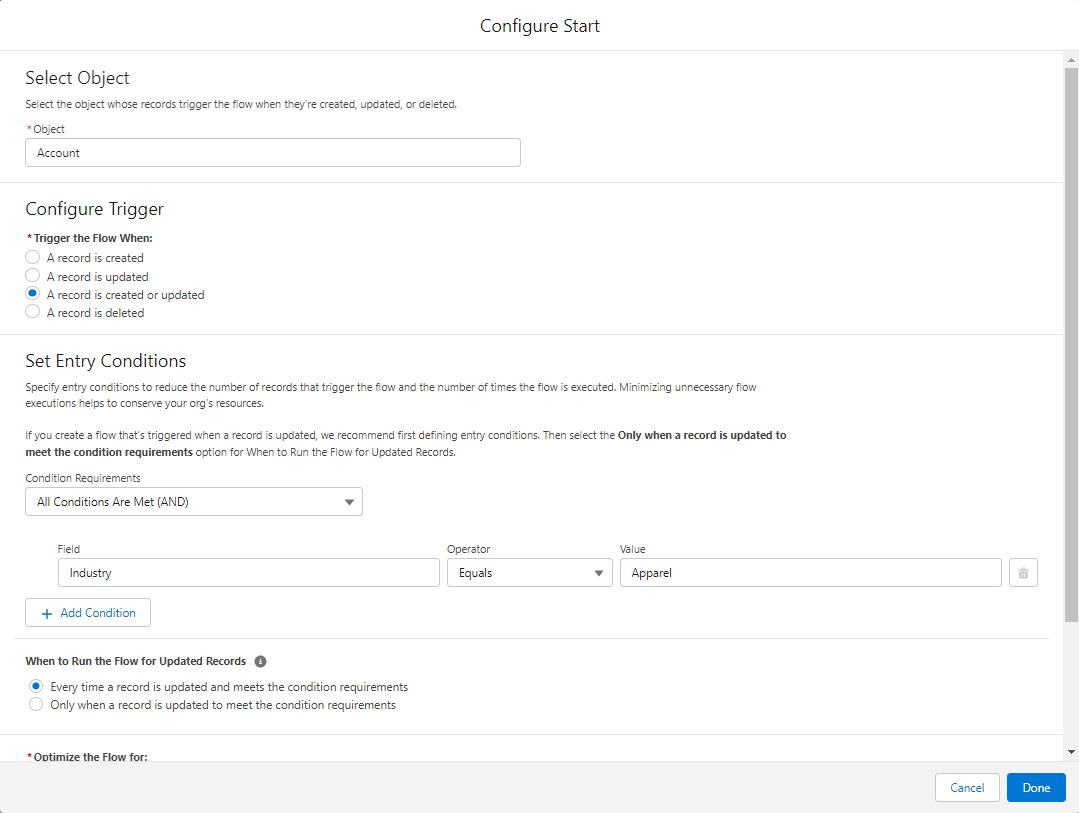
3. Configure your Start settings. The example document we created is associated with an account, so that we will choose Account in the Object search field.
4. Select the “A record is created or updated“ radio button.
5. Select your conditions from the drop-down menu. We have chosen All Conditions Are Met (AND) > Industry Equals Apparel.
6. Click on the Done button to proceed.
This tutorial will cover one way of generating a document automatically.
1. Go into Salesforce, find your Setup Flows page, and click the New Flow button.
2. You can choose any of the Flow options, but for this tutorial, we will select Record-Triggered Flow before clicking the Create button.
3. Configure your Start settings. The example document we created is associated with an account, so that we will choose Account in the Object search field.
4. Select the “A record is created or updated“ radio button.
5. Select your conditions from the drop-down menu. We have chosen All Conditions Are Met (AND) > Industry Equals Apparel.
6. Click on the Done button to proceed.
02 Add an Action to a Record-Triggered Flow
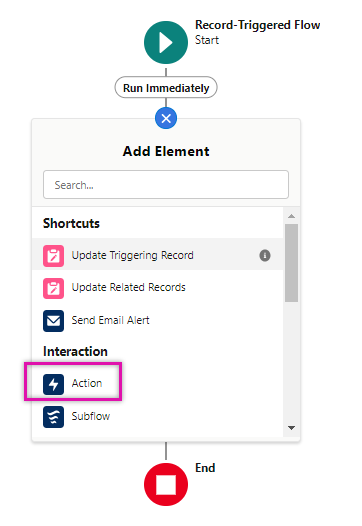
1. Click on the + button to add an action.
2. Choose Action as your Interaction.
3. Find and select Form_Builder_FTDocGen in the Action search field.
4. Enter a name in the Label and API Name fields.
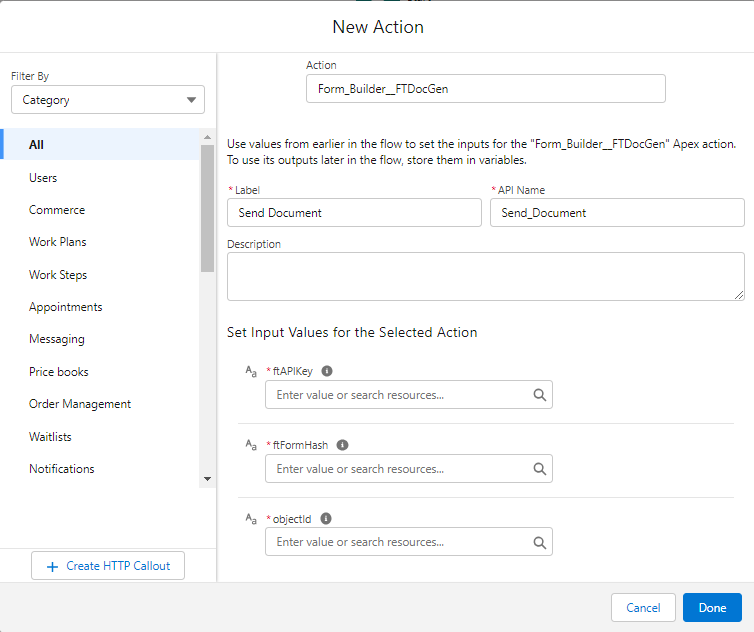
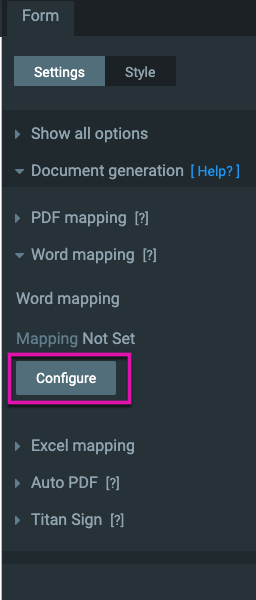
5. You will need the ftAPIKey, the ftFormHash, and the objectID. Get your values from within the Titan Form builder. Find your Word Mapping options under Settings and click on the Configure button.
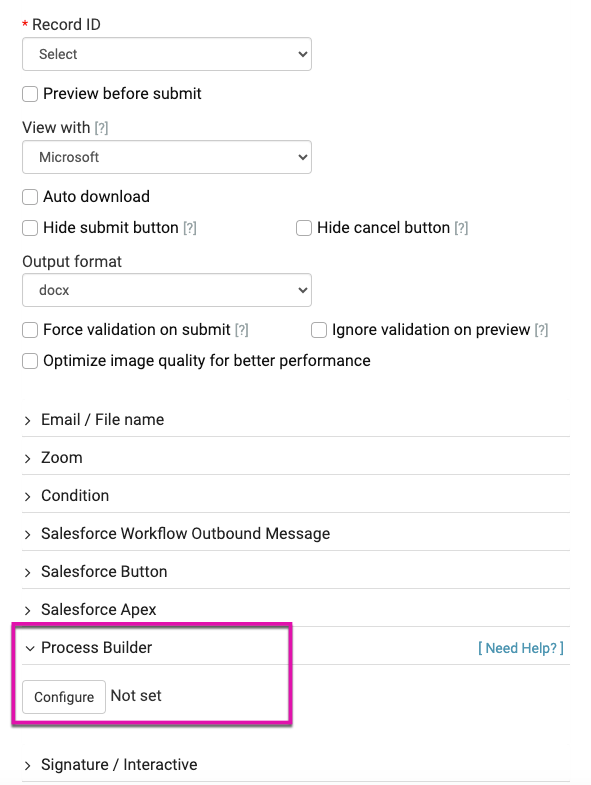
6. Navigate to the Process Builder element in the menu and click on the Configure button.
7. Use the drop-down menus to select your Object and map your Record ID. We have chosen Account for the Object and RecordID (fid2) for the Record ID.
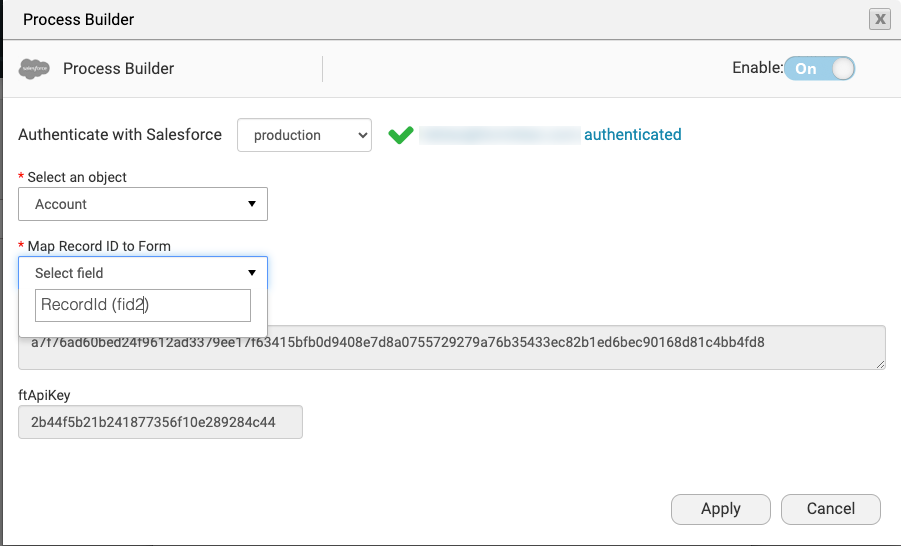
8. Titan automatically generates a ftFormHash and ftApiKey that you can copy and paste into your Salesforce action.
9. Choose the AccountID for the objectID search field before clicking the Done button.
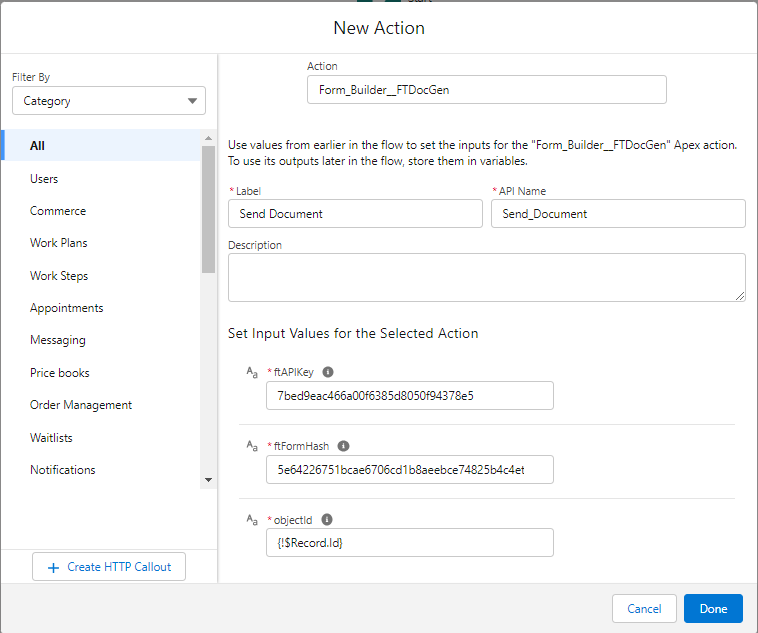
10. Save your Action.

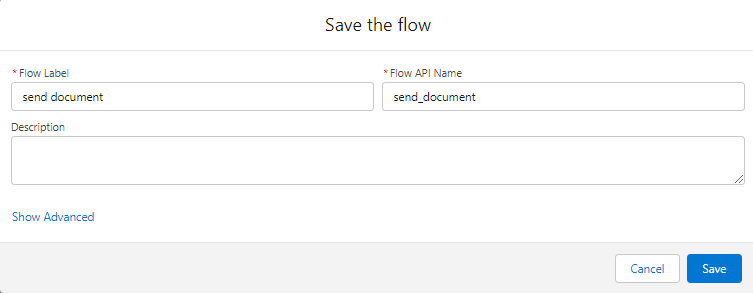
11. Before clicking on the Save button, add a name to your Flow Label and Flow API Name fields.
12. Click on the Activate button to activate your Flow.

2. Choose Action as your Interaction.
3. Find and select Form_Builder_FTDocGen in the Action search field.
4. Enter a name in the Label and API Name fields.
5. You will need the ftAPIKey, the ftFormHash, and the objectID. Get your values from within the Titan Form builder. Find your Word Mapping options under Settings and click on the Configure button.
6. Navigate to the Process Builder element in the menu and click on the Configure button.
7. Use the drop-down menus to select your Object and map your Record ID. We have chosen Account for the Object and RecordID (fid2) for the Record ID.
8. Titan automatically generates a ftFormHash and ftApiKey that you can copy and paste into your Salesforce action.
9. Choose the AccountID for the objectID search field before clicking the Done button.
10. Save your Action.
11. Before clicking on the Save button, add a name to your Flow Label and Flow API Name fields.
12. Click on the Activate button to activate your Flow.
03 What happens when your Flow is Invoked?
Firstly, your document will be generated. But what occurs will depend on what we set up in the Titan Form builder under the Salesforce Push integration.
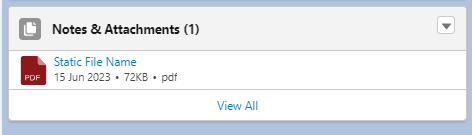
For this example, we previously set a Push to create and attach a file to a record. That is what will happen when this document is generated.
For this example, we previously set a Push to create and attach a file to a record. That is what will happen when this document is generated.
04 Testing your Example
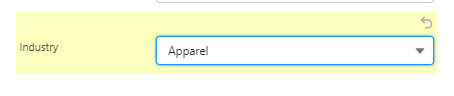
1. Change the Industry field to Apparel.
2. Click the Save button and wait a few seconds for the document to generate.
3. Notice you now have a document generated under your Files menu.
2. Click the Save button and wait a few seconds for the document to generate.
3. Notice you now have a document generated under your Files menu.