Action (8 min)
Completion requirements
01 Getting Started
This tutorial covers emailing a document using the Generate document option in Salesforce.
02 Email Element
To add an email element to your form:
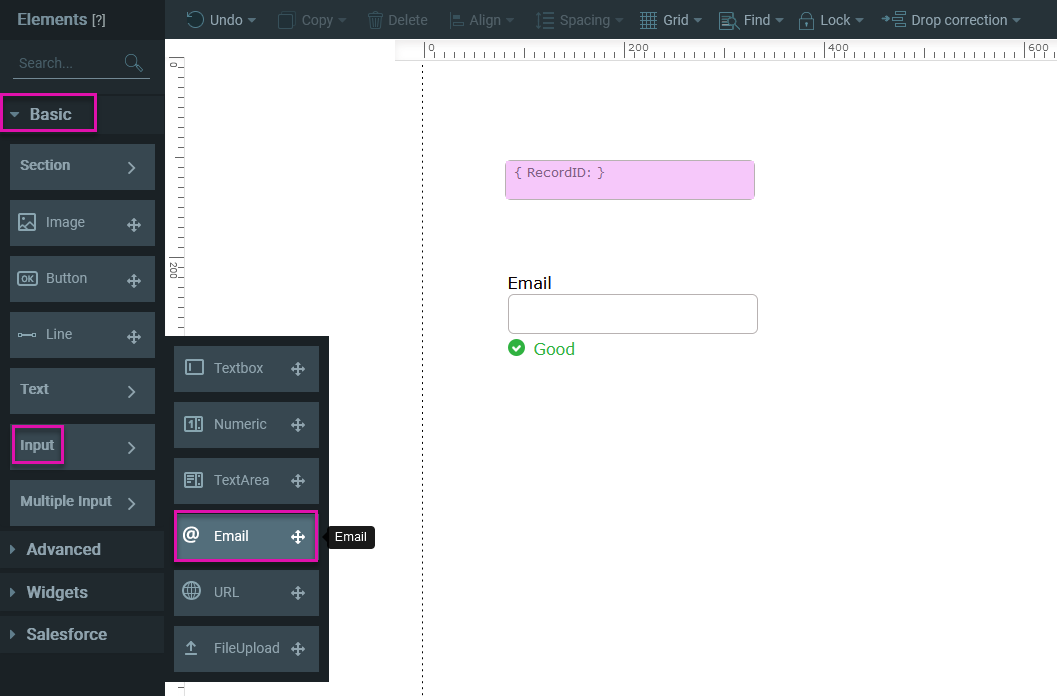
1. Expand the Basic dropdown in the elements menu.
2. Select the Input submenu and drag the email element onto your form. You can add multiple email fields to your form.
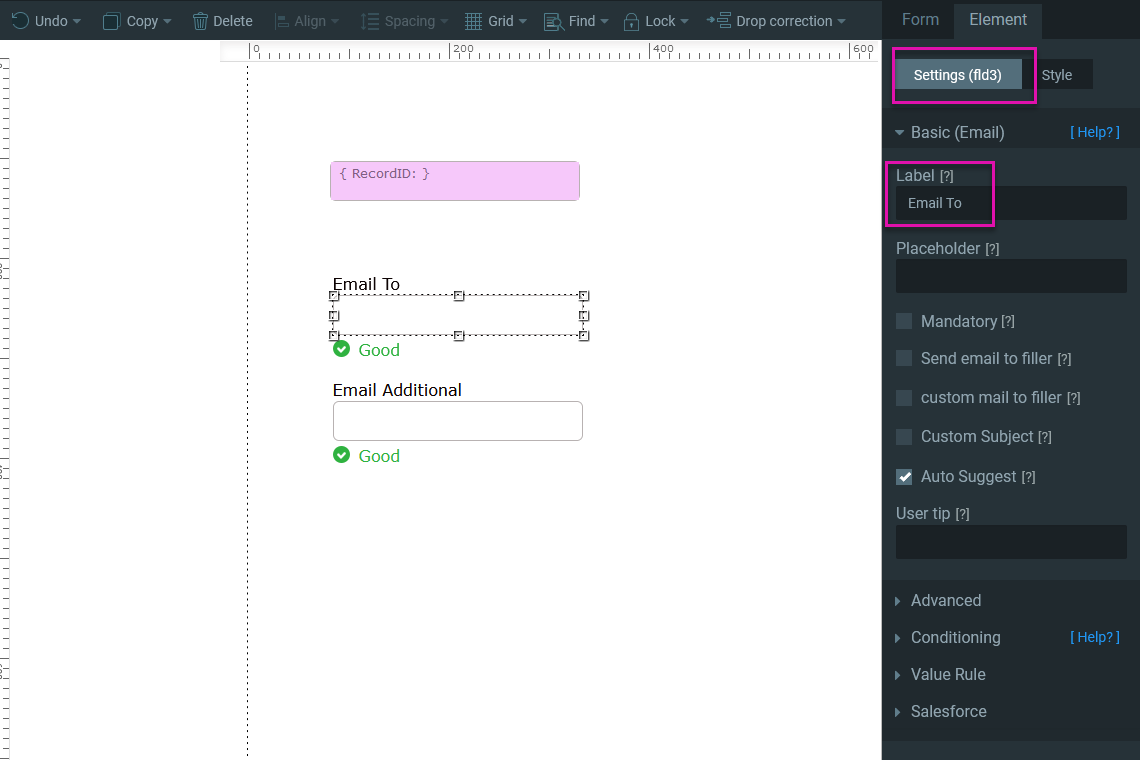
3. In the form element settings, use the Label field to change the label of your email field.
4. Enable the Custom Mail to Filler feature for each email field you insert. To set the recipient details, click the edit button. This will send a single email to the email set in each field.
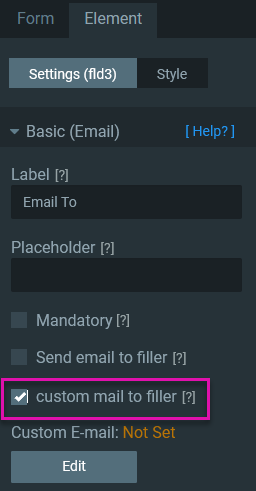
5. Configure your email content in the Custom Message window and click Apply.

1. Expand the Basic dropdown in the elements menu.
2. Select the Input submenu and drag the email element onto your form. You can add multiple email fields to your form.
3. In the form element settings, use the Label field to change the label of your email field.
4. Enable the Custom Mail to Filler feature for each email field you insert. To set the recipient details, click the edit button. This will send a single email to the email set in each field.
5. Configure your email content in the Custom Message window and click Apply.
03 Populating Email Fields
If you want your field to populate the email fields automatically when the user opens the form, you must configure a Salesforce Get action.
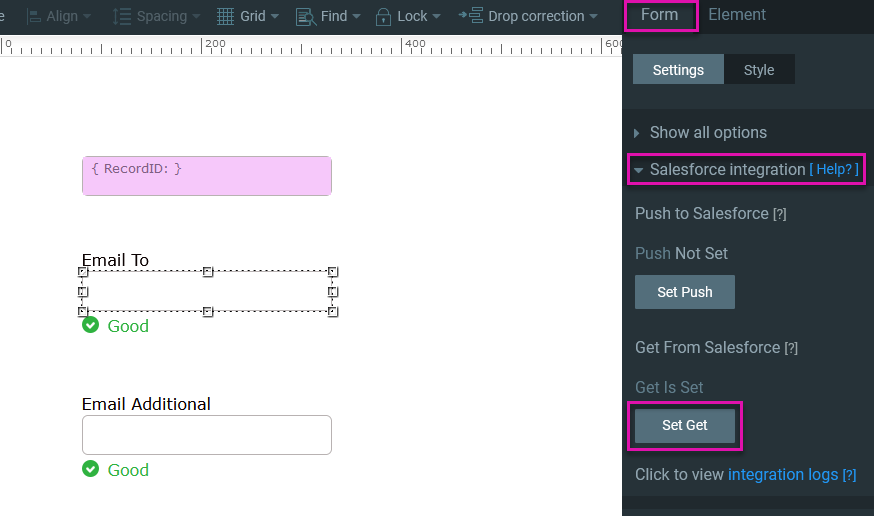
1. Select your email field and navigate to the Form Settings menu.
2. Expand the Salesforce Integration dropdown and click Set Get.
3. Click Add Object. The Map Salesforce Fields window opens.
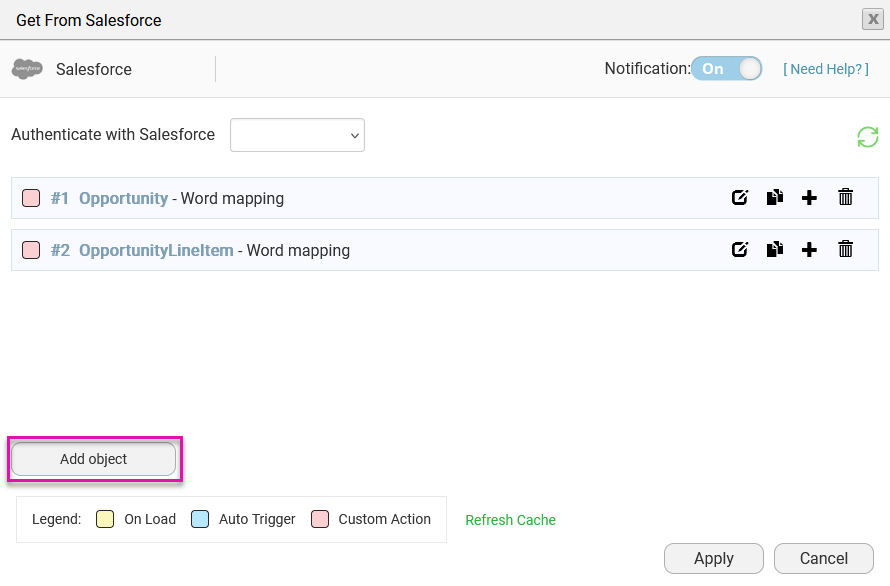
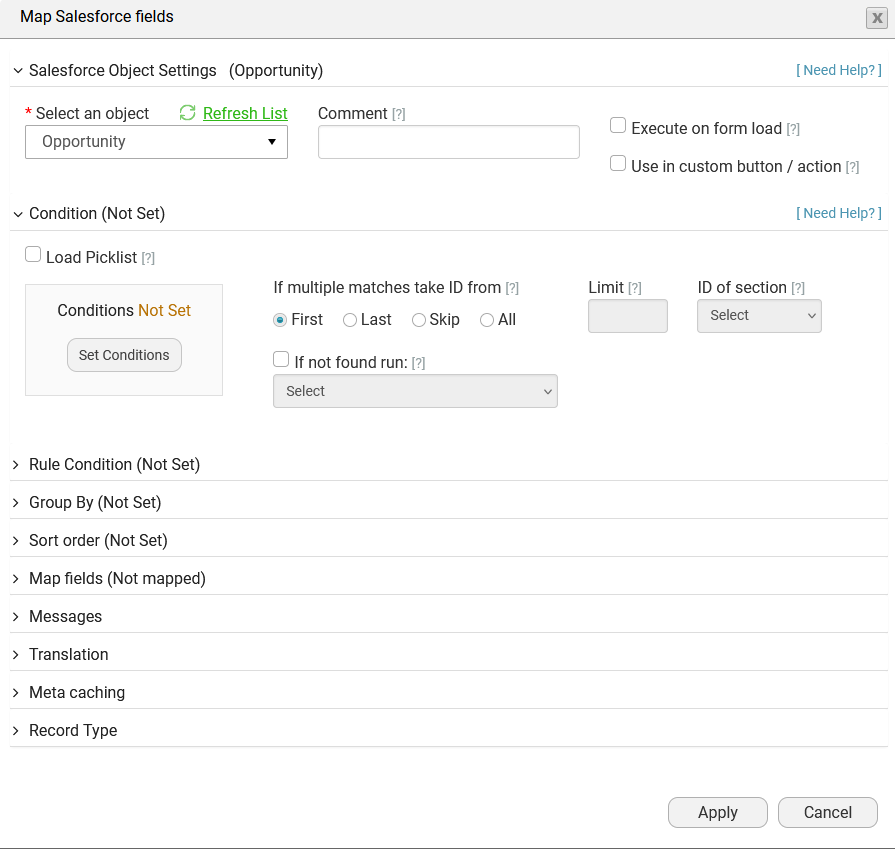
4. Select the Object in Salesforce that contains the email address you need to populate—for example, Opportunity.
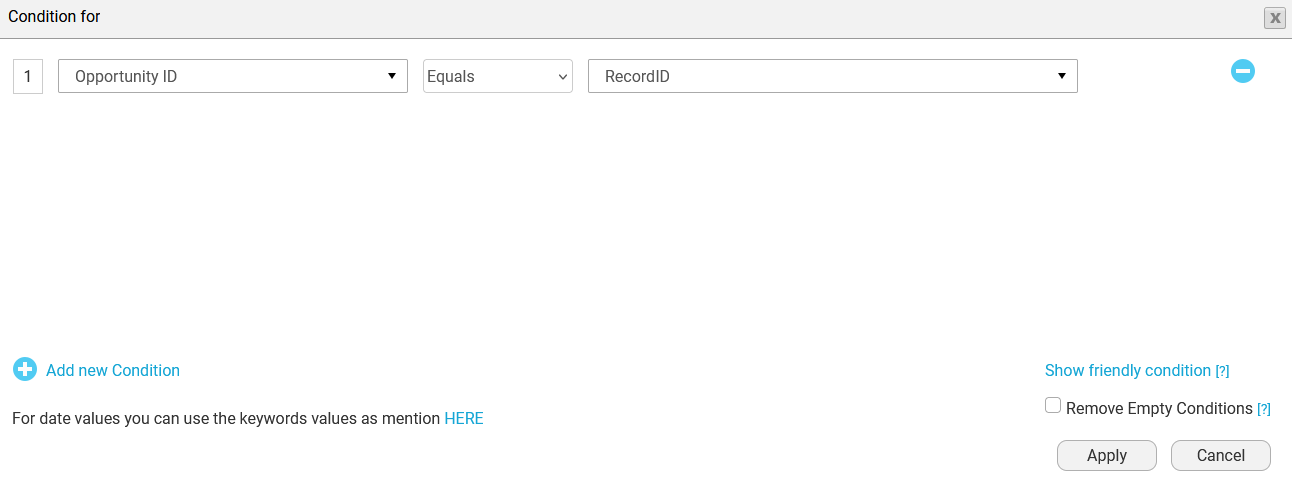
5. Expand the Condition dropdown and click Set Conditions.
6. Use the dropdown to configure your Condition and click Apply. For example, the Opportunity ID equals the Record ID.
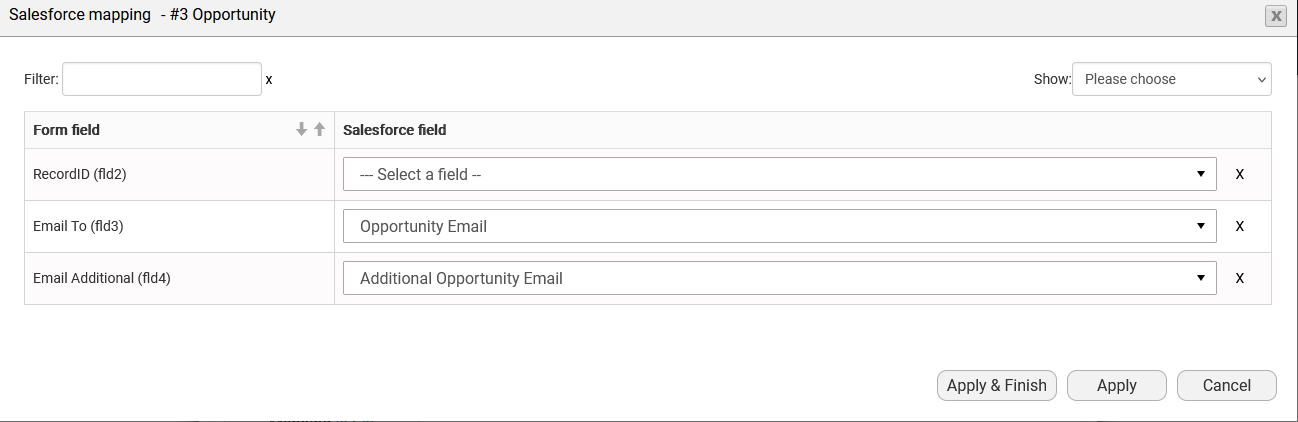
7. Expand the Mapping tab and click Set Mapping.
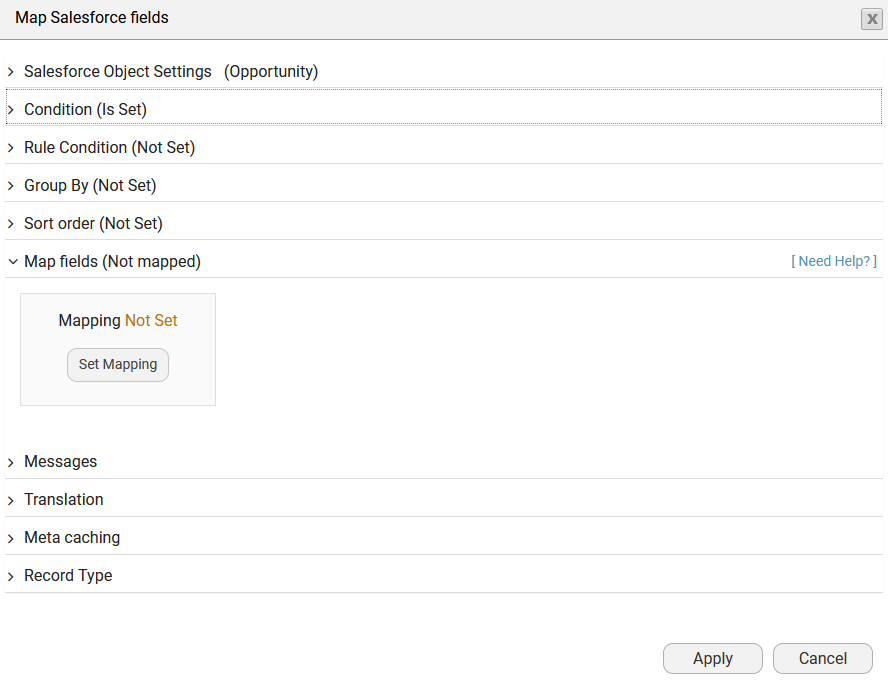
8. Map the Fields on your form to the corresponding fields in Salesforce. Click Apply & Finish.
Titan will pull the email addresses in your Salesforce account when the document is generated.
1. Select your email field and navigate to the Form Settings menu.
2. Expand the Salesforce Integration dropdown and click Set Get.
3. Click Add Object. The Map Salesforce Fields window opens.
4. Select the Object in Salesforce that contains the email address you need to populate—for example, Opportunity.
5. Expand the Condition dropdown and click Set Conditions.
6. Use the dropdown to configure your Condition and click Apply. For example, the Opportunity ID equals the Record ID.
7. Expand the Mapping tab and click Set Mapping.
8. Map the Fields on your form to the corresponding fields in Salesforce. Click Apply & Finish.
Titan will pull the email addresses in your Salesforce account when the document is generated.
04 Email and File Name
To configure an email and file name for your Form:
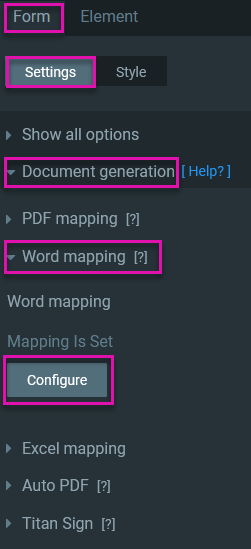
1. Navigate to the Form Settings menu and expand the Document Generation dropdown.
2. Expand the Word Mapping dropdown and click Configure.
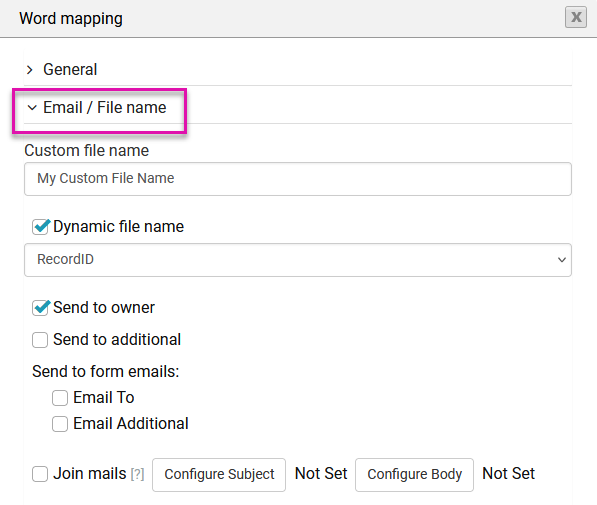
3. Expand the Email/File Name dropdown. You can choose between setting a Static or Dynamic file name for your Form.
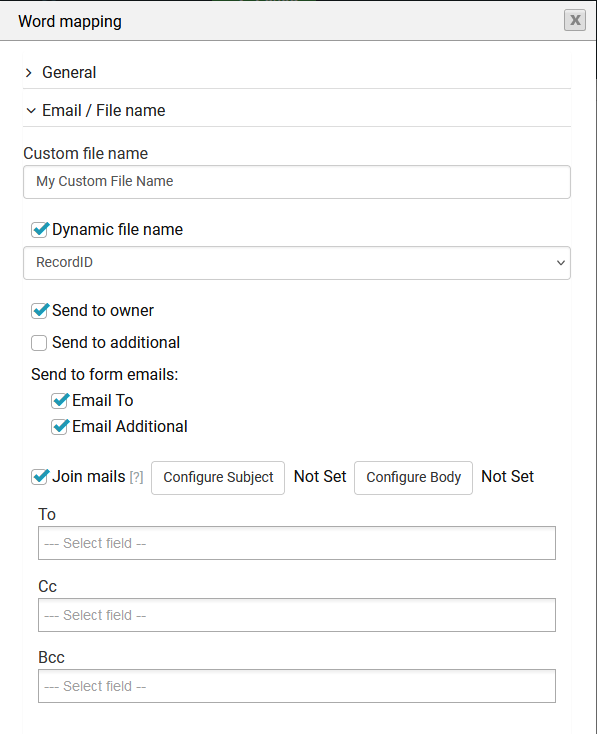
4. If you have inserted email fields into your Form, enable these fields. This will send two separate emails to these emails.
5. Enable Join Mails if you want to send the same email to multiple addresses.
6. To configure your Subject and Body, click the corresponding buttons.
When the document is generated, an attached copy of the Form is sent to each recipient.
1. Navigate to the Form Settings menu and expand the Document Generation dropdown.
2. Expand the Word Mapping dropdown and click Configure.
3. Expand the Email/File Name dropdown. You can choose between setting a Static or Dynamic file name for your Form.
4. If you have inserted email fields into your Form, enable these fields. This will send two separate emails to these emails.
5. Enable Join Mails if you want to send the same email to multiple addresses.
6. To configure your Subject and Body, click the corresponding buttons.
When the document is generated, an attached copy of the Form is sent to each recipient.