Create Nested Push to Update and Create Record and File (9:30 min)
01 Getting Started
02 Setup
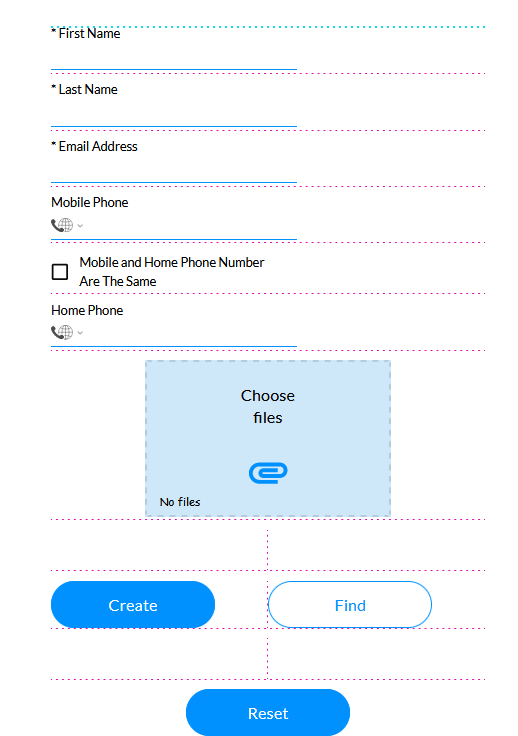
The nested push we will use for demonstrative purposes will create a contact and the child push will upload a file associated with that contact. A simple form was created with fields for users to provide their basic contact information and a file upload field.
03 Configuring a Push
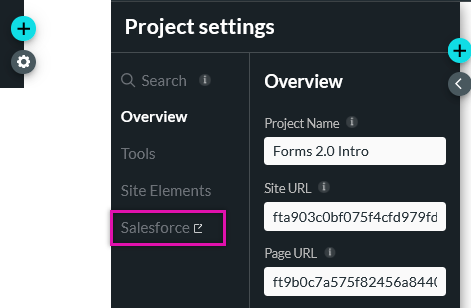
1. Click the Project Settings gear icon and select the Salesforce tab.
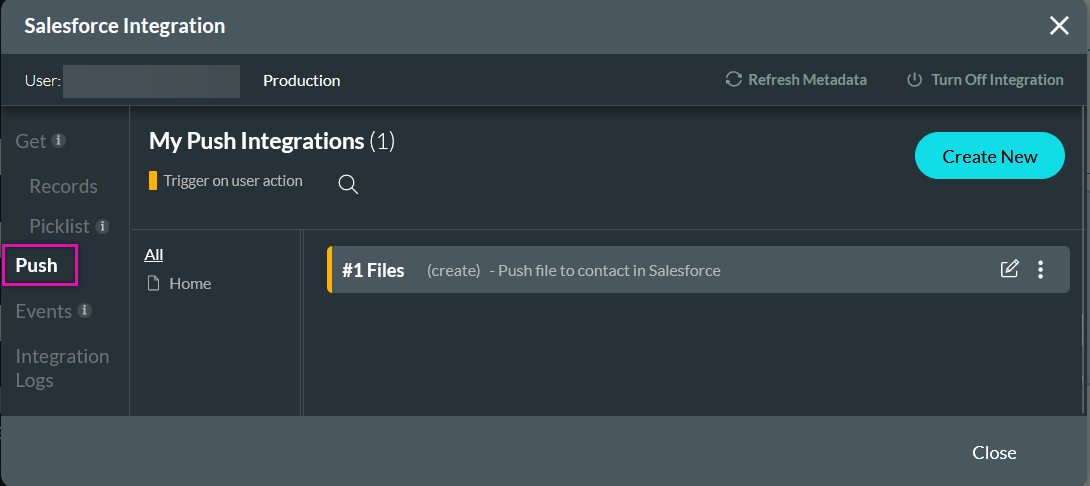
2. Select the Push tab and click Create New.
04 Object Settings
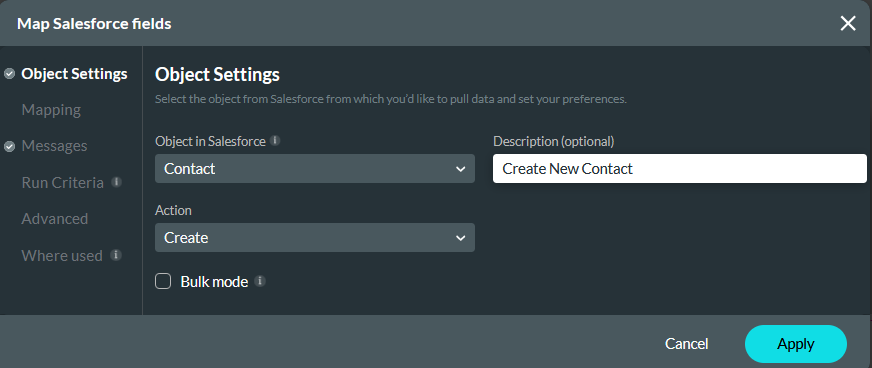
Configure the following:
- Object - Contact
- Action - Create
- Description - Create New Contact
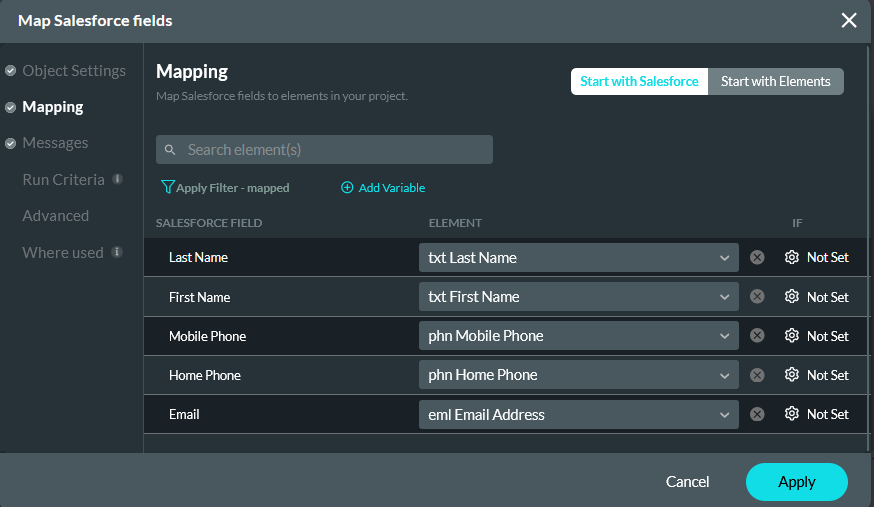
05 Mapping
Map the project elements to the corresponding Salesforce fields. Click Apply.
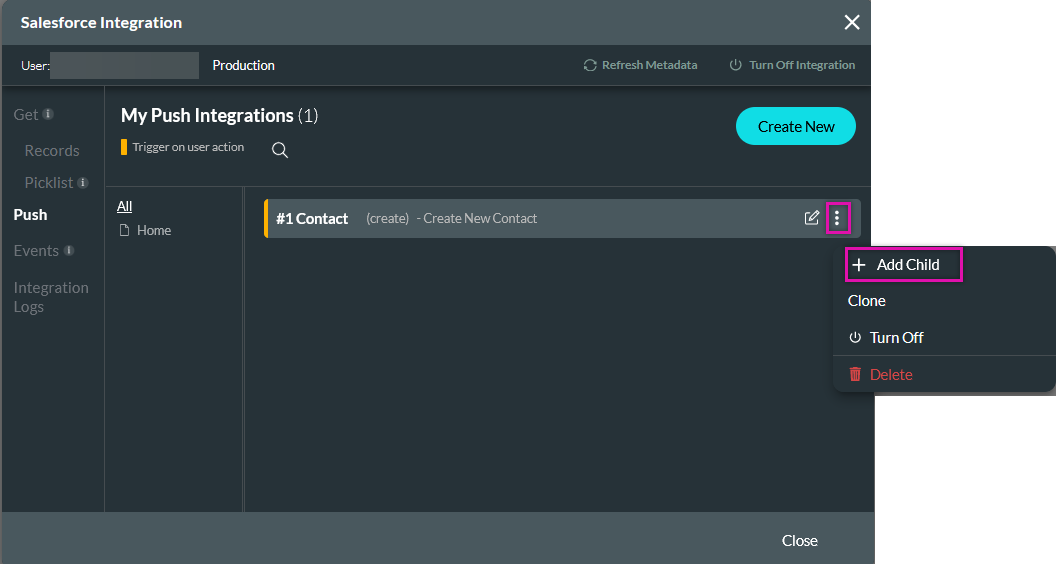
06 Child Push
Next, we need to configure a child push action to push the uploaded file to Salesforce.
1. Click the Ellipsis icon of the configured Push and select + Add Child.
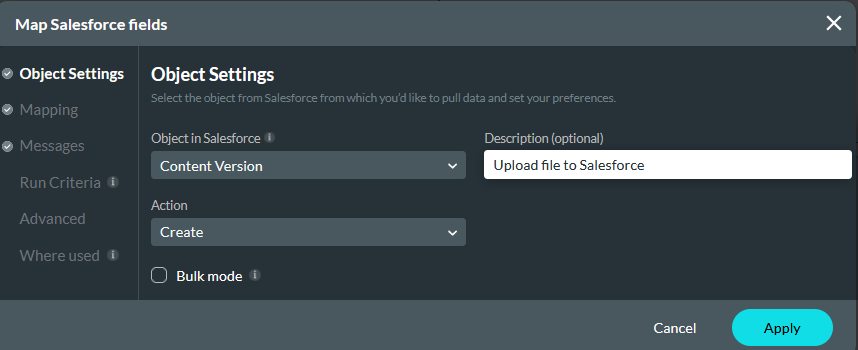
07 Object Settings
Configure the following:
- Object - Files (Also known as Content Version)
- Action - Create
- Description - Upload file to Salesforce
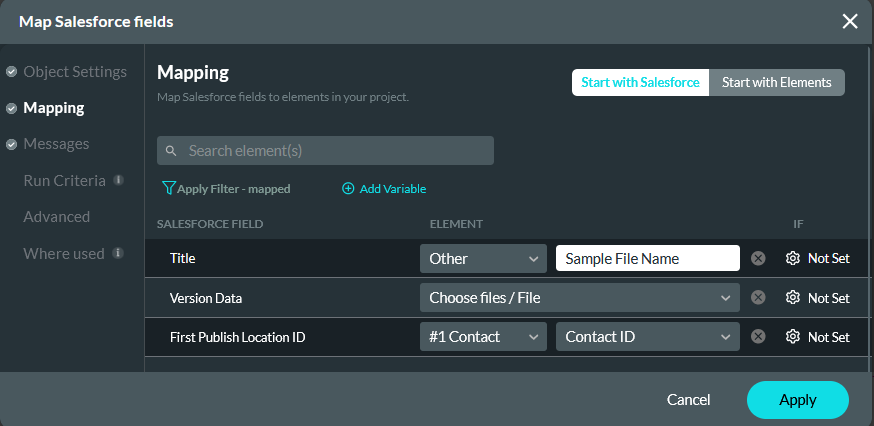
08 Mapping
Configure the following and click Apply.
- Title - Other: Sample File Name.
- Version Data - File Upload
- First Publish Location ID - #1 Contact: Contact ID. This means that the file will be uploaded to the contact created from the parent push. Note that this will be automatically mapped according to the parent push configuration.
09 Structure
A child action will always display as nested under the parent action. If you want to restructure the child action to no longer be nested under the parent, simply click and drag the action to its new desired position. After moving a Salesforce Integration action, ensure you review the mapping tab.

10 Invoking the Push from a Button
Now that the push has been configured, we will need to assign it to an interactive element to invoke the push action.
1. Select the button you want to assign the action to and click the Interactivity icon in the button menu.

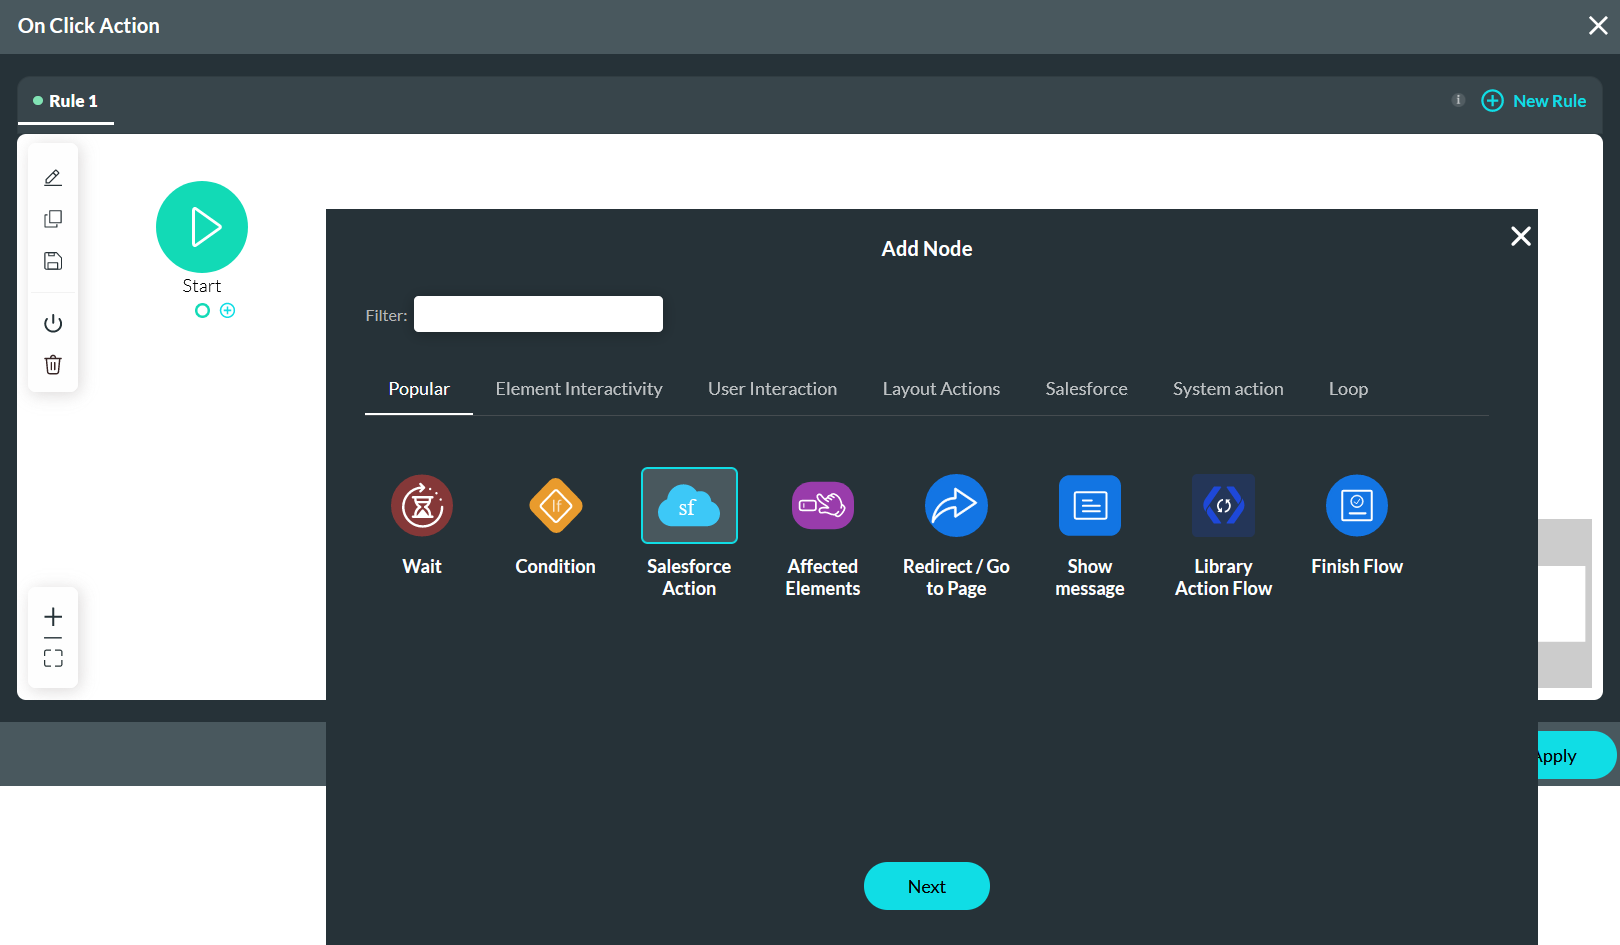
The On Click Action window opens.
2. Click the Start + icon, choose Salesforce Action as the node, and click Next.
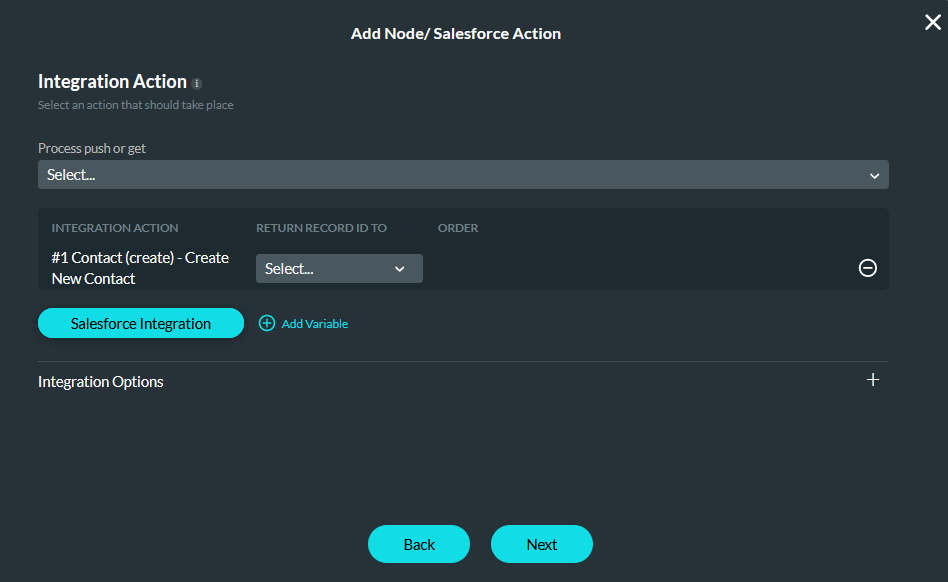
3. Use the dropdown to select the configured Salesforce push. Click Next.
Note: Only the parent Push is selected as the child Push is automatically triggered when the parent Push runs.
Note: The dropdown will display the description entered for the push. This is why we recommend you give each action created a description as it allows you to easily choose the correct action.
4. Enter a Tag and click Insert.
From here, you can choose to add another node to your On Click Action configuration - for example, a message that the user’s details have been updated.
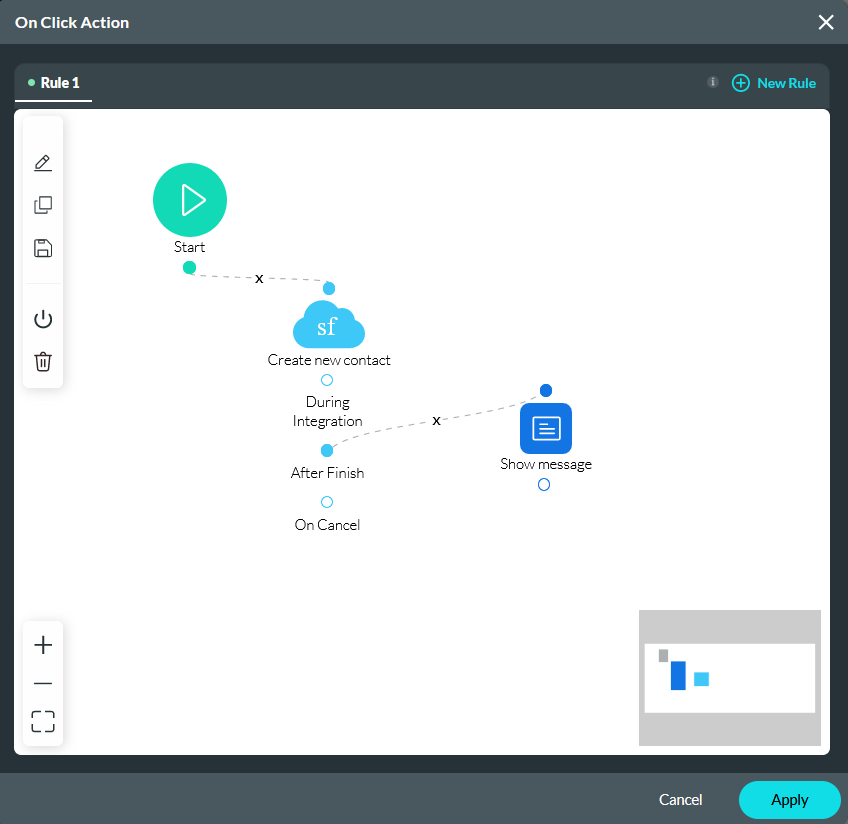
The current configuration is now set up to do the following: when the user provides their contact details and clicks create, the contact will be created in Salesforce after this action is completed, the child push is triggered and will push the file upload to Salesforce.