Google Sheet (6 min)
01 Getting Started
02 Setup
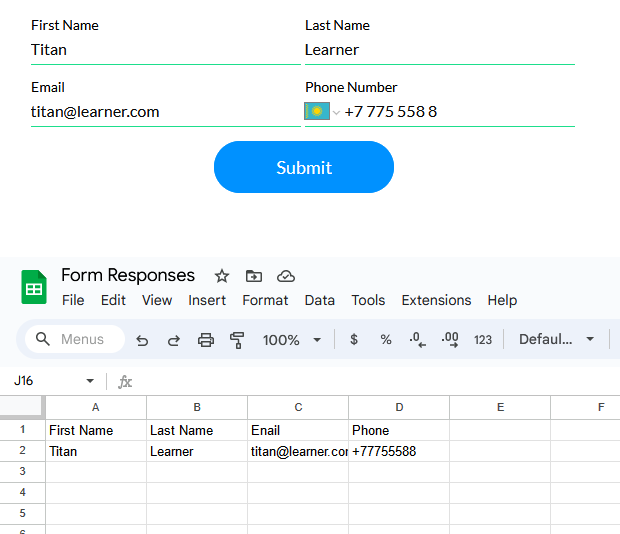
The Google Sheets nodes allow you to add Records to your Google sheet every time your Flow is triggered.
For demonstrative purposes, we have used a simple form to capture the users' contact information and store it in a Google Sheet.
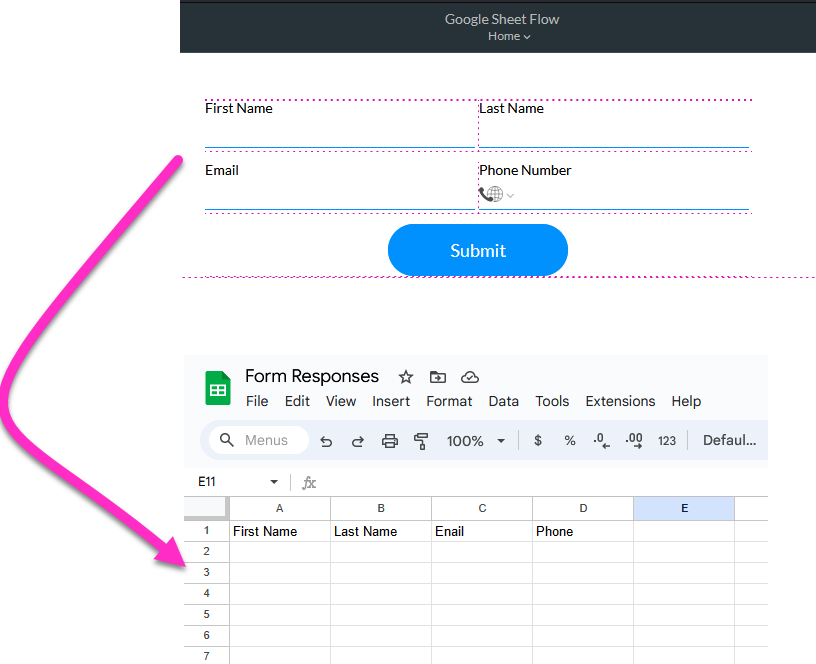
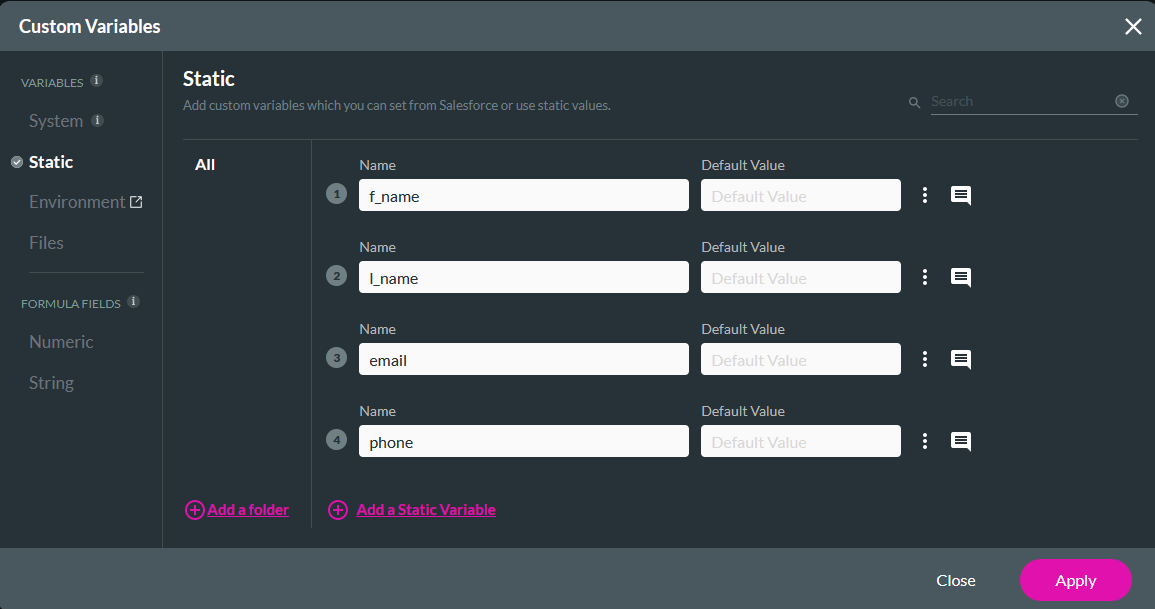
03 Static Variables
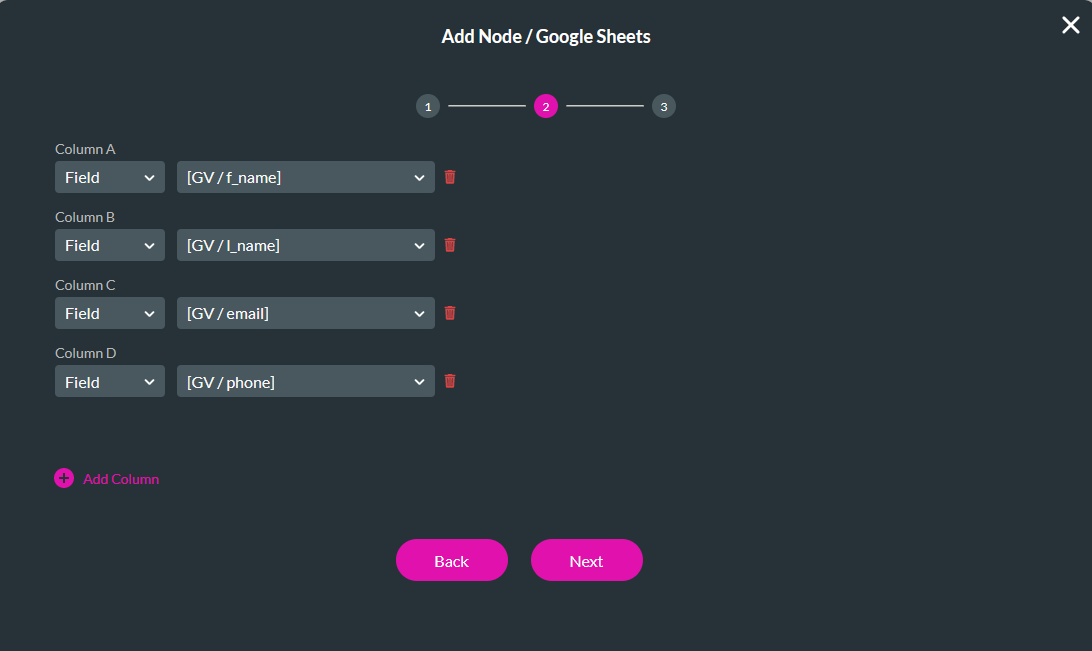
Corresponding variables were created to hold these values.
04 Google Sheet Node
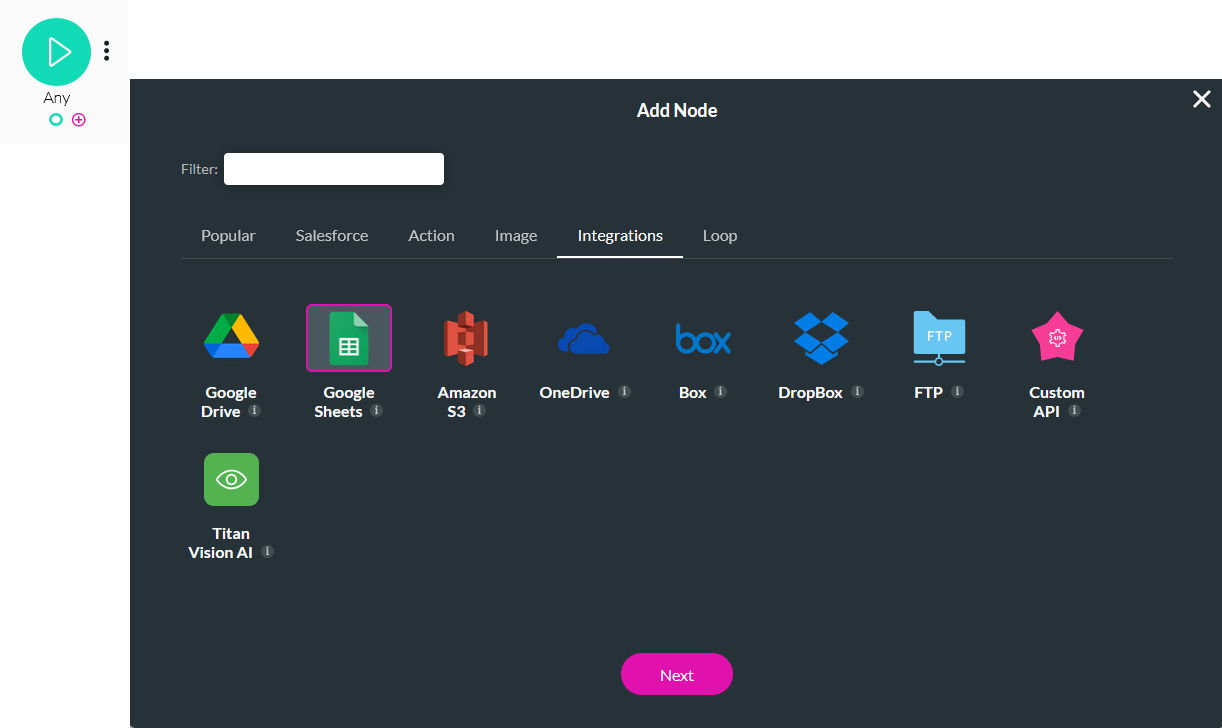
1. Click the Any + icon, choose Google Sheets as the node, and click Next.
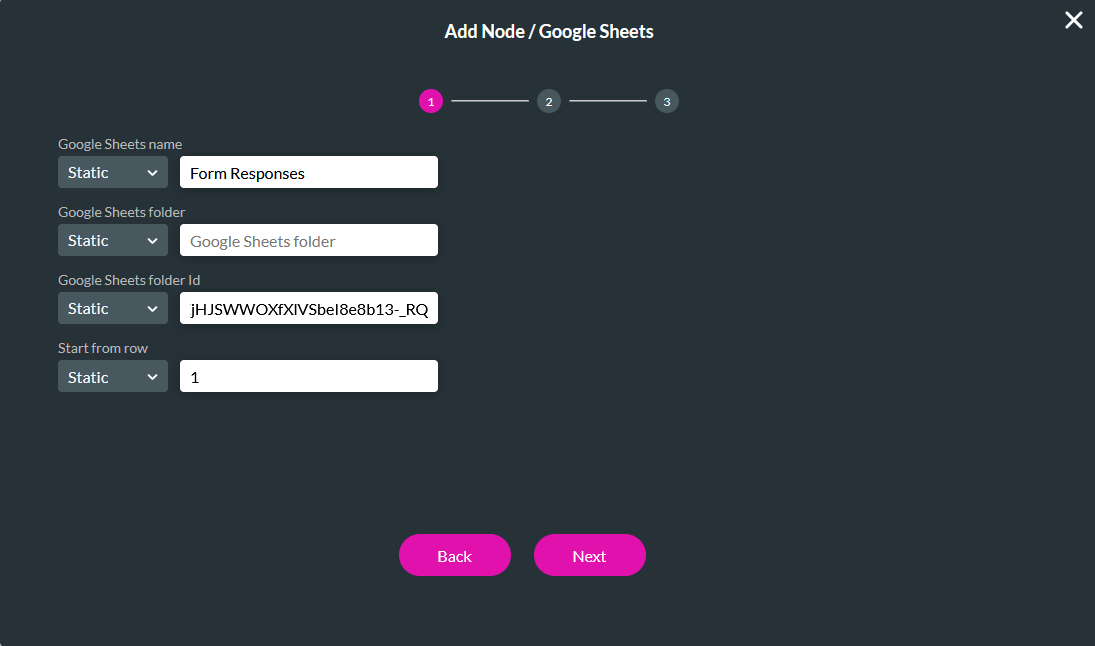
2. Provide the details for your form and click Next.
3. Configure four columns to the corresponding static variable fields. Click Next.
4. Enter a Tag name and click Insert. Save and publish your flow.
05 Invoking the Flow
1. Navigate back to your web project.
2. Click the Interactivity icon from the button menu.

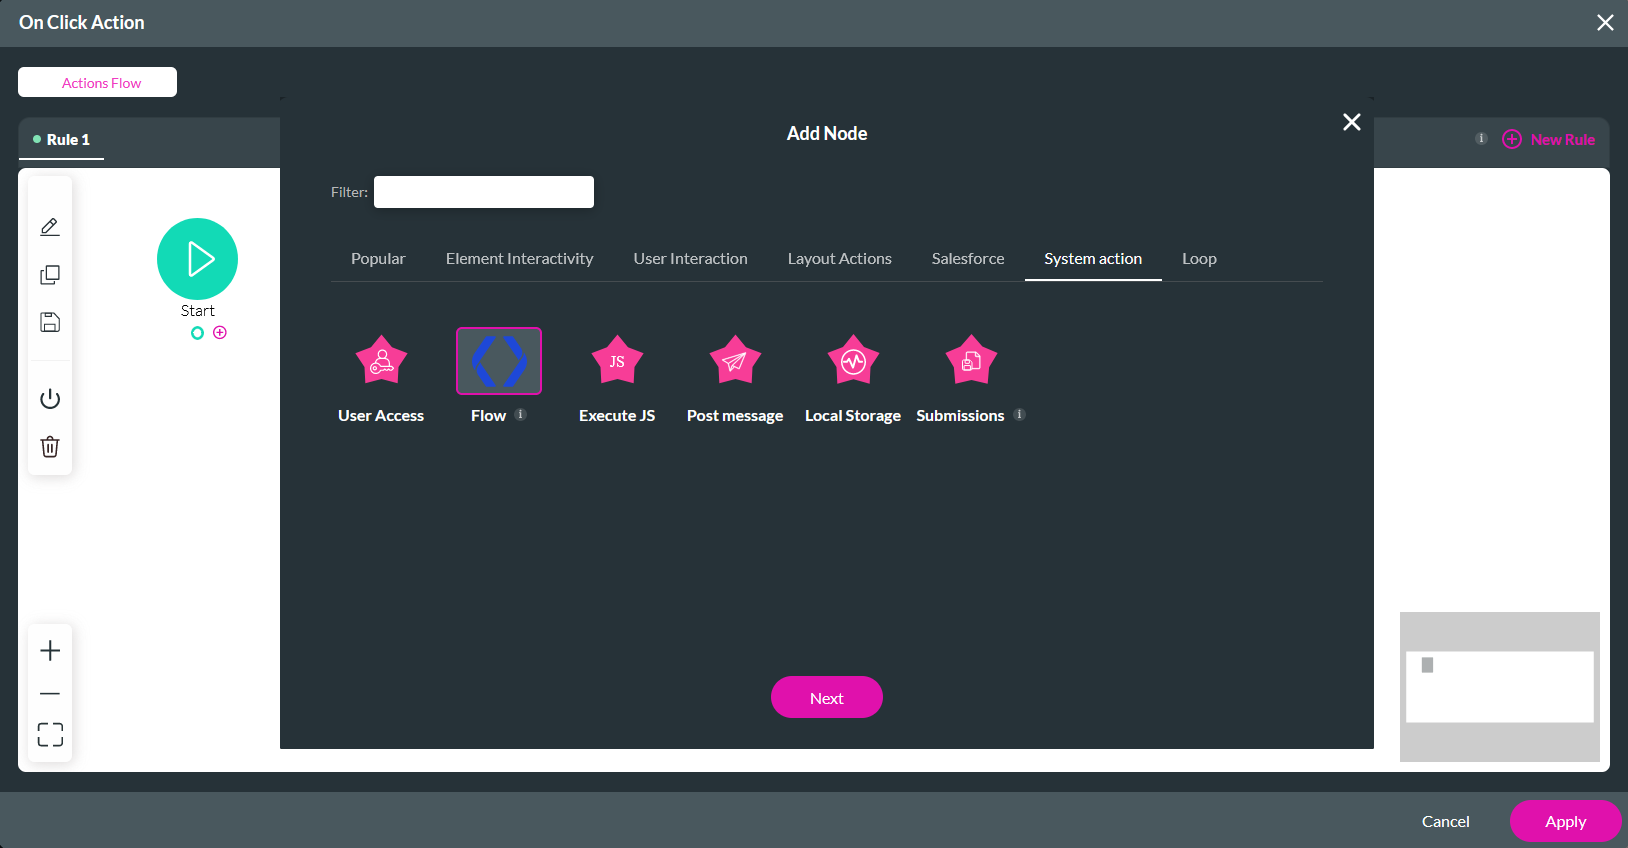
3. Click the Start + icon, choose the Flow node, and click Next.
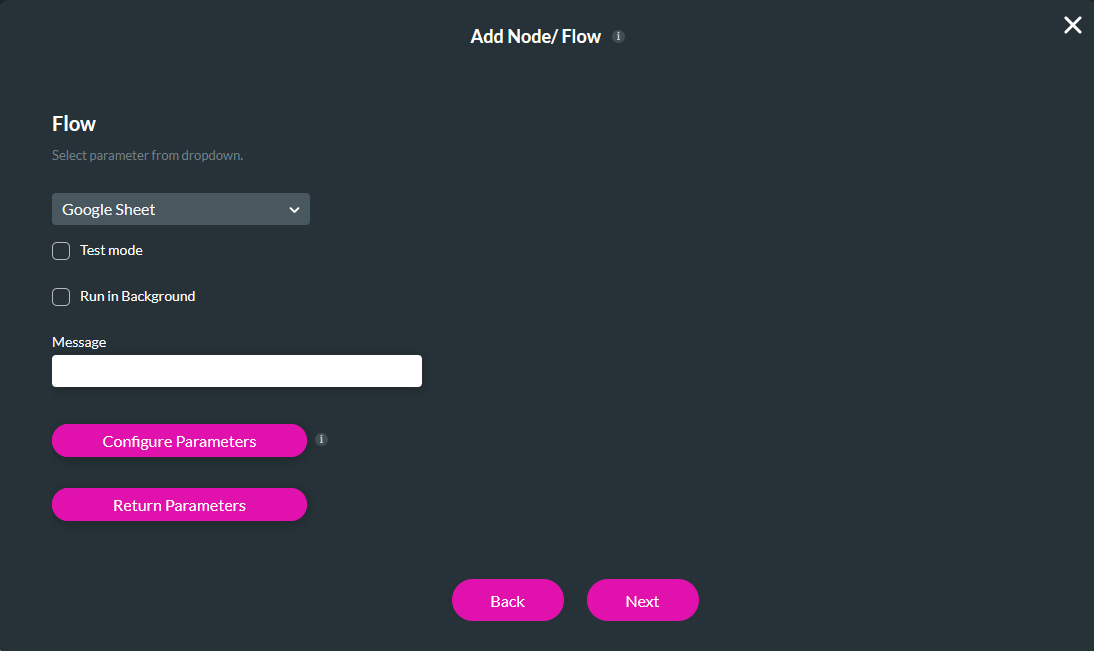
4. Use the dropdown to select the Google Sheet flow.
5. Disable Run in Background.
6. Click Configure Parameters.
7. Use the dropdowns to map the fields from the web project and click Apply.
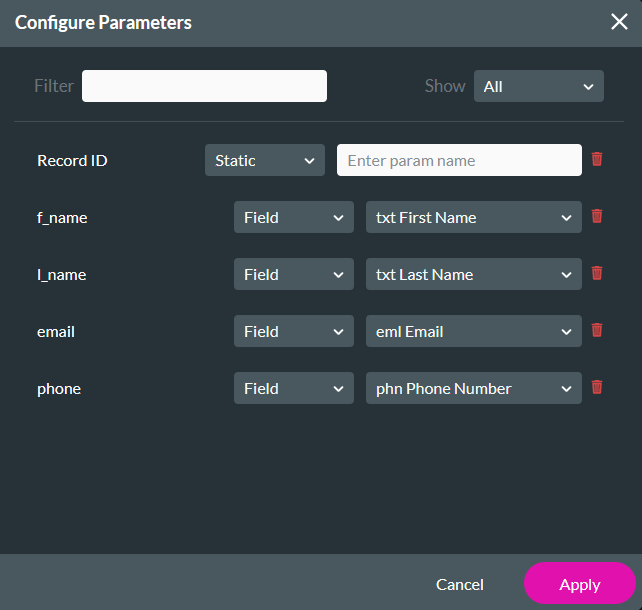
8. Click Next, enter a Tag, and click Insert.
Once your node has been configured, you can Apply, Save, and Preview your project.
When the user provides their details and clicks submit, they will be captured in your Google Sheet.
