Amazon S3 & Google Drive (7 min)
01 Getting Started
02 Integrations
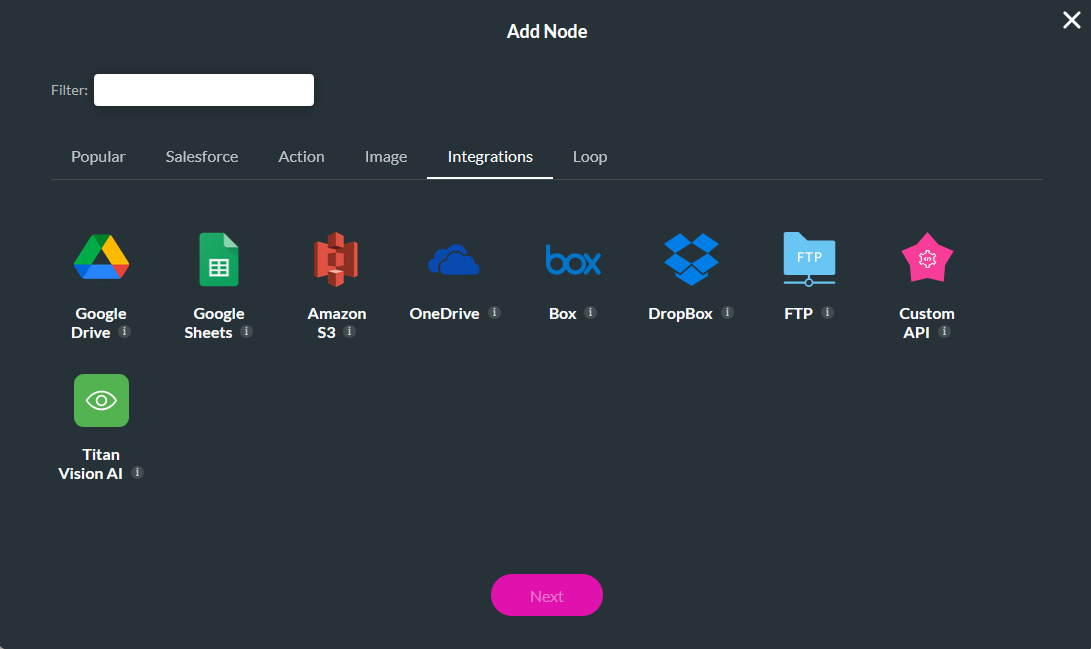
You will see several options in the Integrations tab when creating your flow.
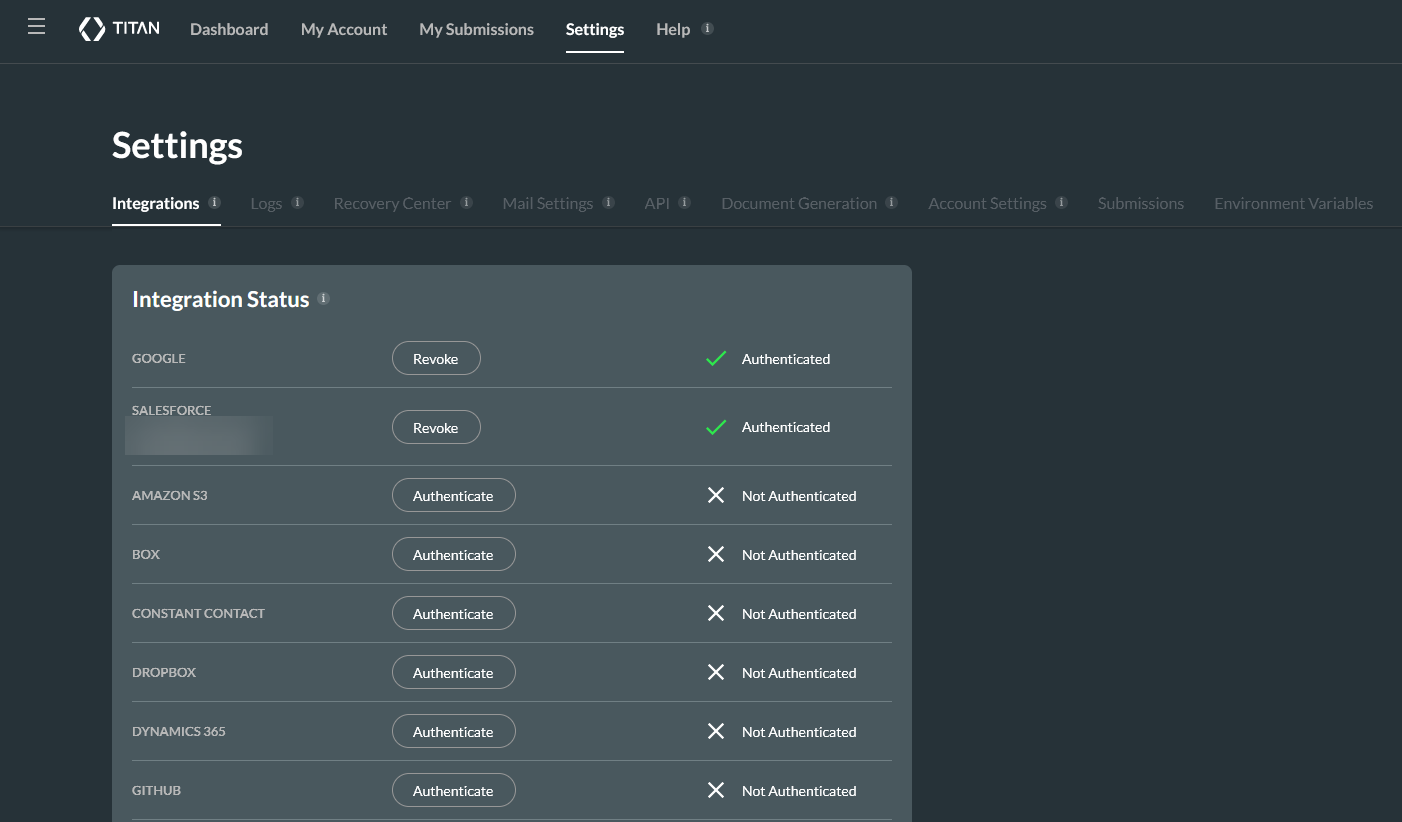
Before you can use these nodes, you must ensure you have authenticated these third-party apps. You can do this in the Settings tab on the Titan dashboard or when you are configuring your node.
03 Variables
To hold the values of the files, the following two variables were created:
- Files - input_files
- Static - link
04 Google Drive and
1. Select the Any + icon, choose Google Drive as the node, and click Next.
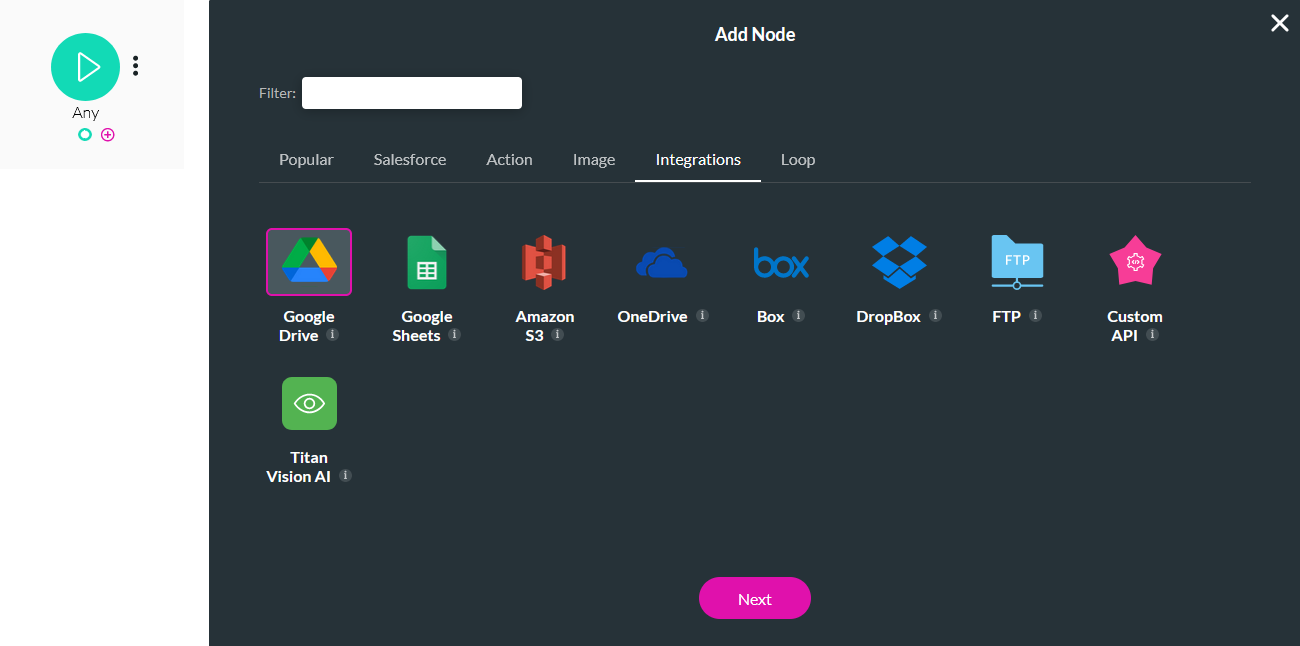
2. If you have not previously authenticated with Google, click the Authenticate button.

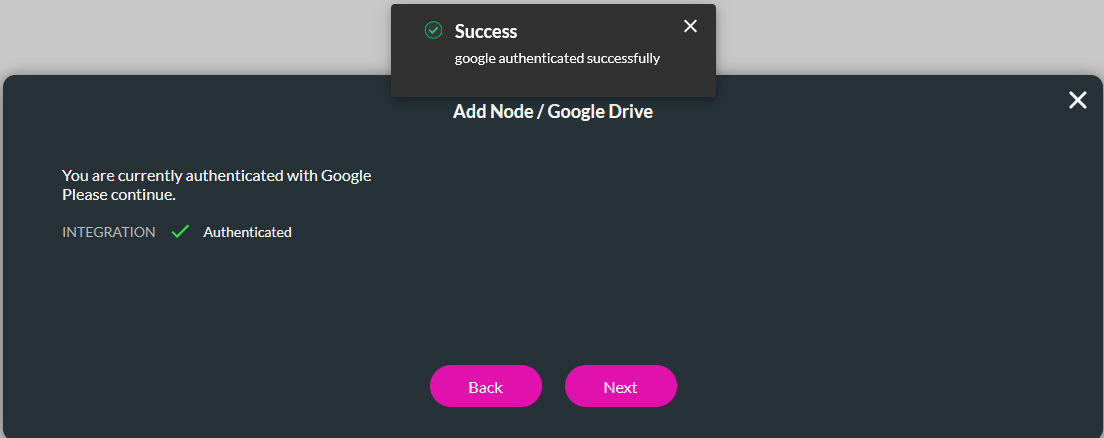
3. Log in using your account details and follow the prompts. Once your authentication is complete, a success message will display. Click Next.
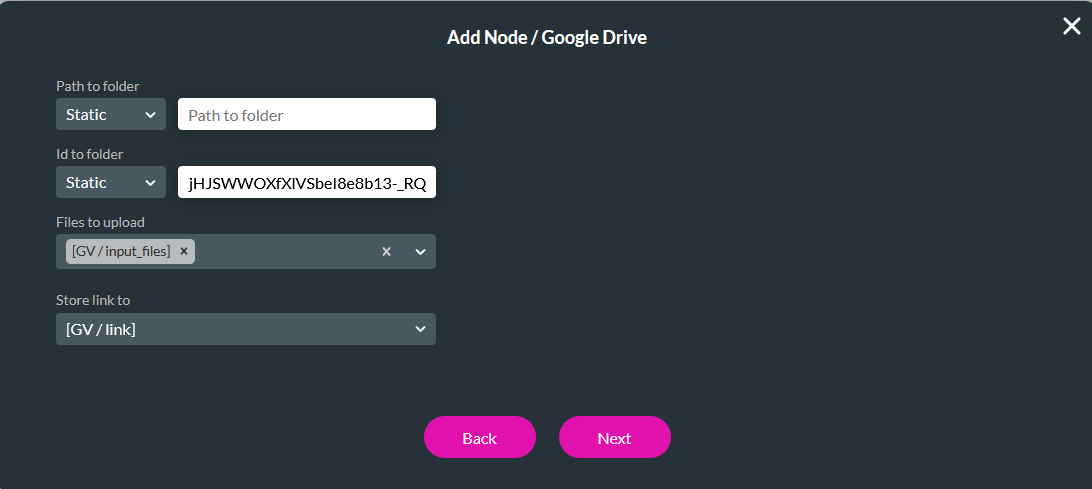
4. Configure the file fields, including the ID of the Google Drive folder, input_files as the files to upload, and store link to as the link variable. Click Next.
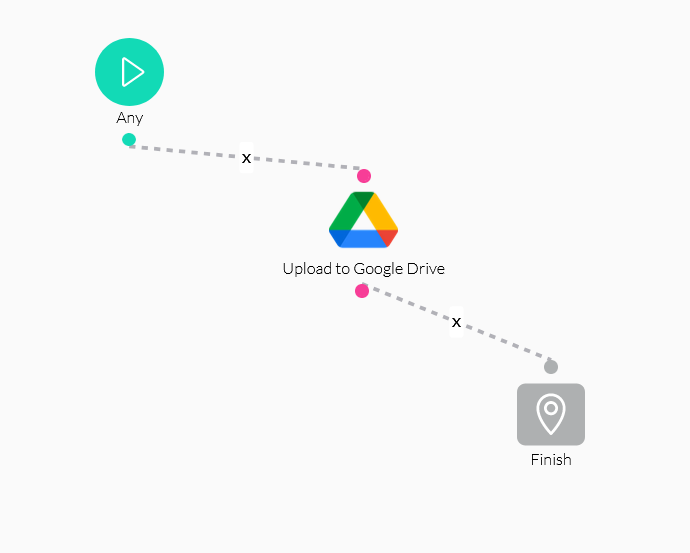
5. Enter a Tag name and click Insert.
A Finish Node was added to the Google Drive node and configured to the link variable. Save and publish the flow.
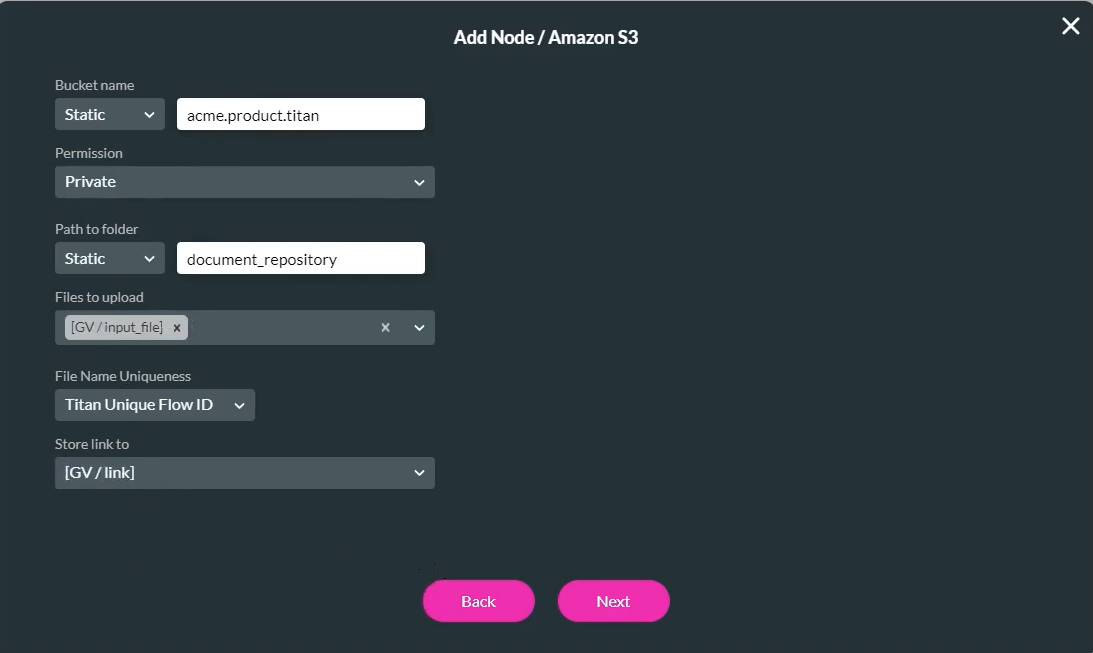
The same steps can be followed when integrating with Amazon. However, you will choose the Amazon S3 node.
05 Invoking the Flow
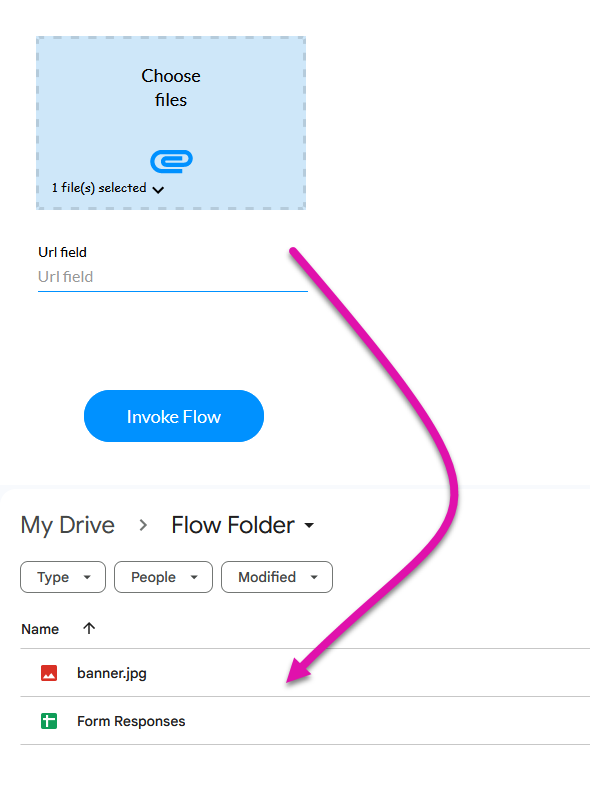
A simple web project was created with the following elements: a file uploader, a URL, and a button.
A static global variable was created and labeled: gdrive_link
1. Navigate back to your web project.
2. Click the Interactivity icon from the button menu.

3. Click the Start + icon, choose the Flow node, and click Next.
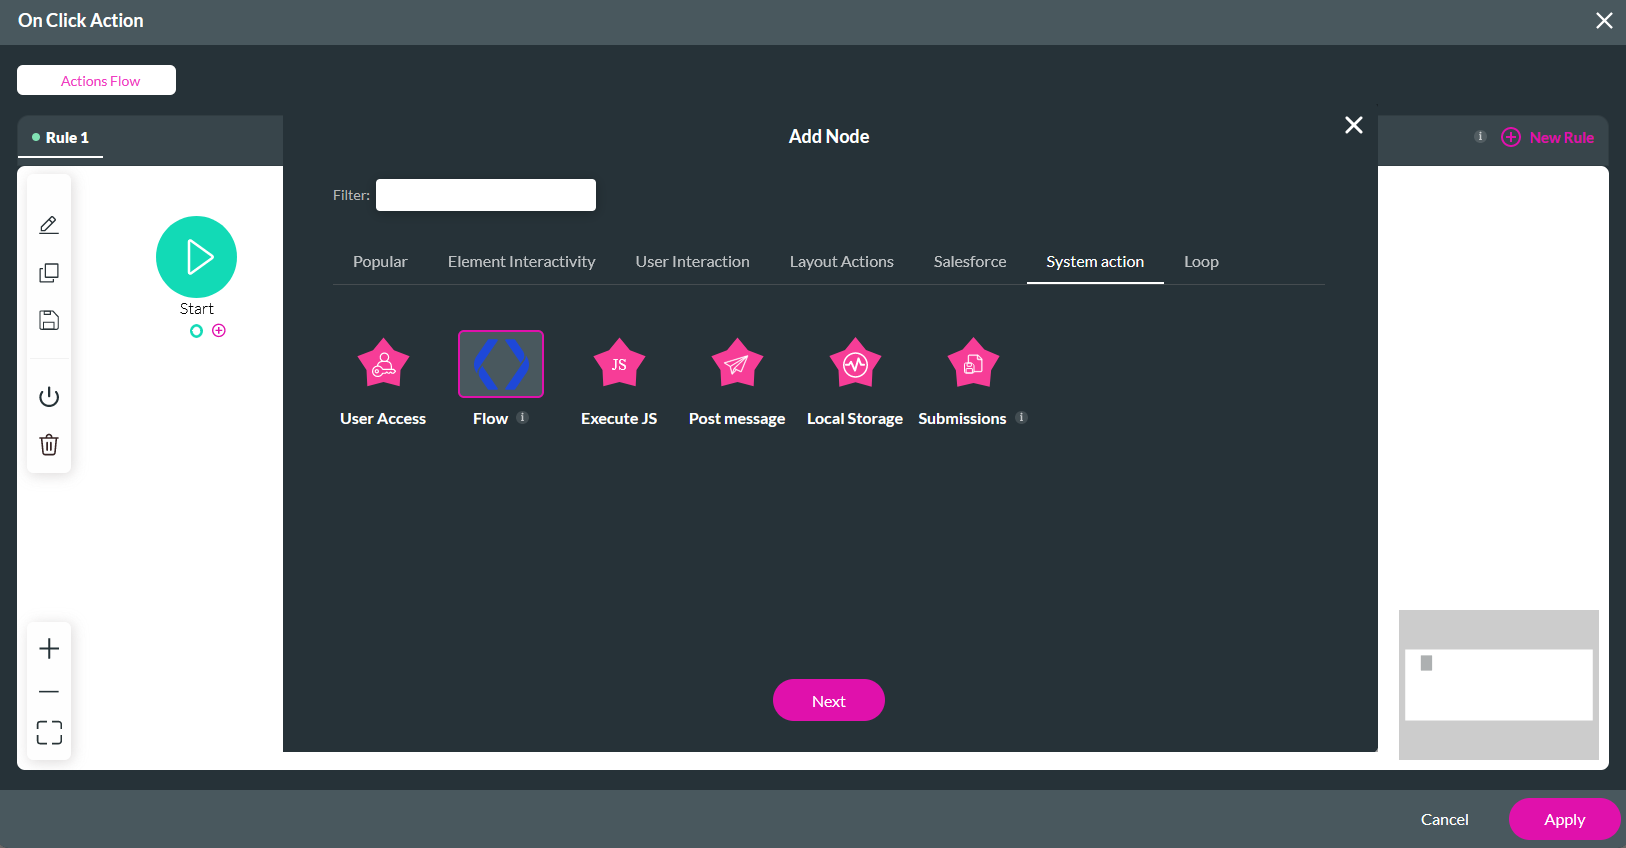
4. Use the dropdown to select the Google Drive Flow.
5. Disable Run in Background.
6. Click Configure Parameters.
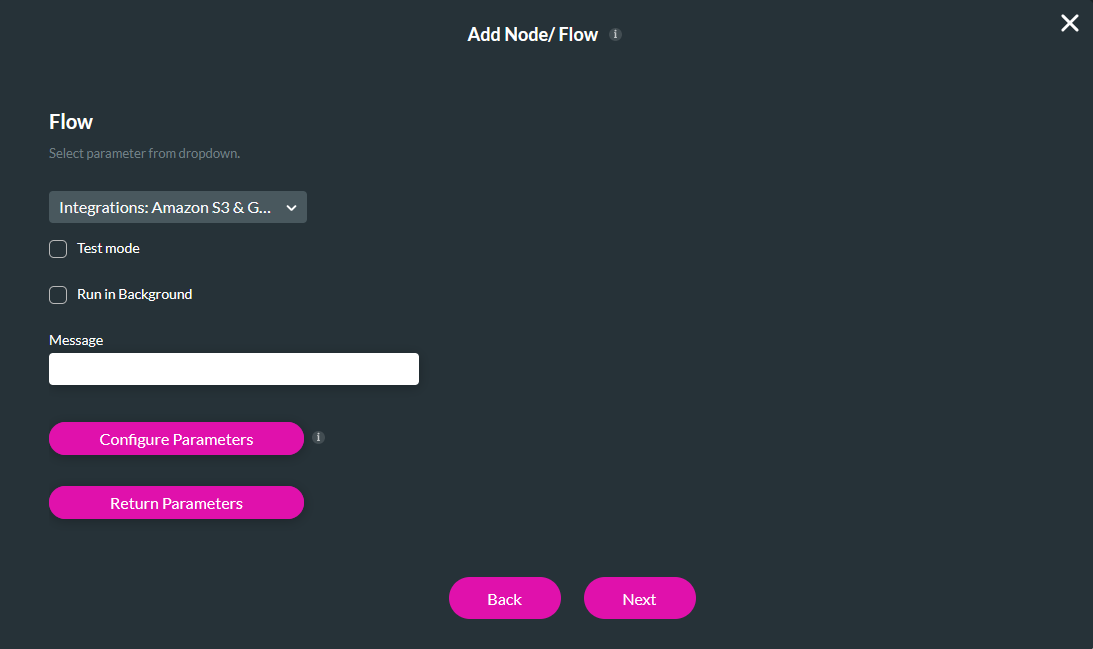
7. Configure the input_files parameter to the Choose Files field and click Apply.
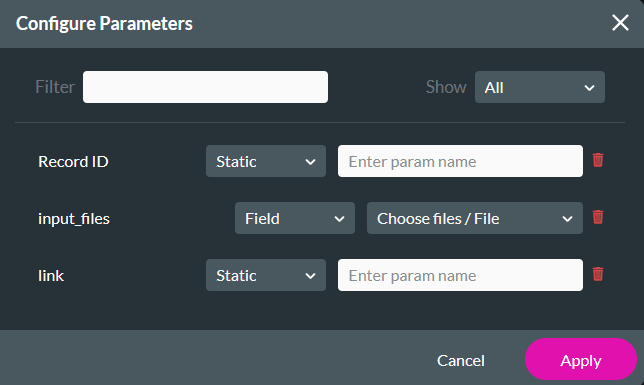
8. Click the Return Parameters button.
9. Configure the gdrive_link variable to the link field. Click Apply.
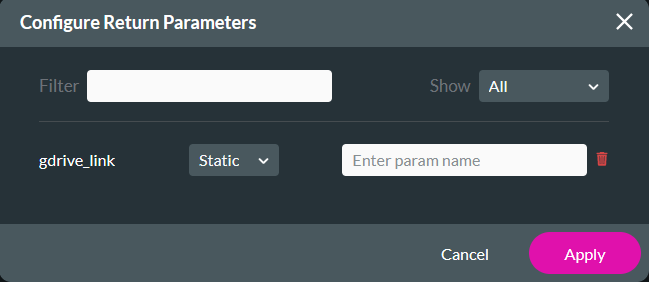
10. Click Next, enter a Tag name, and select Insert.
When an image is added to the file uploader element and the flow is invoked, the file will be saved to the Google Drive folder.
