Publishing (5:30 min)
01 Getting Started
02 Publish
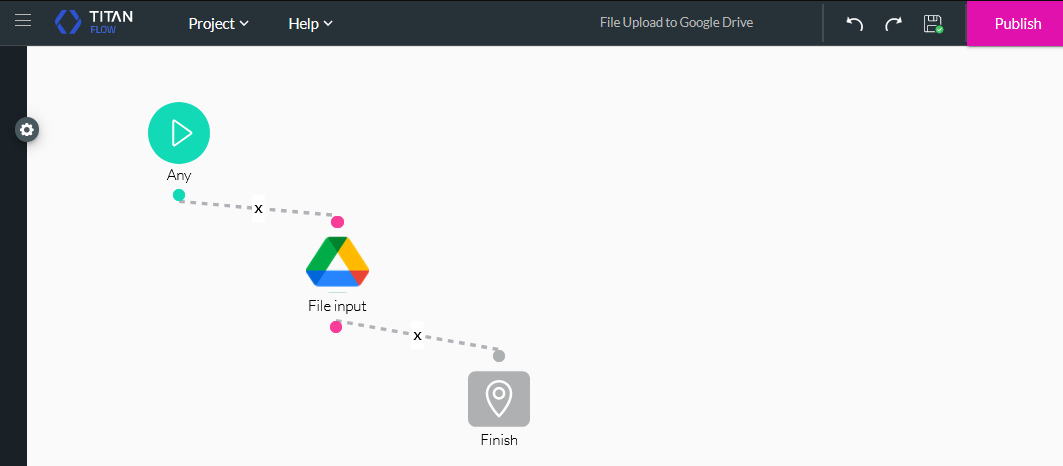
Once your configuration is completed and you are ready to implement the flow, ensure you have saved your project, and click the Publish button.
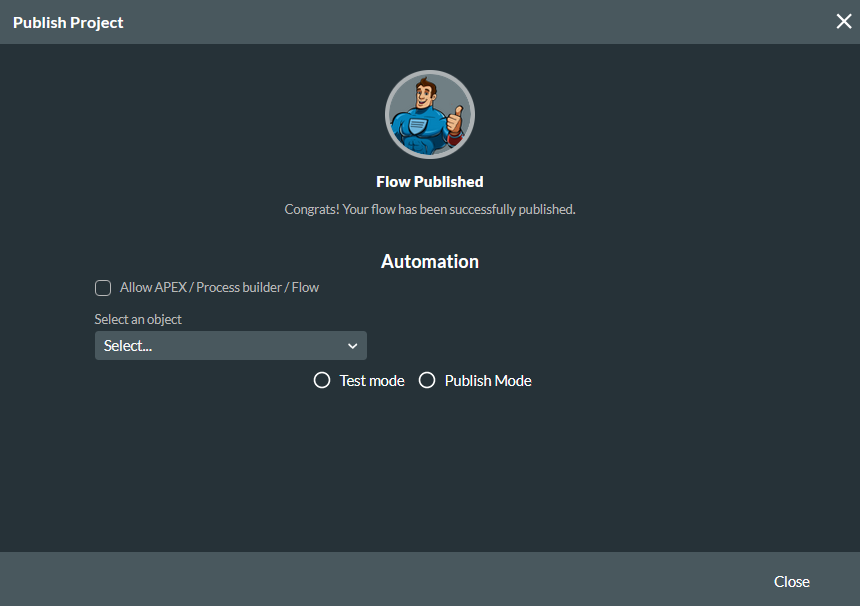
The Publish Project window is displayed.
03 Project Settings
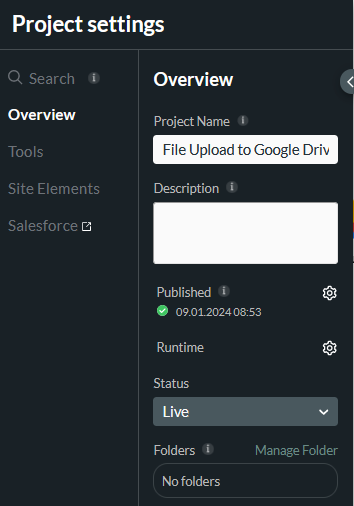
Details about your published project are stored in the Project Settings menu.
In the Overview tab, you can view the date and time your flow was published, as well as the project status.
04 Invoking a Flow from Titan Web
Navigate to your Titan Dashboard and select an existing project or create a new one. For demonstrative purposes, we created a new web project.
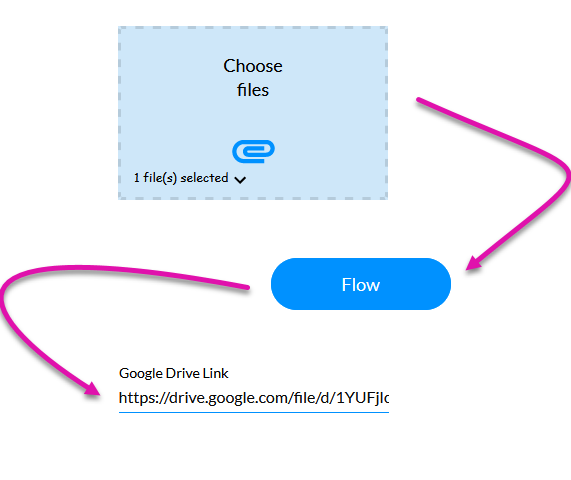
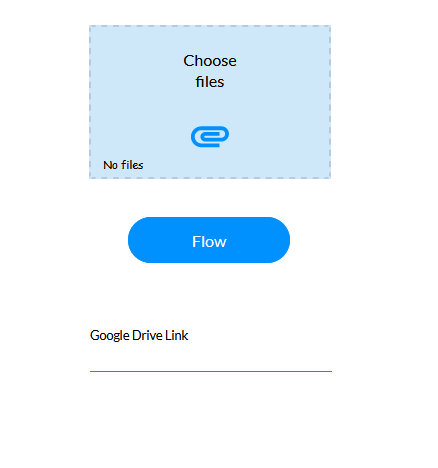
The flow was configured to receive a file input, so for the flow to be invoked from the web project, a file upload element must be added. To display the link to the file in Google Drive, a text field was added.
Finally, a button element was added to trigger the flow when it is clicked.
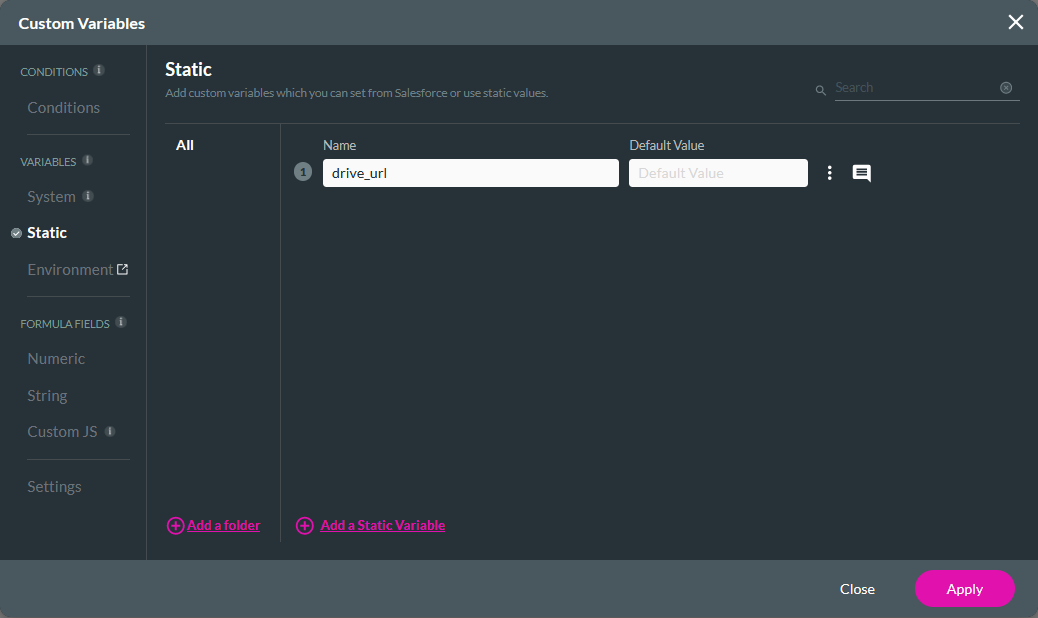
A static variable was added to the web project that will hold the Google Drive URL.
The next step is to link the flow to the button.
1. Click the button interactivity icon.
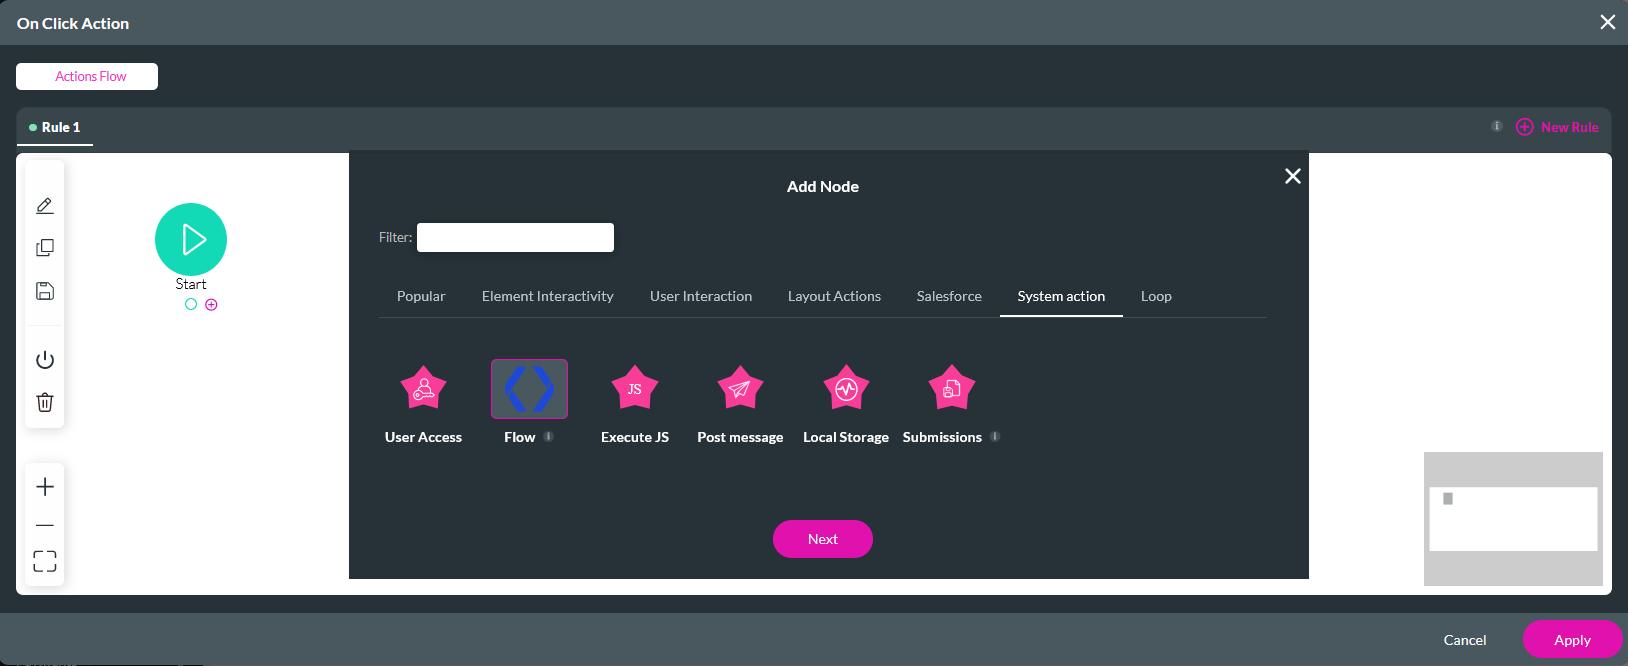
2. In the On Click Action window, click the Start + icon, choose Flow as the node, and click Next.
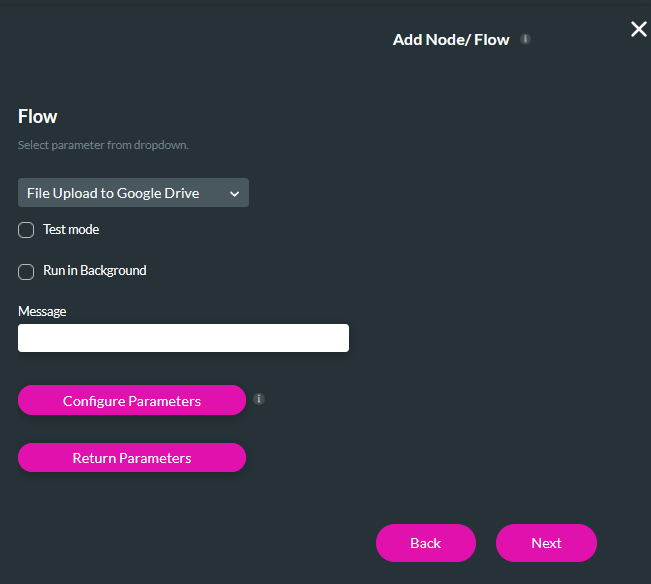
3. Using the dropdown, select the flow you want to invoke when the button is clicked. For this flow, we do not want it to run in the background.
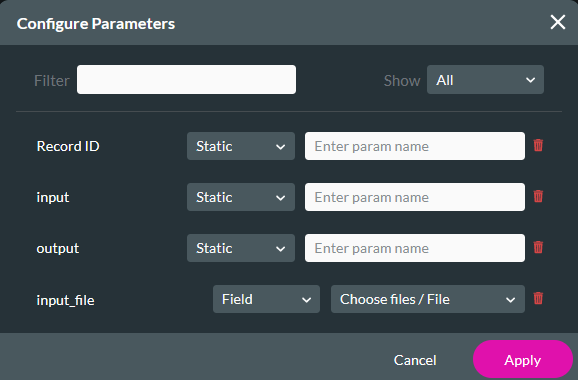
4. Click Configure Parameters.
5. Configure the input_file variable to the File Upload element. Click Apply.
6. Click Return Parameters.
7. Configure that the drive_url variable equals the output. Click Apply.
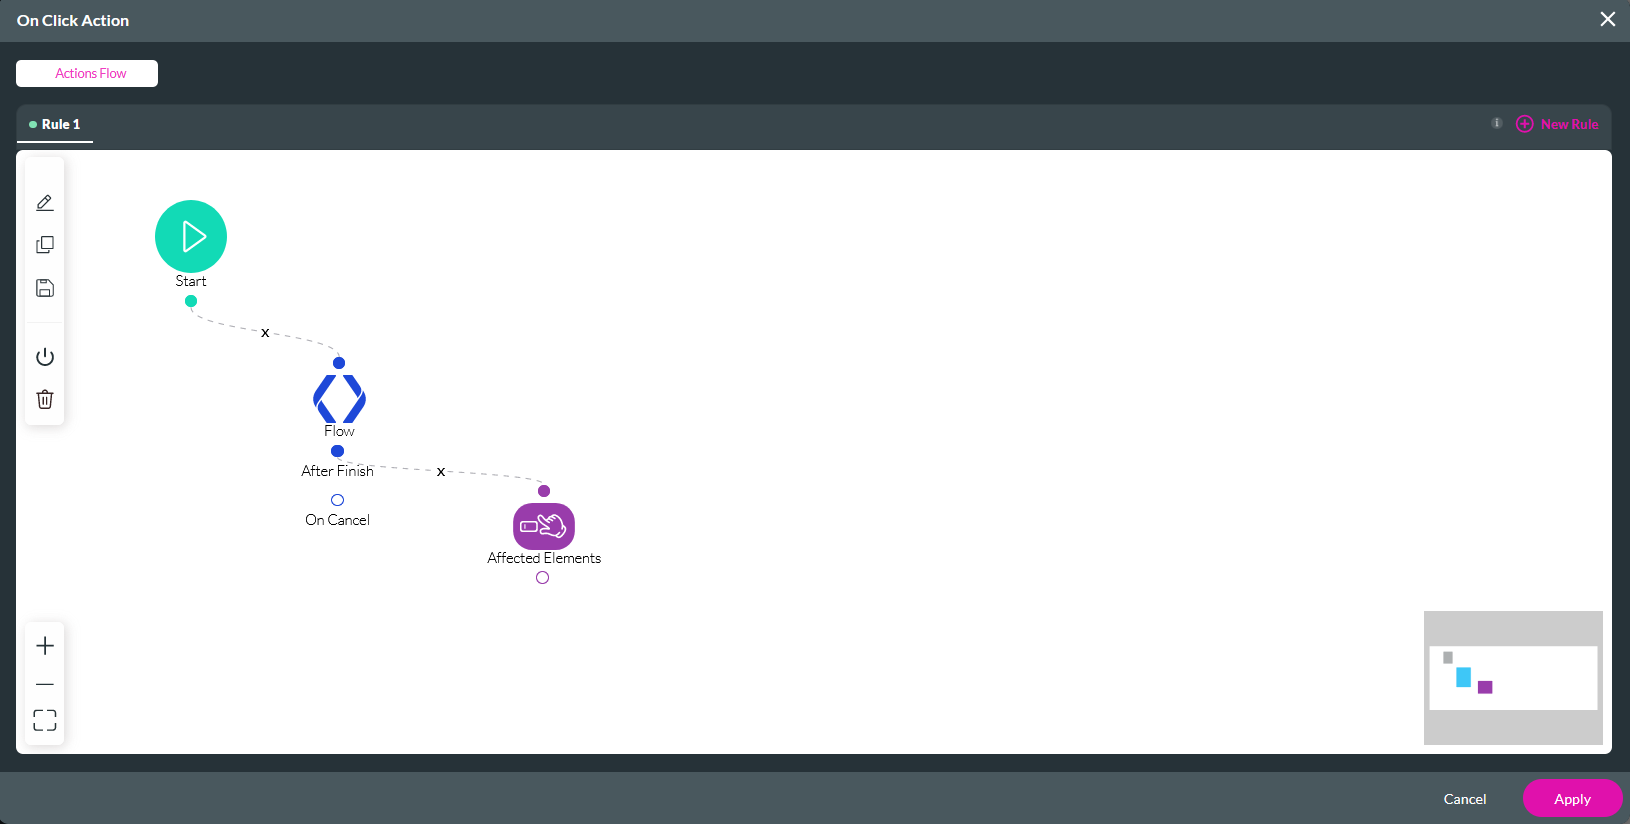
8. Click Next, enter a tag name, and click Insert. The configured node is displayed in the On Click Action window.
9. Click the After Finish + icon, choose Affect Element as the node, and click Next.
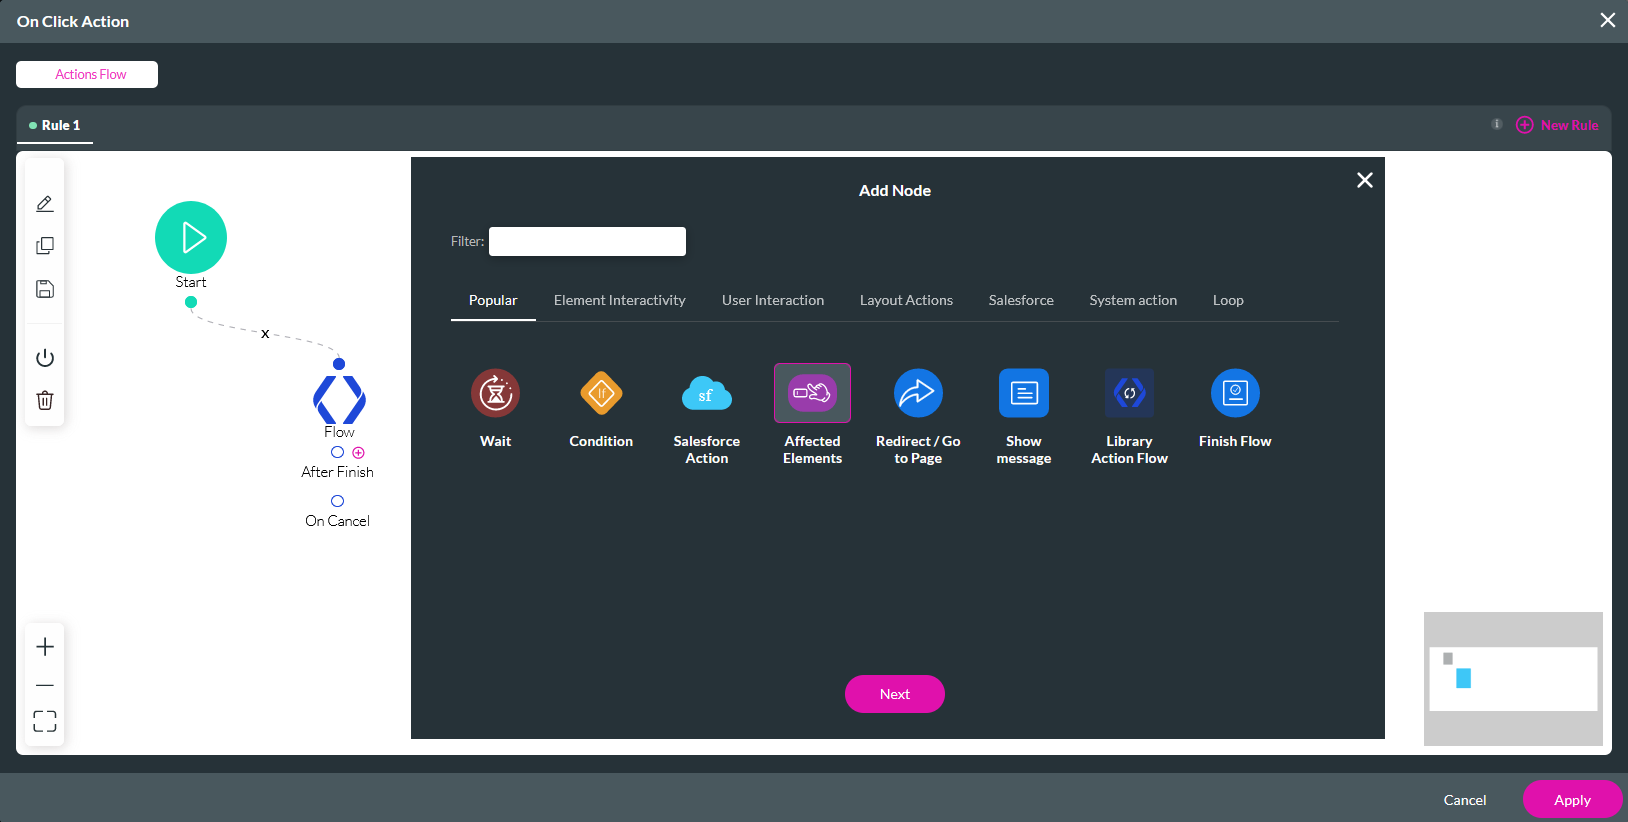
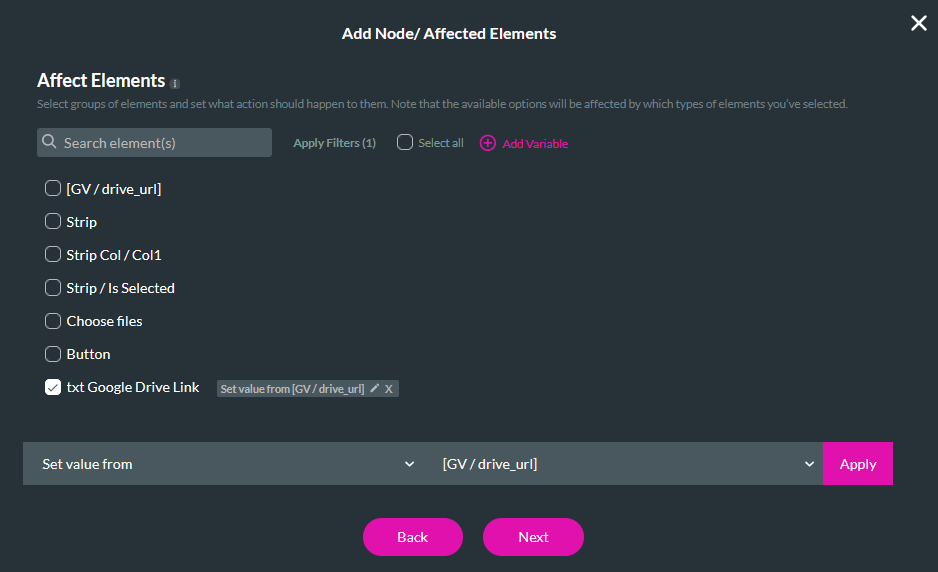
10. Select the text field element that will be used to display the Google Drive link. Choose Set Value From as the action, choose the drive_url variable, and click Apply. Once the configuration is complete, click Next.
11. Add a tag, click Insert, and Apply.
When a file is uploaded and the flow button is clicked, the flow will be invoked, the file will be added to Google Drive, and on completion, the link to the file in Google Drive will be provided in the text field.
